
EQD: Crediting a Previous Invoice
This document explains how to credit a previous invoice and use the same function to create a new invoice that can then be edited. It is only way to correct sales tax and OE sales reports!
Important Note about Date/Fiscal Period matching! Matching periods is recommended when the invoice and credit memo happen in the same calendar month. When the previous invoice is older, matching the period IS NOT recommended because it would require all previous GL periods to be reclosed and financial reports to be re-run.
General Steps
These steps show the workflow of correcting a posted invoice.
- Credit the Previous Invoice/Print.
- Post the Credit to Accounts Receivable.
- Apply credit against open invoice (Receipts Editing).
- Credit the Credit Memo (created in step 1).
- Edit and update the new invoice/Print.
- Post new Invoice to Accounts Receivable (same as step 2).
Step 1 - Crediting a Previous Invoice
The previous invoice must be posted to Accounts Receivable to use this function.
- Click “New”.
- Input the Client ID, Click “Assign”.
- Select "Credit a Previous Invoice".

- Input the Original Invoice Number (The invoice that is wrong)
- Manually assign the same invoice number with a -C at the end. (C = credit)
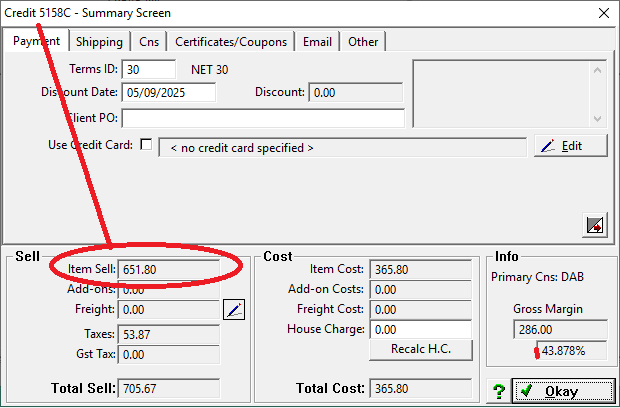
- Click “Accept” - The credit is created using the posted invoice as a source. The summary screen appears for review. All credit totals match original invoice. DO NOT CHANGE!
- Edit the Credit Invoice and change the Date to match the original.
- Print or Print Preview the credit invoice.
Step 2 - Post the Credit Invoice
Post the Credit Invoice to Accounts Receivable.
- Go to OE/Invoices/Invoice Posting.
- Input the Credit Invoice # into the Invoice “From” & “To” fields, click “Okay”.
- Match the Invoice Date and the Period.

- Click “Post”, then when it’s done click “OK” and exit
Step 3 - Applying the Credit to the open Invoice
Receipts Editing is used to apply the credit memo to the open invoice. Remember to always double click on the credit memo first, to make those funds available to apply. For partial use of the credit, edit the amount to use before saving (keep the – sign).
- Go to Receipt Editing
- Click Add.
- Input the Client ID - TAB
- Locate the credit memo in the list. Double click on the credit memo then click SAVE. This moves the credit into the Remaining Check Amt. field.

5. Double-click on the invoice to be credited, verify the total, then Save.
6. Click Exit.
Step 4 - Creating the New Invoice (Credit the Credit Memo)
When correcting Sales Tax, this is the time to edit the ship to from the original invoice and correct tax code! Note: It can also be corrected manually on the invoice.
- Click “New”.
- Input the Client ID, Click “Assign”.
- Select "Credit a Previous Invoice".

- Input the Credit Invoice Number (Example 4588C).
- Manually assign the same invoice number with a -R at the end. (R = rebill).
- Click “Accept” - A warning advises that you’re crediting a credit memo. Click Yes.

- This creates a new positive invoice. The Summary screen appears, click Okay and edit the invoice to make corrections. Remember to:
- Match Dates as needed.
- Tax Codes are located: Check them all!
- Page 1 – lower left
- Page 1 – Freight section
- Split Ship Page (additional entries only)
- Special Pricing
- Print or Print Preview the credit invoice.
Step 6 – Repeat Step 2 – Post the Invoice to Accounts Receivable
Post the Rebilled Invoice to Accounts Receivable.
- Go to OE > Invoices > Invoice Posting.
- Input the Rebill Invoice # into the Invoice “From” & “To” fields, click “Okay”.
- Match the Invoice Date and the Period.

- Click “Post”, then when it’s done click “OK” and exit .