EQC: Q-Design Creating an Image Upload variable
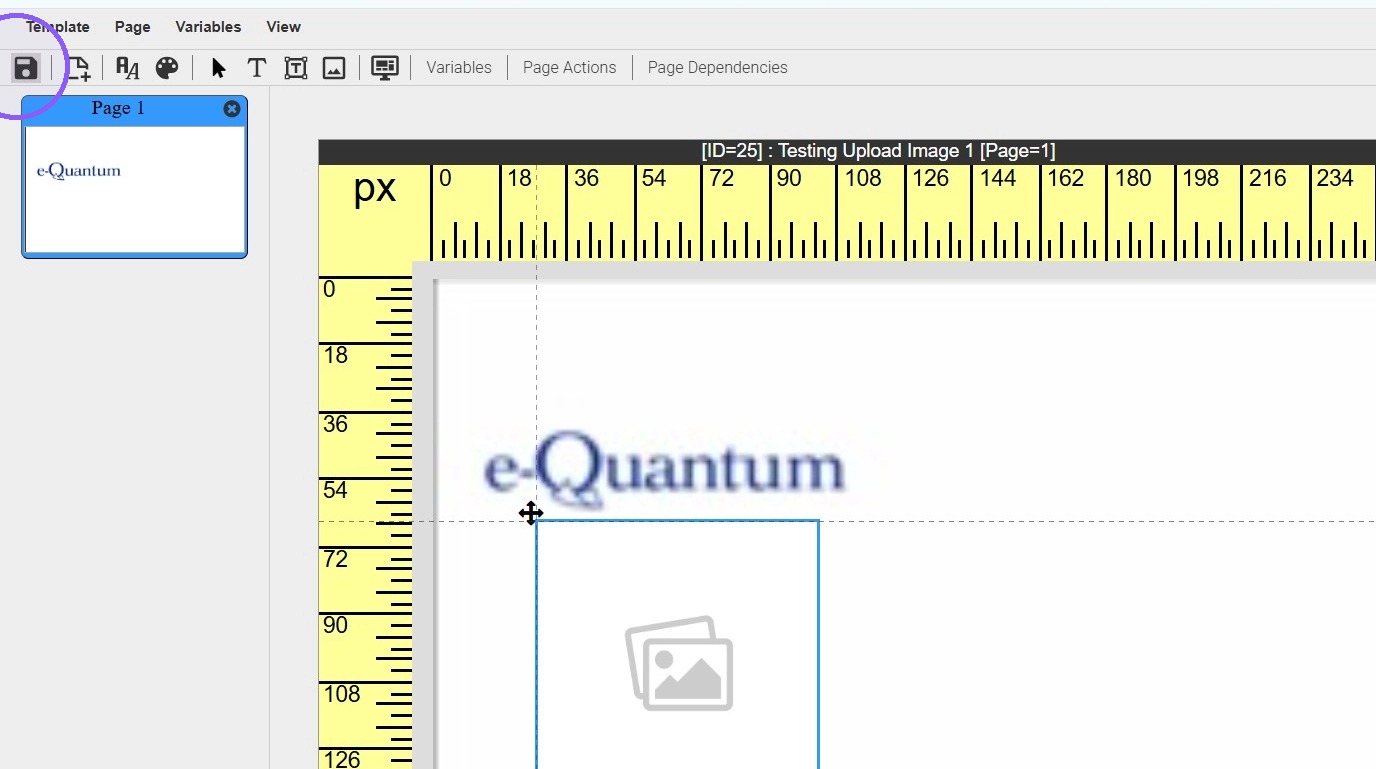
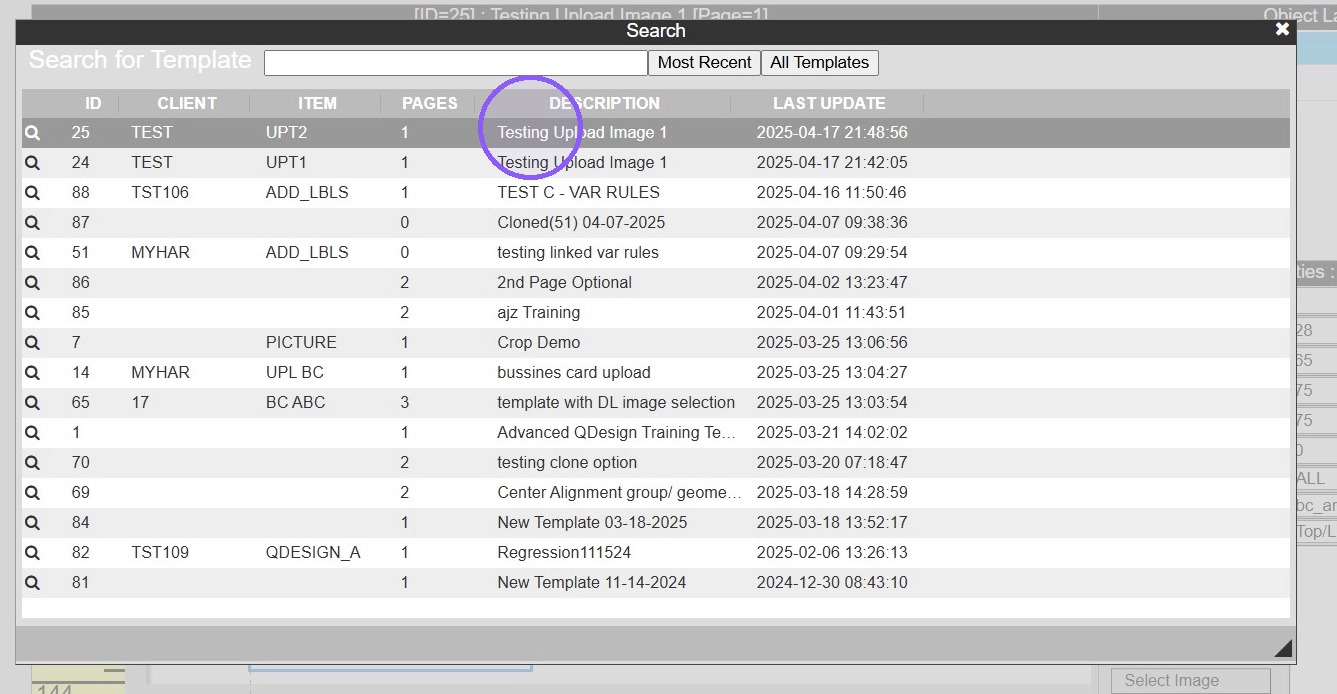
1. In Q-Design select the desired template or create a new template
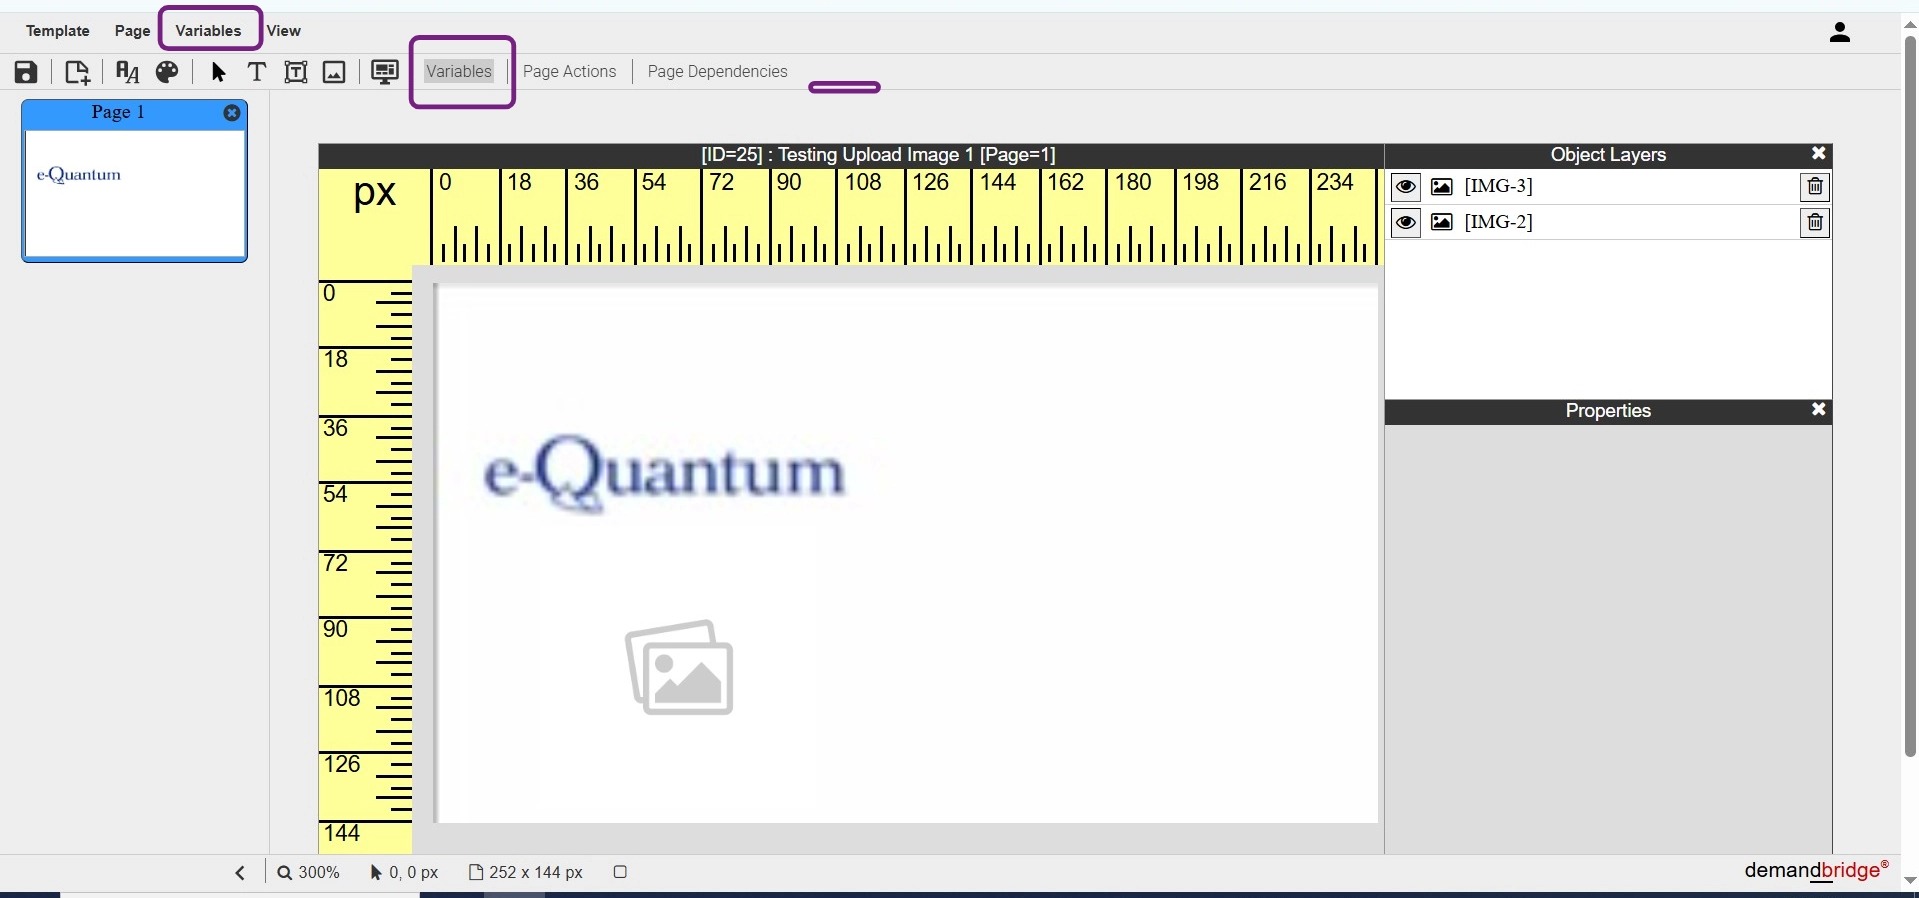
2. There are two options of where the variable set up can be accessed.
- In the top tool bar or 2. the Variable text
3. Depending on which way Variable is accessed, New Variable will need to be selected
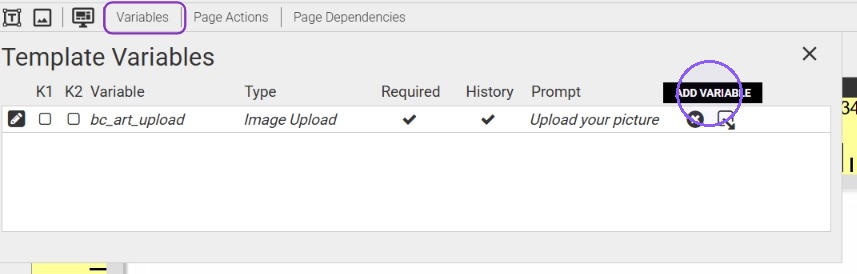
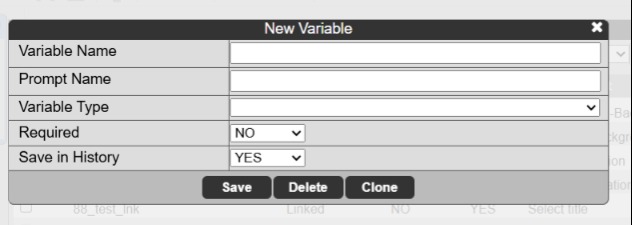
4. Add New Variable
Variable Name : this identifies the variable in the variable list
Prompt Name: The prompt the enduser will be given
Variable Type: there is a drop to allow for selection of the different variable options
Required: Yes if this information is required on the template
Save in History: Yes if History look up is being used and this variable can be remembered
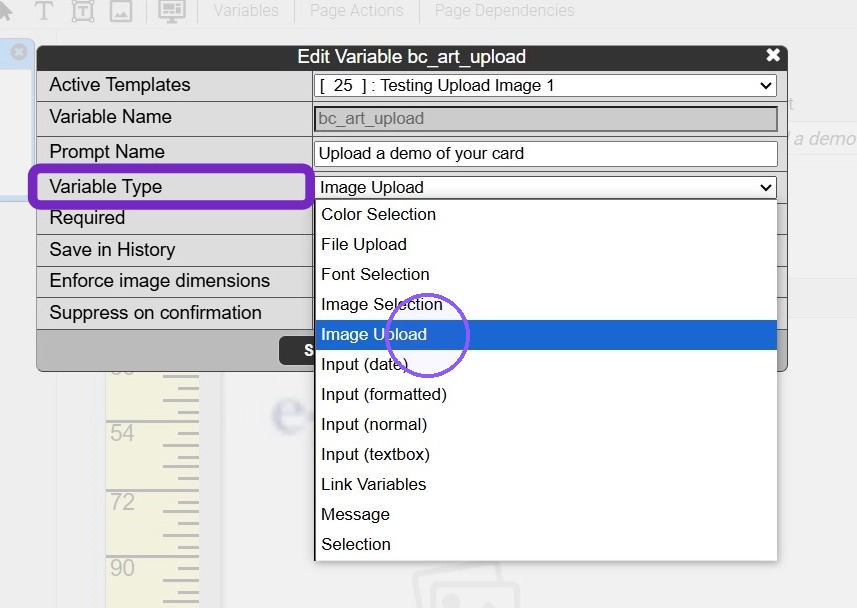
5. Variable Type: Select Image Upload from the drop down
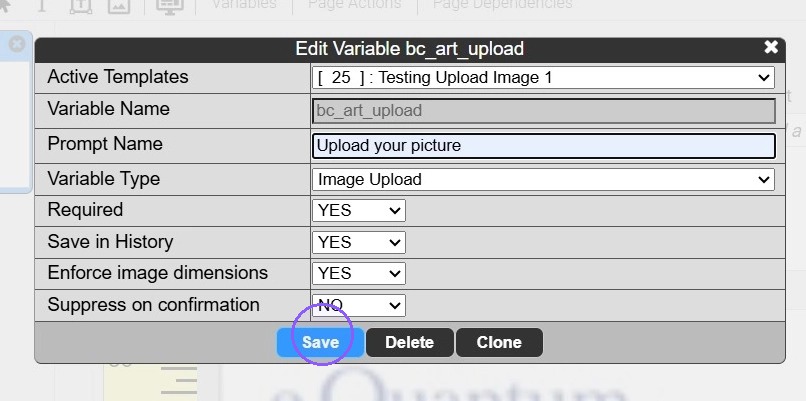
6. Save
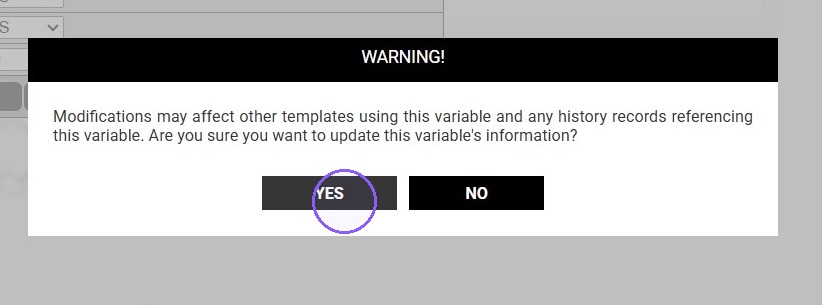
7. Warning message to indicate this will affect all templates the variable is assigned to. Click YES if you are sure you want to update the variable information
8. Close the Template Variable box by clicking on the x in the upper right hand corner
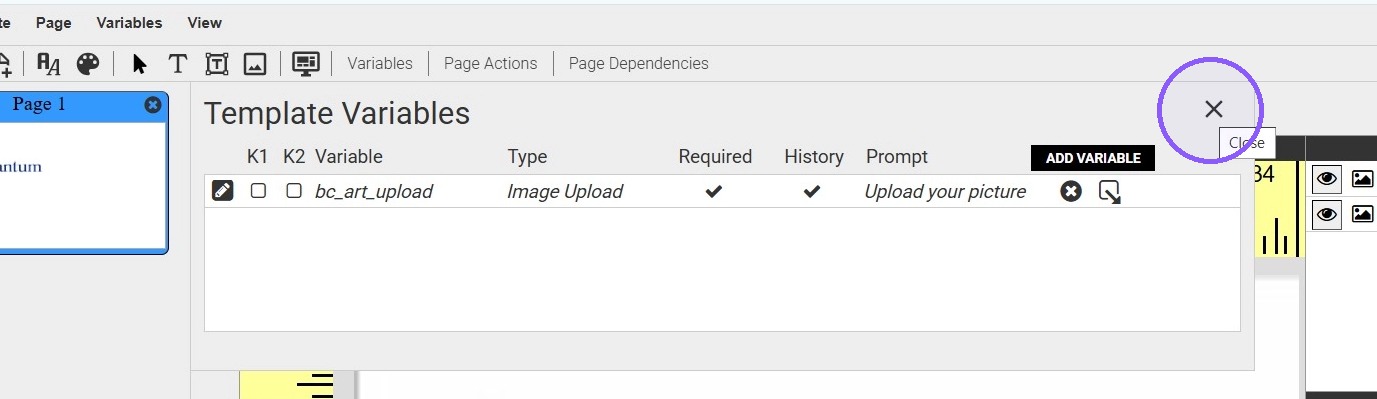
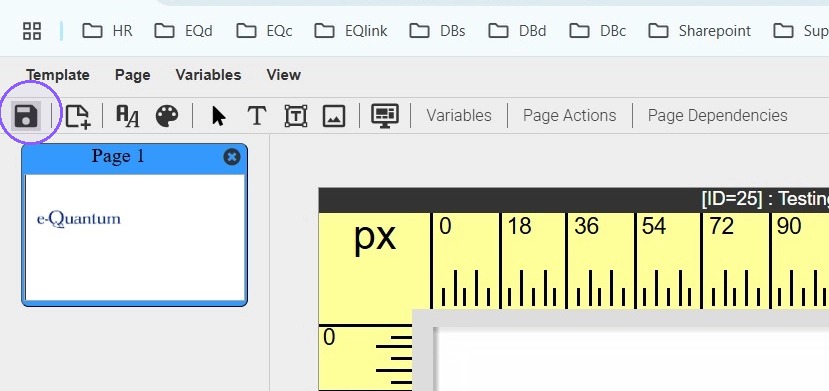
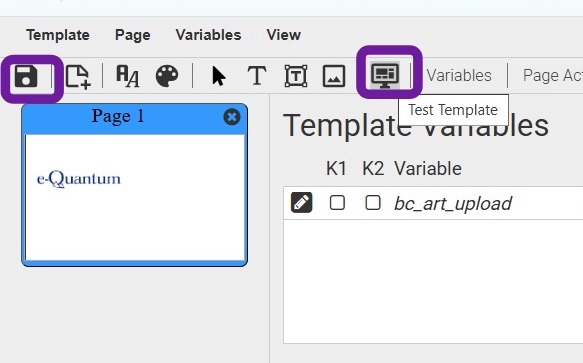
9. Save
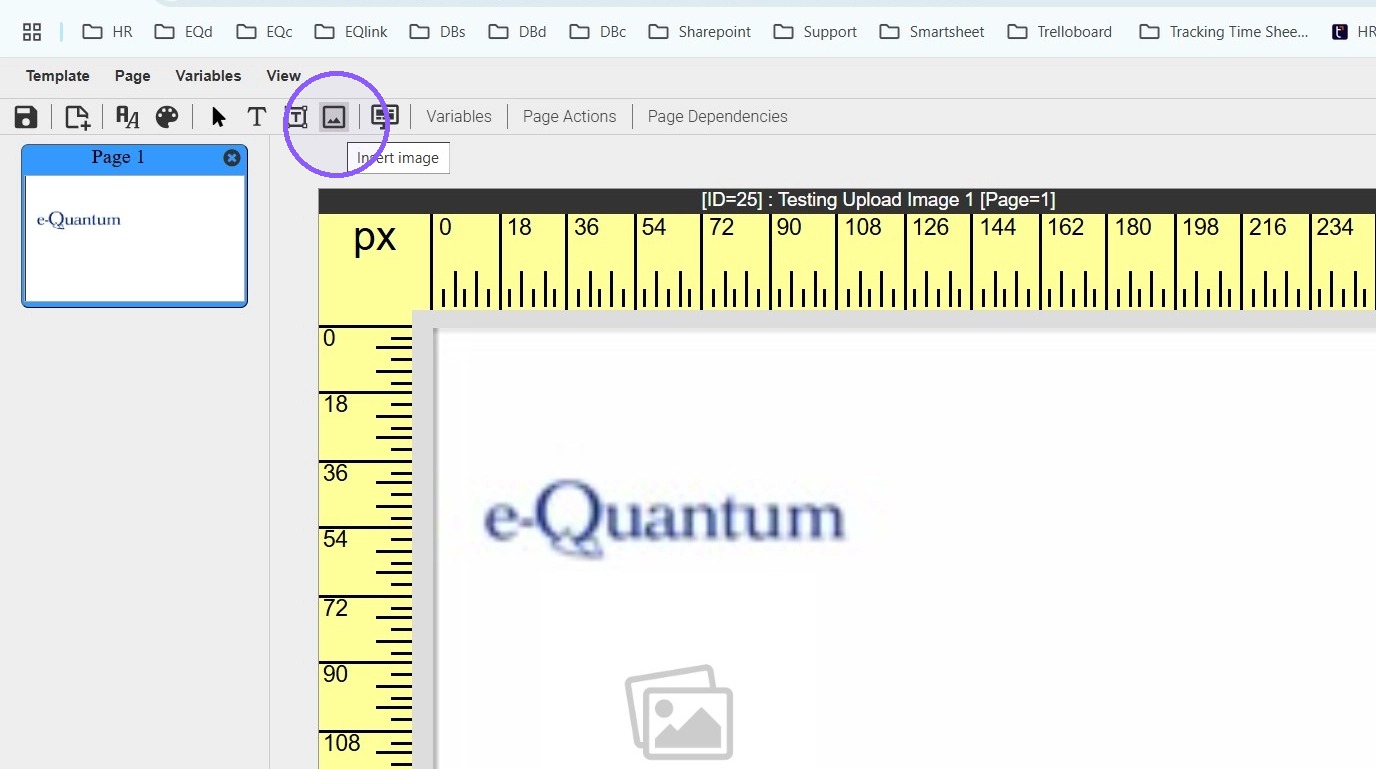
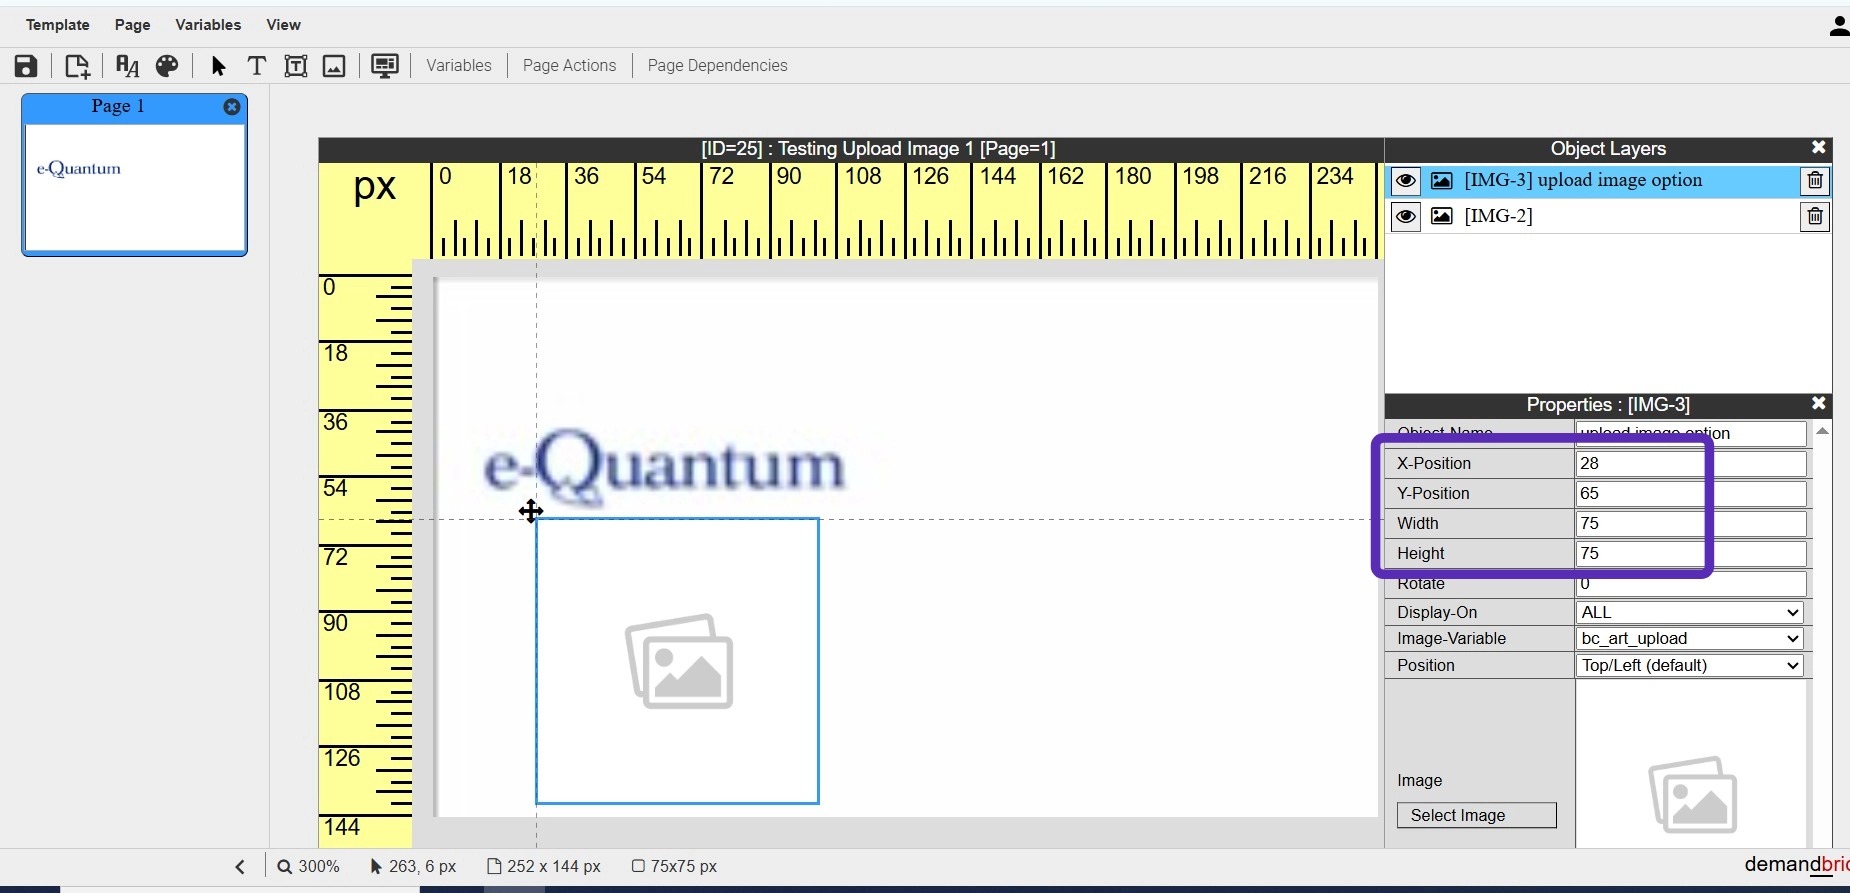
10. Click on the image icon to add the Upload Image variable
11. In the Properties Box, Name the Object ( Variable)
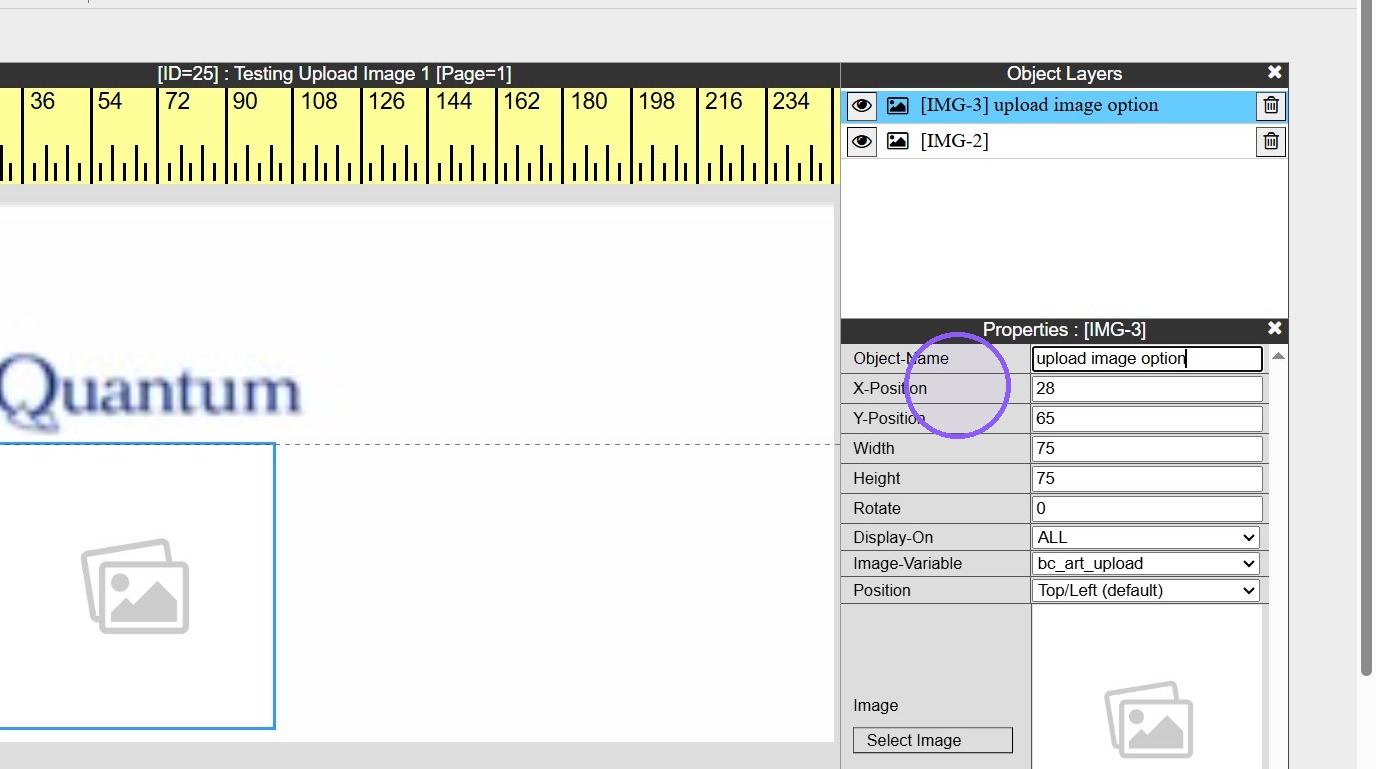
12. Enter the X - position and Y- position for where the image will be on the template
Width and Height: identify the size of the image
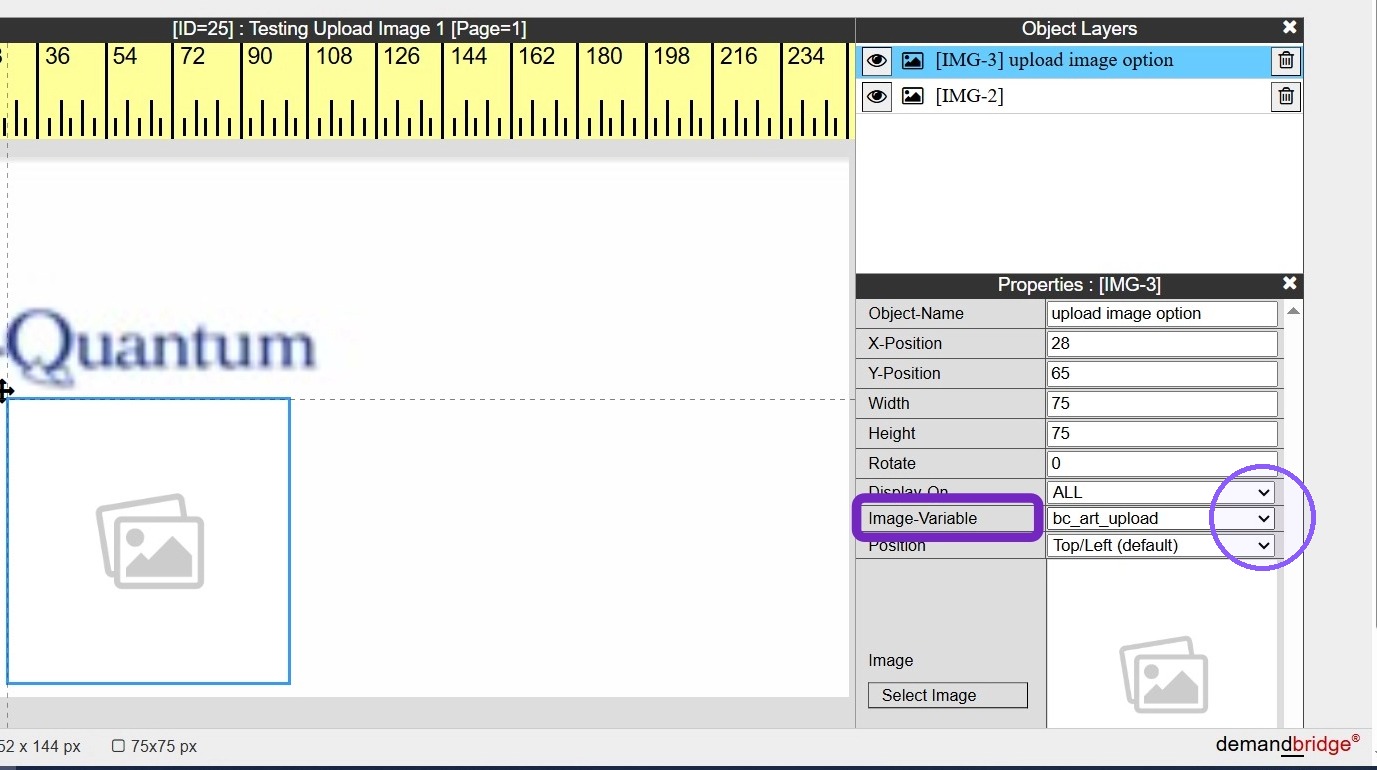
13. Image-Variable : from the drop down select the upload image variable that was created ( Variable Name)
14. Save and View Template
15. This is an example of what the enduser will see
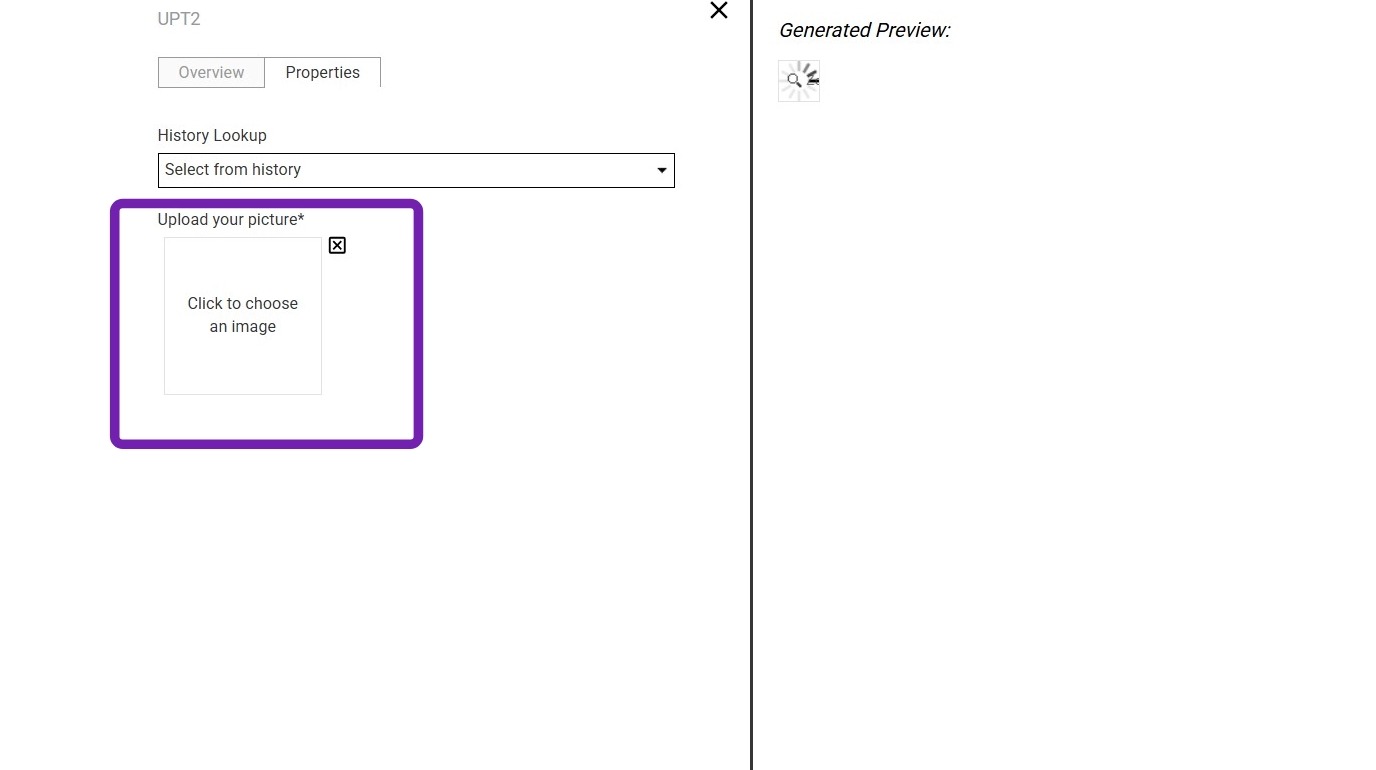
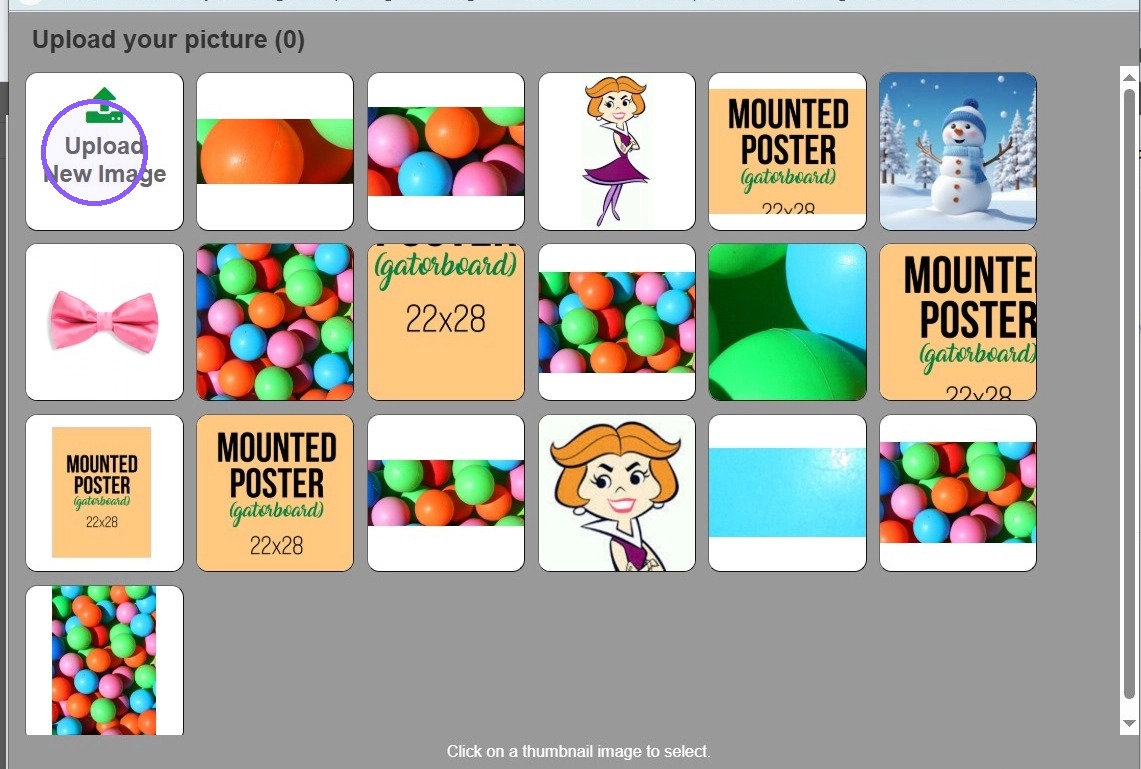
16. Click choose an image - previously uploaded images will be available to select or the option to Upload New Image
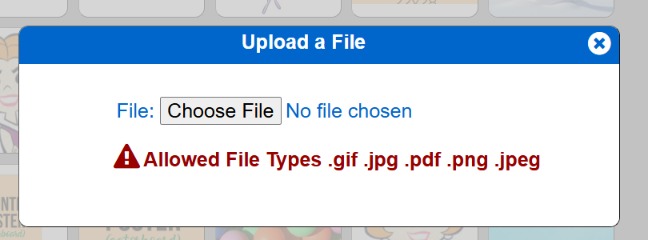
17. Chose File from your comptuer files
Please note Allowed File Types are .gif, .jpg , .pdf, .png or .jpeg
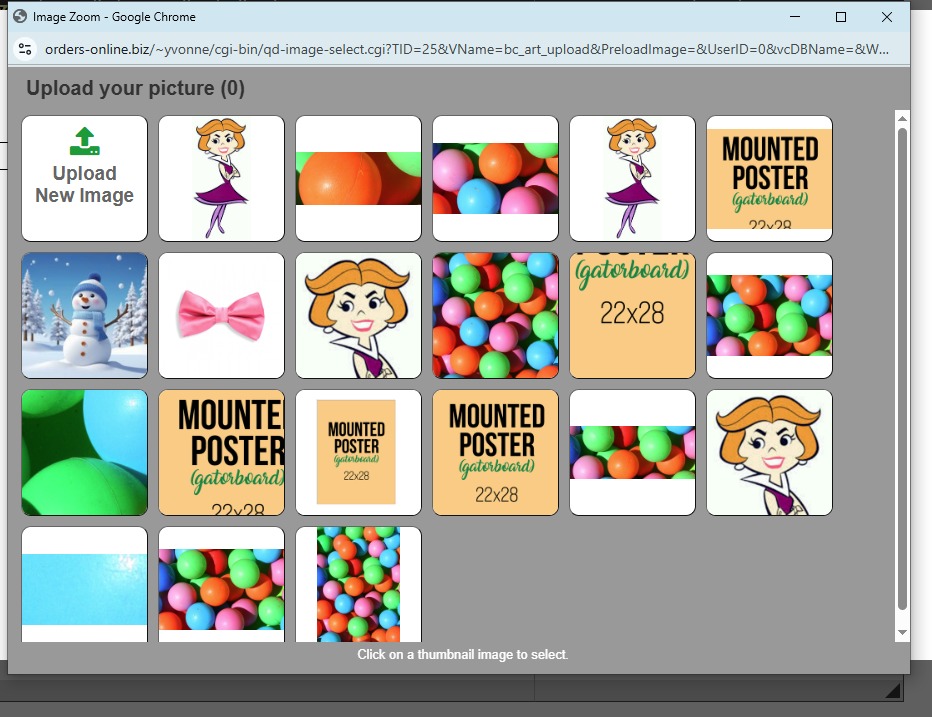
18. The new Image will upload to the directory, Click on the desired image.
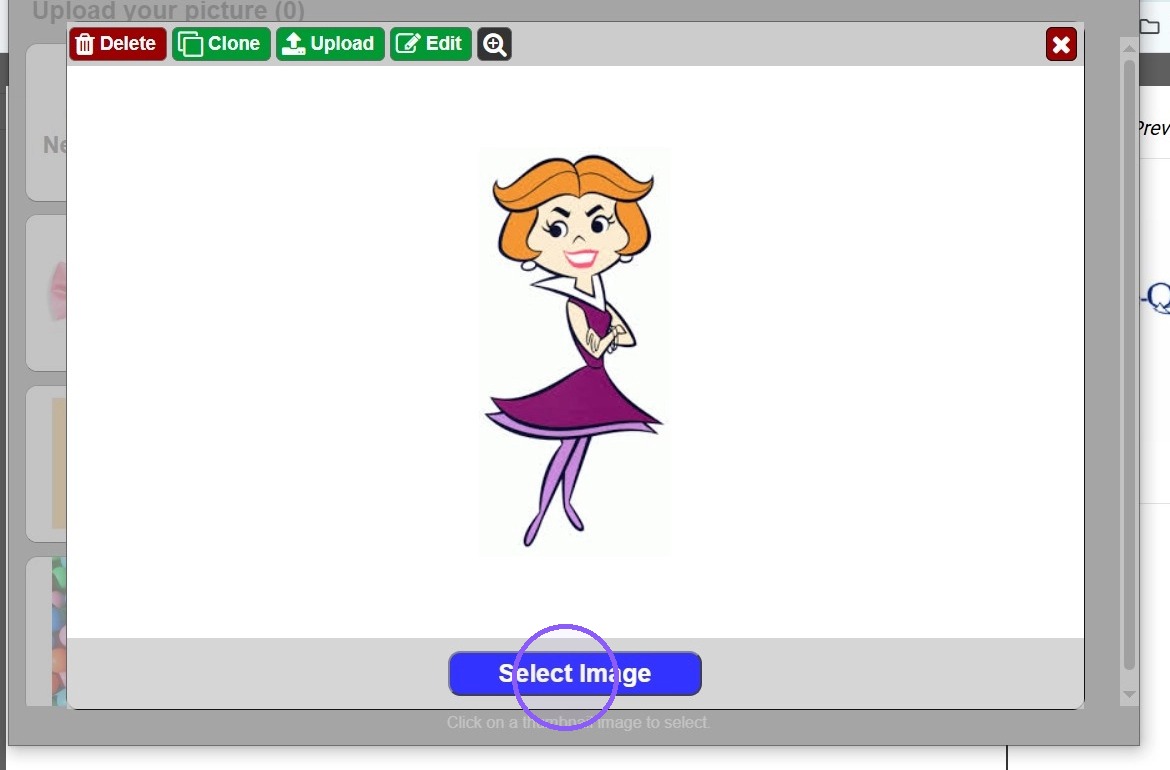
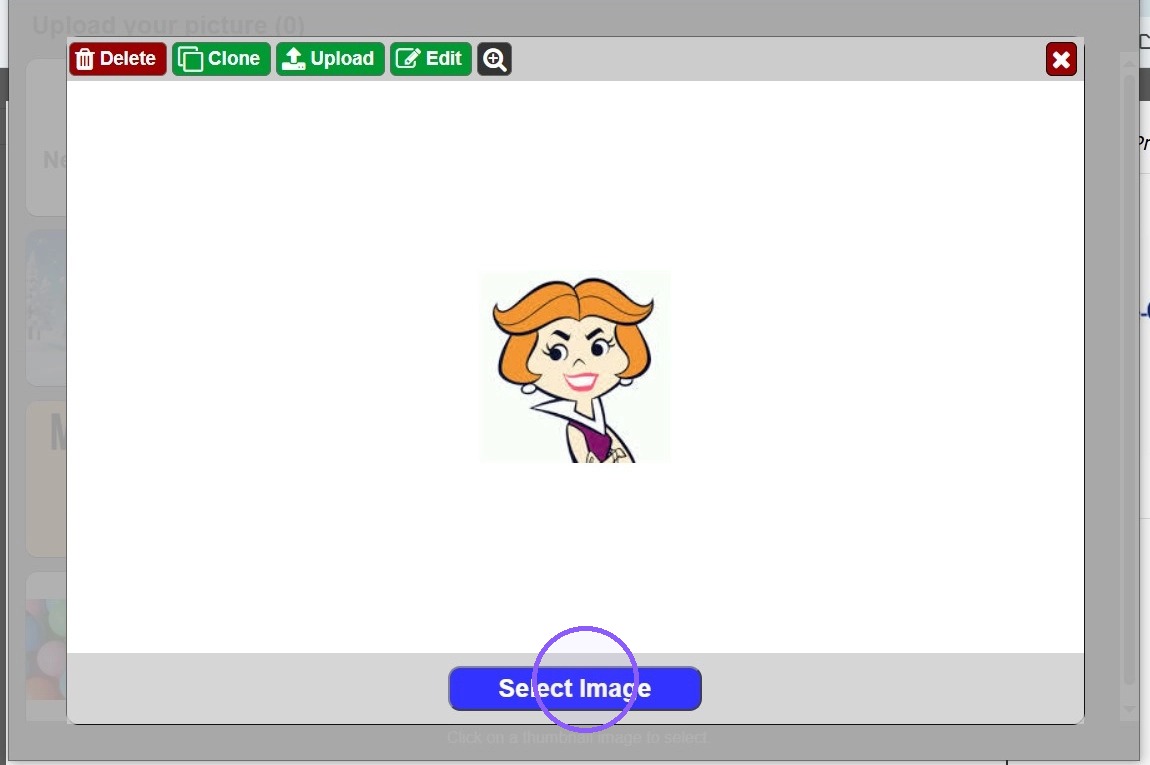
19. Click Select Image
20. If Enforce Image Dimension was set to YES on the variable, the enduser will be advised : Image must be cropped before selecting.
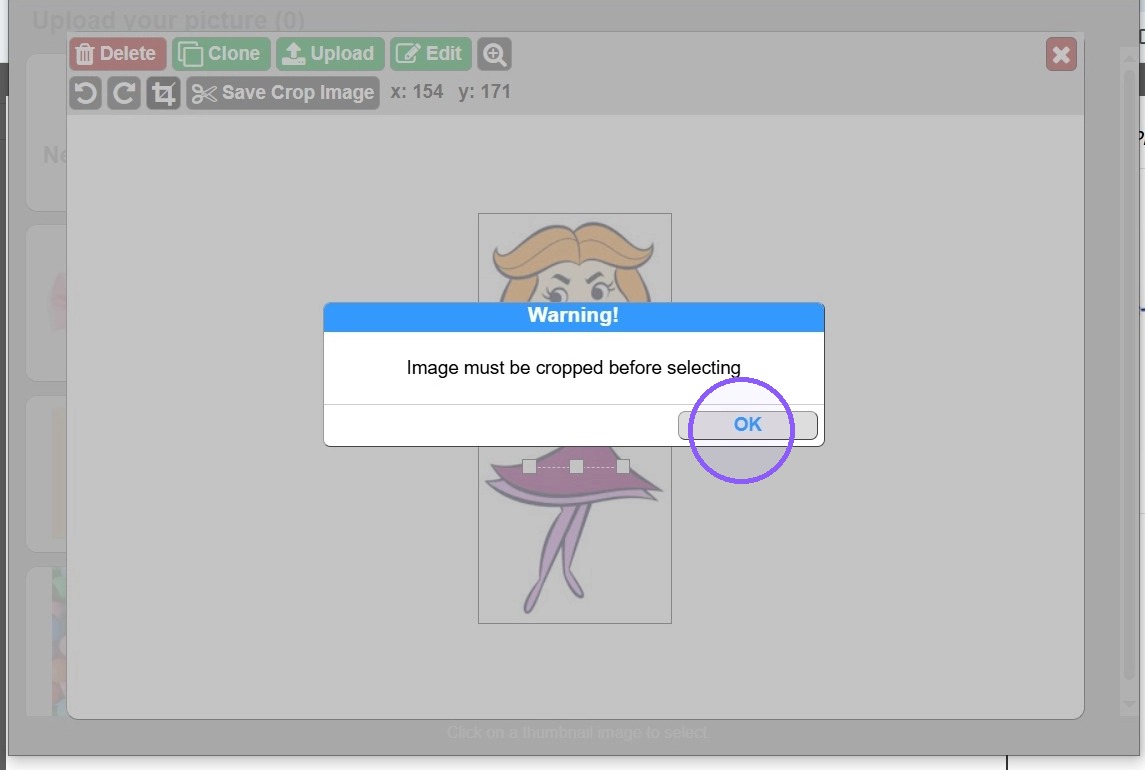
21. The crop marks will appear on the image to allow the enduser to apply to the area of the image that will be kept.
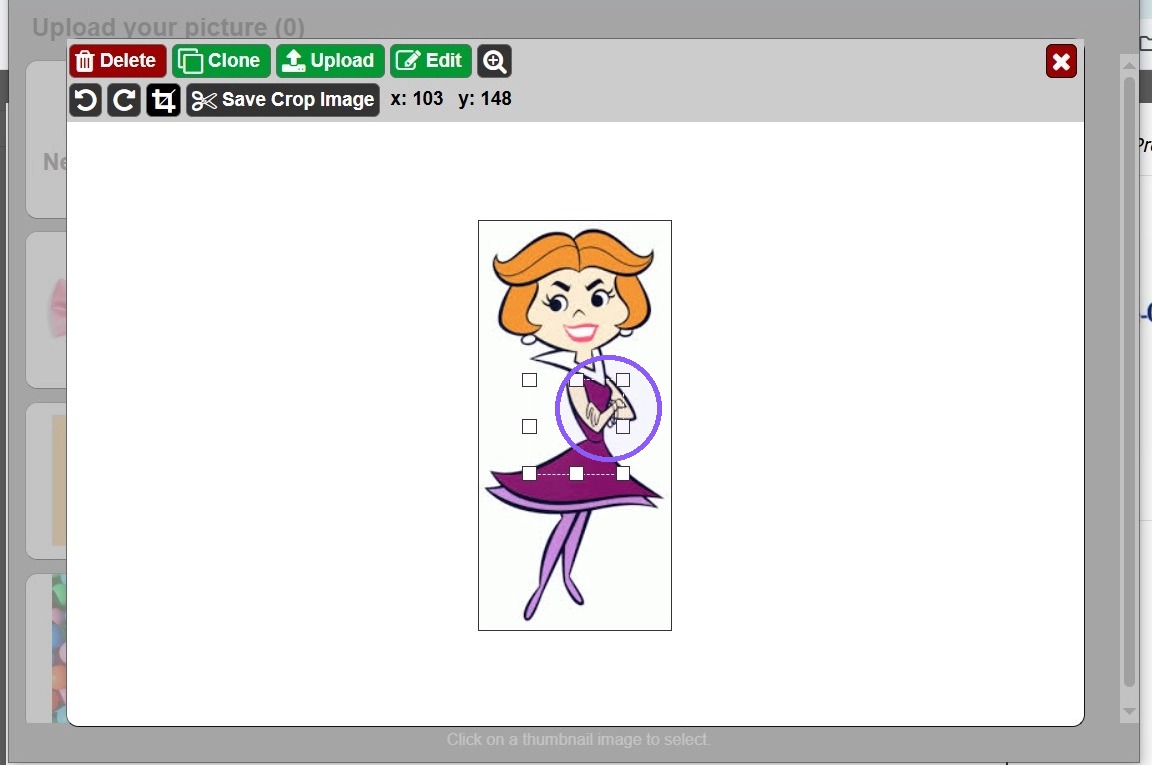
22. Once the crops marks have been set to the correct area, click Save Crop Image
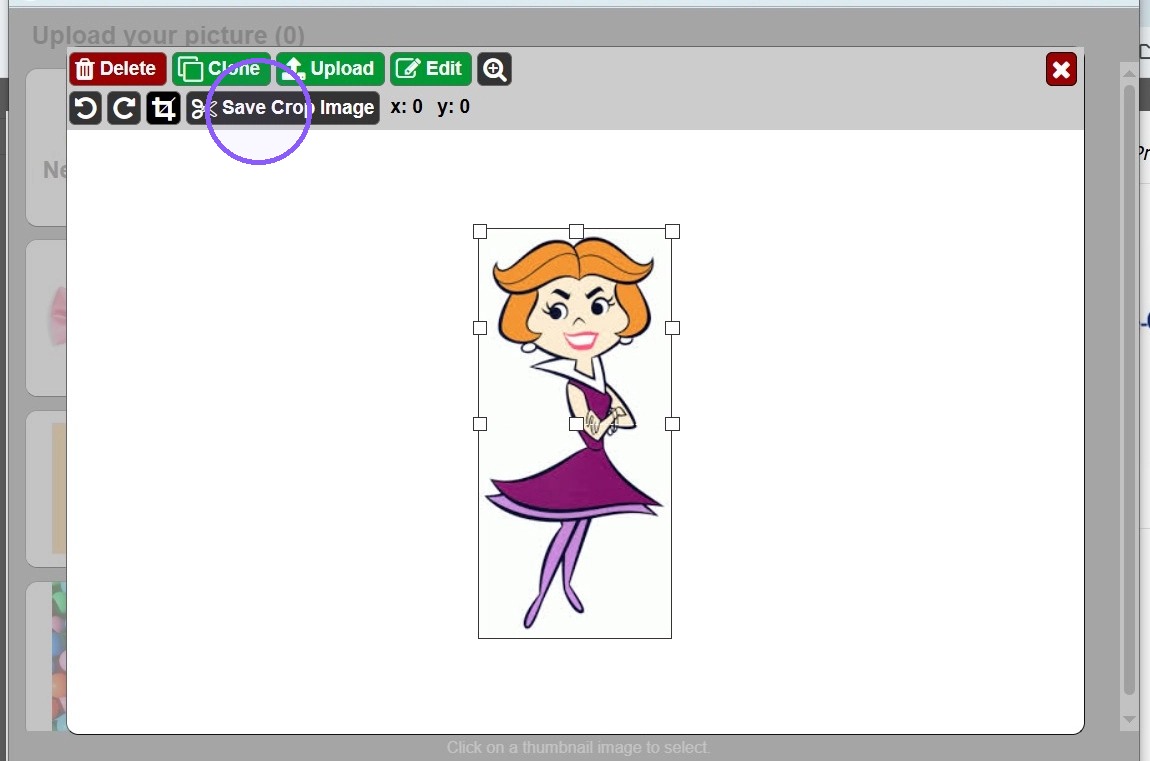
23. A message box will pop up to confirm crop and save the image , click YES
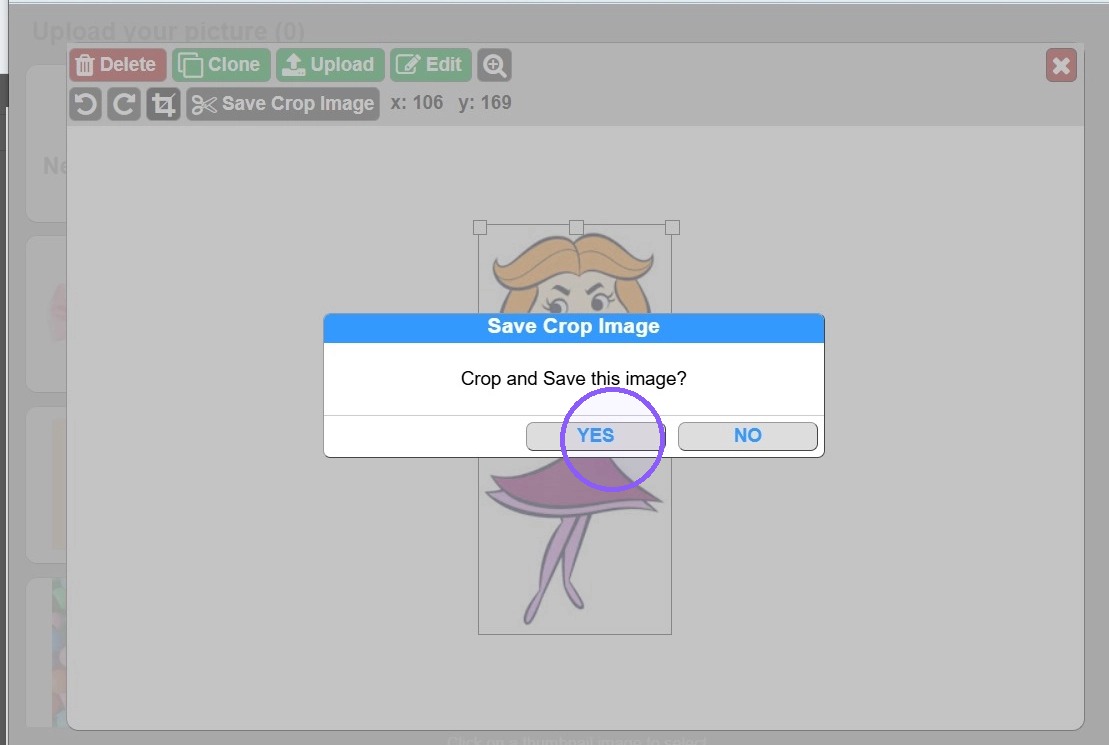
24. The new cropped image will appear , click Select Image if this is correct
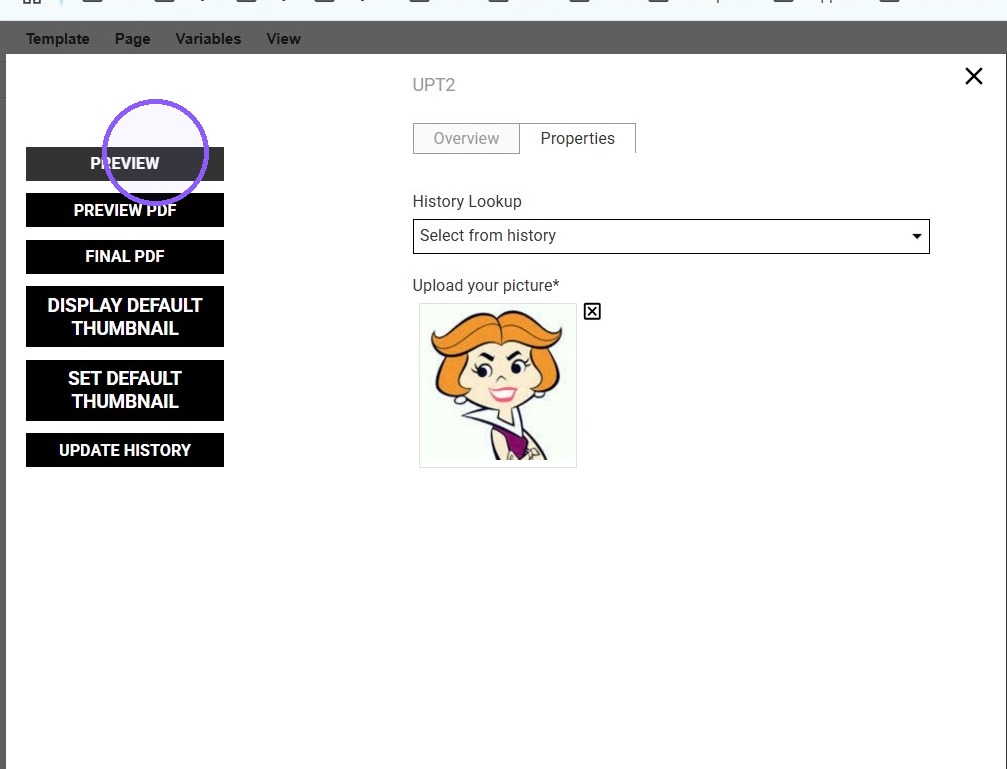
25. The new image will populate in the designated box. Click Preview to see the image applied to the template.
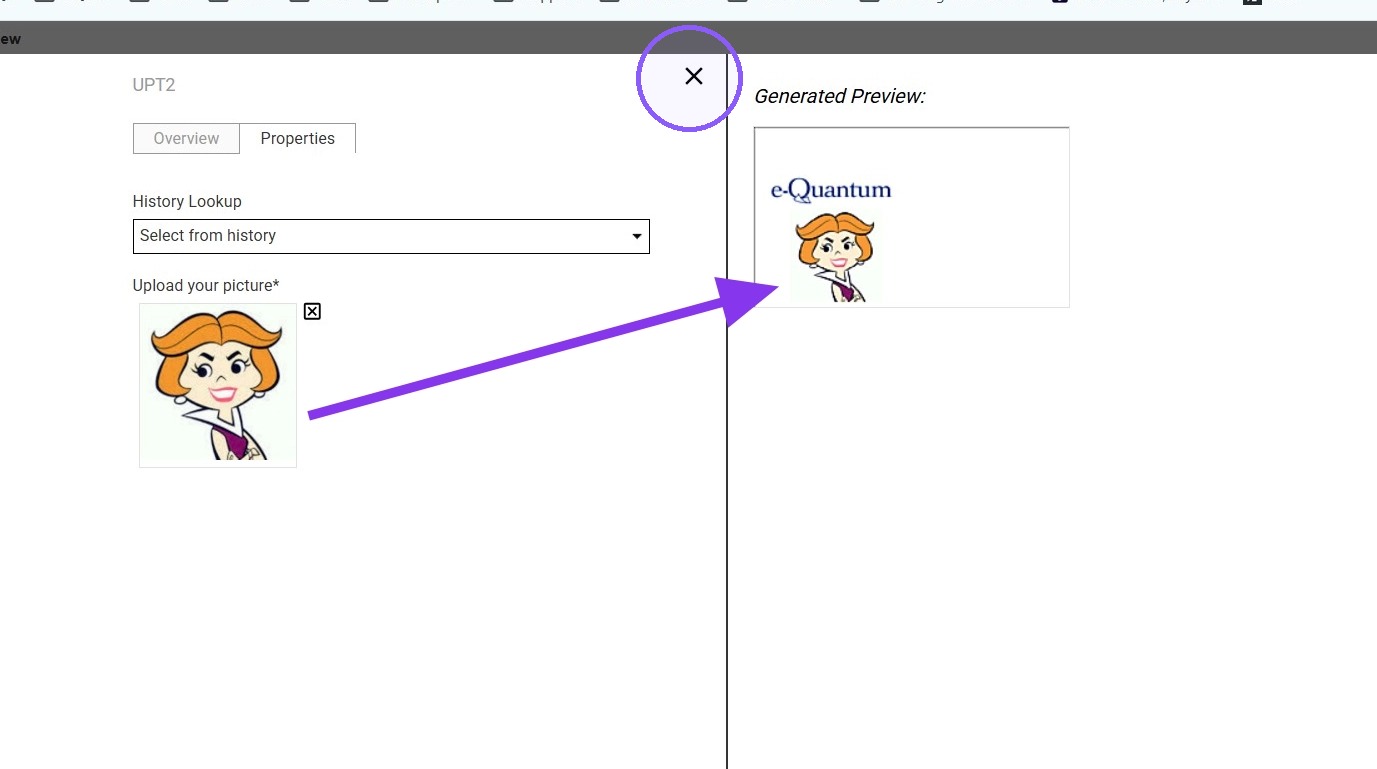
26. Confirm the image is working as expected, Click the X to exit the Test Template.
27. Save Changes