
EQD: Creating a Transfer Folder on a Mac
This guide offers a step-by-step approach to creating a transfer folder on a Mac. This will allow users to move file between the remote desktop and their Mac.
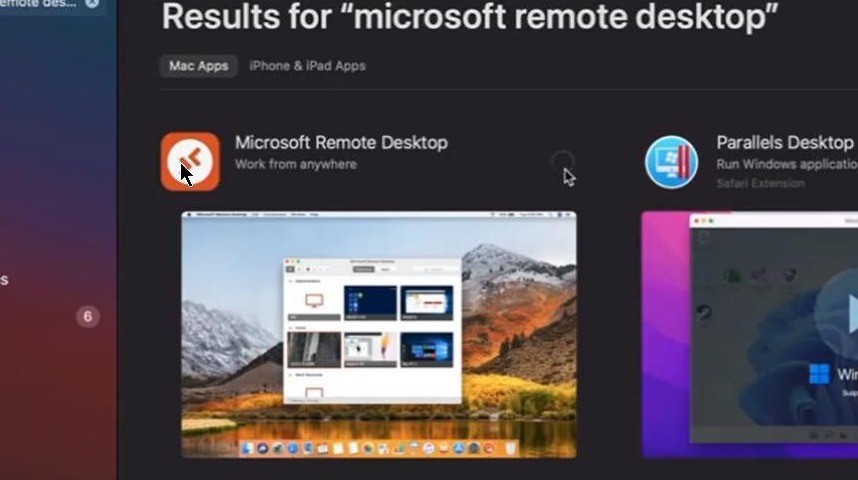
Alert: These steps are for the Microsoft Remote 10 app. If you are using a newer version of the remote desktop app these steps will differ.
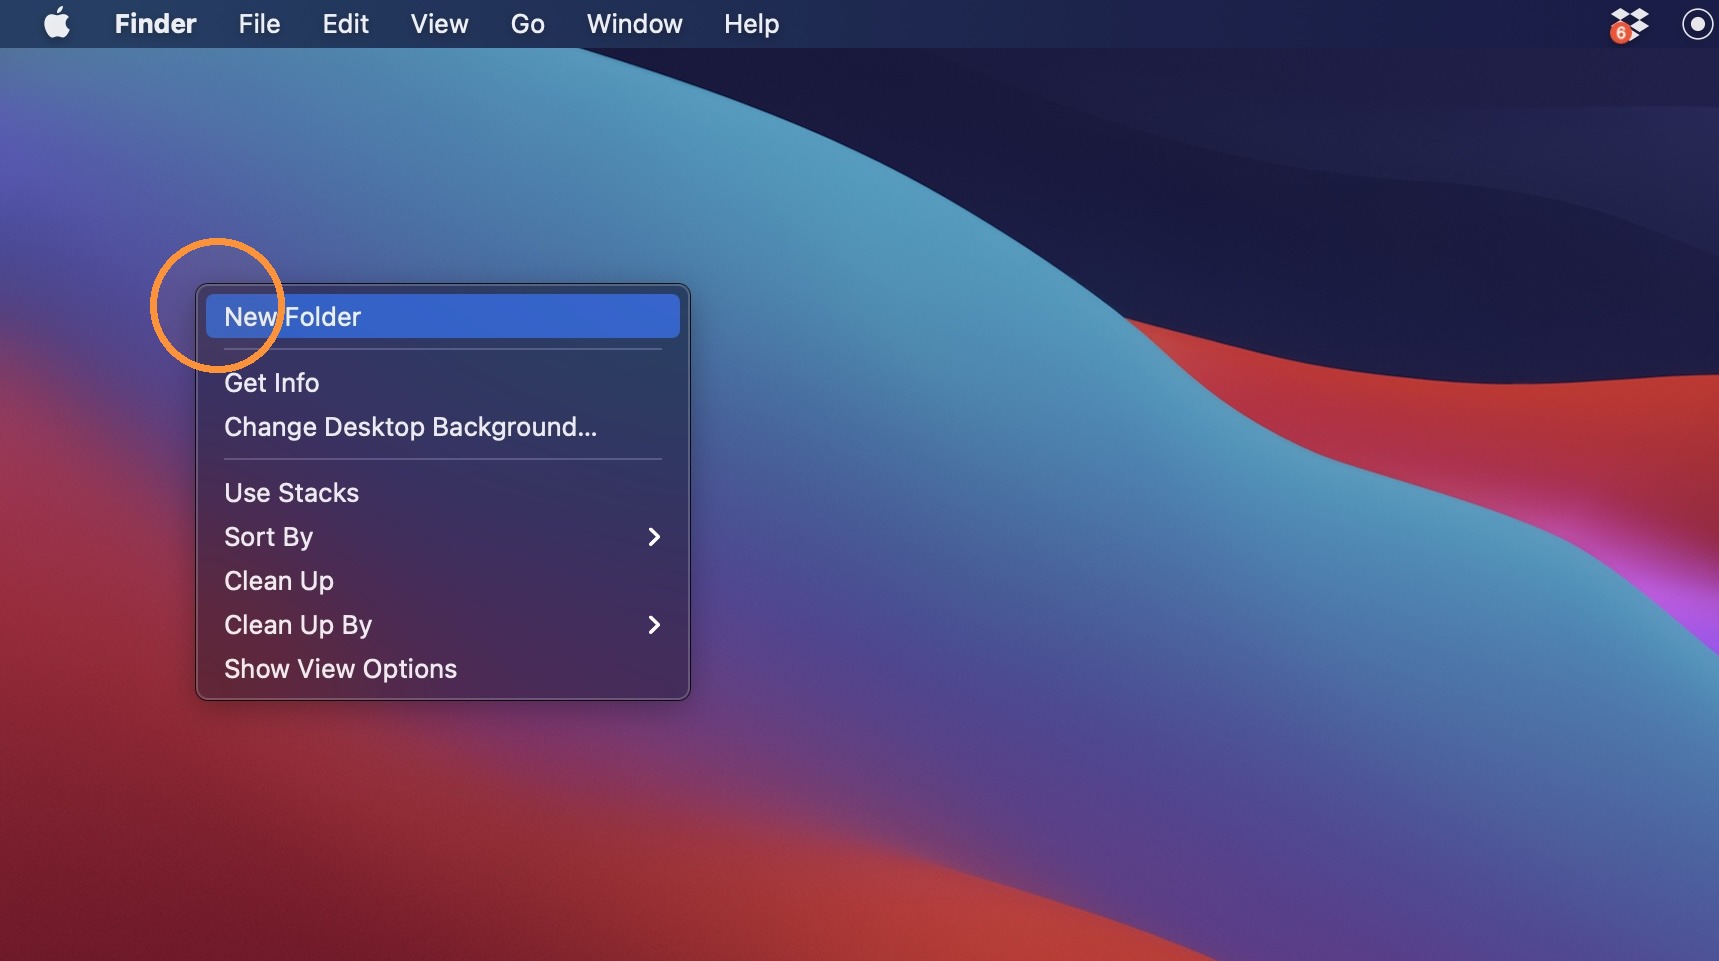
1. Create a folder on the desktop of the Mac.
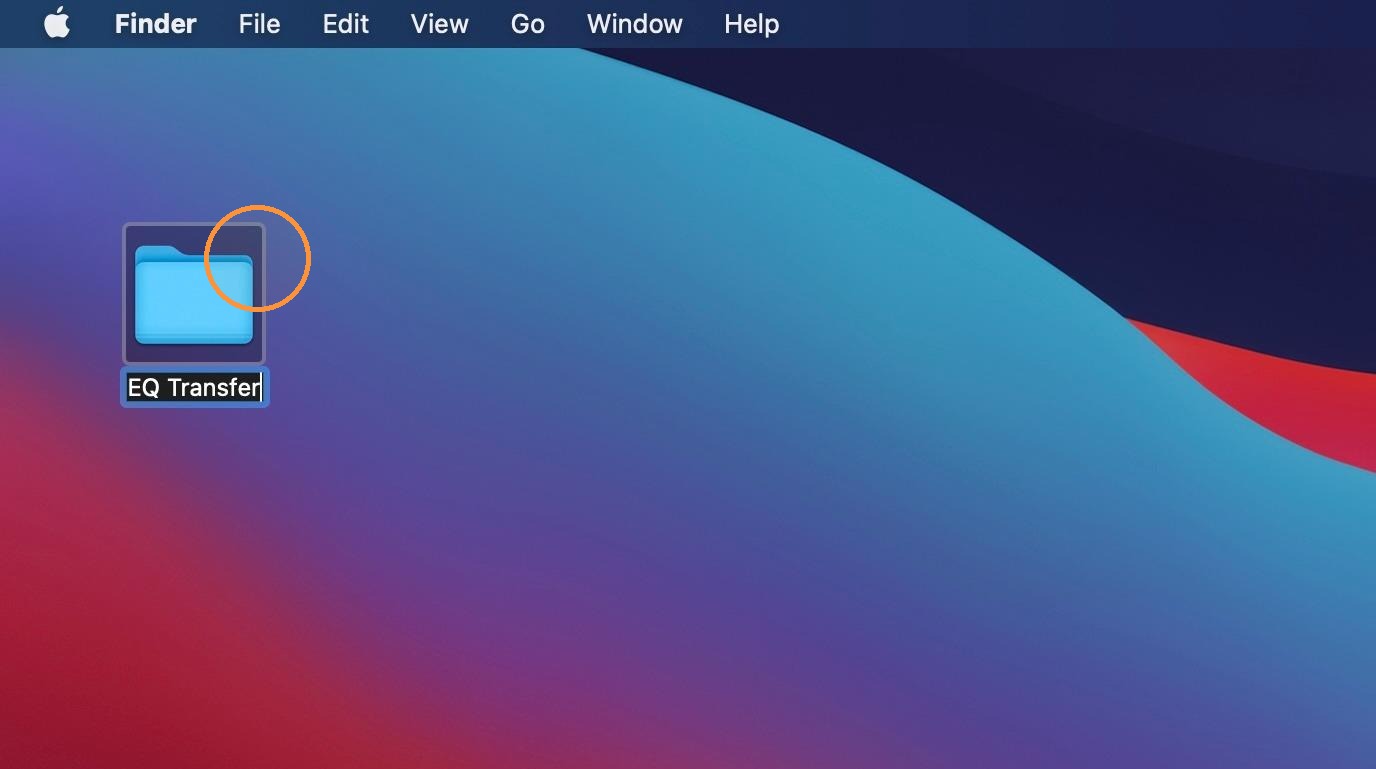
2. Name it something like "EQ Transfer"
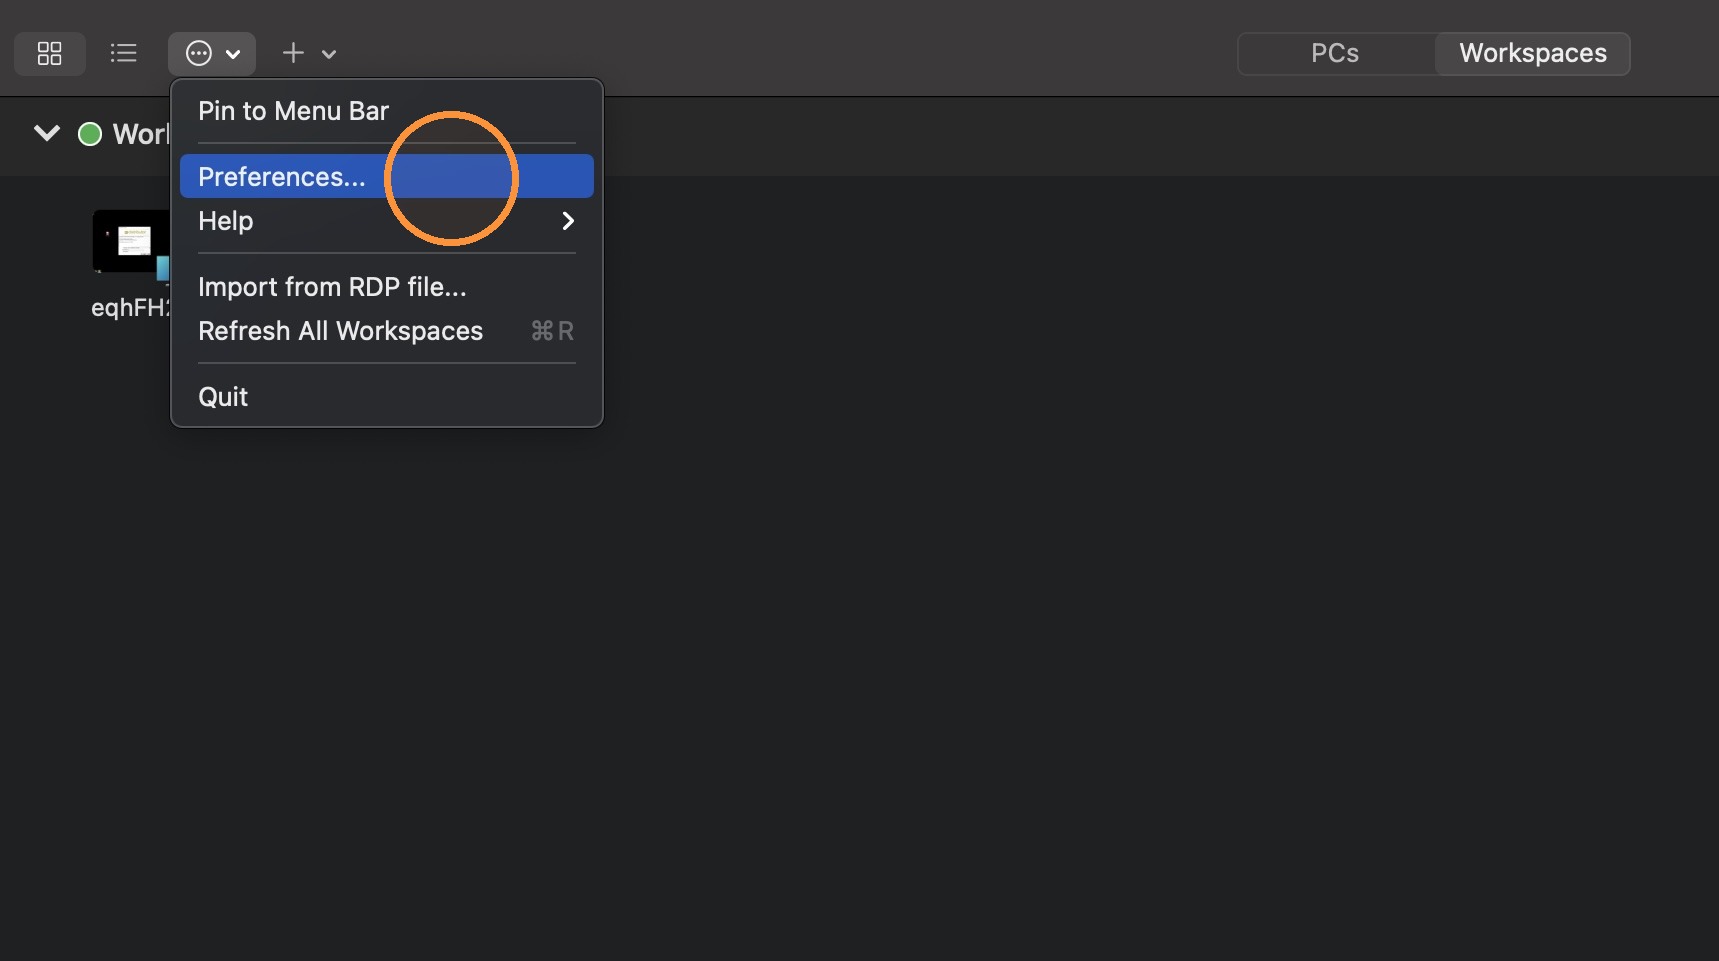
3. In the Microsoft Remote 10 app click the circle with 3 dots and then select "Preferences".
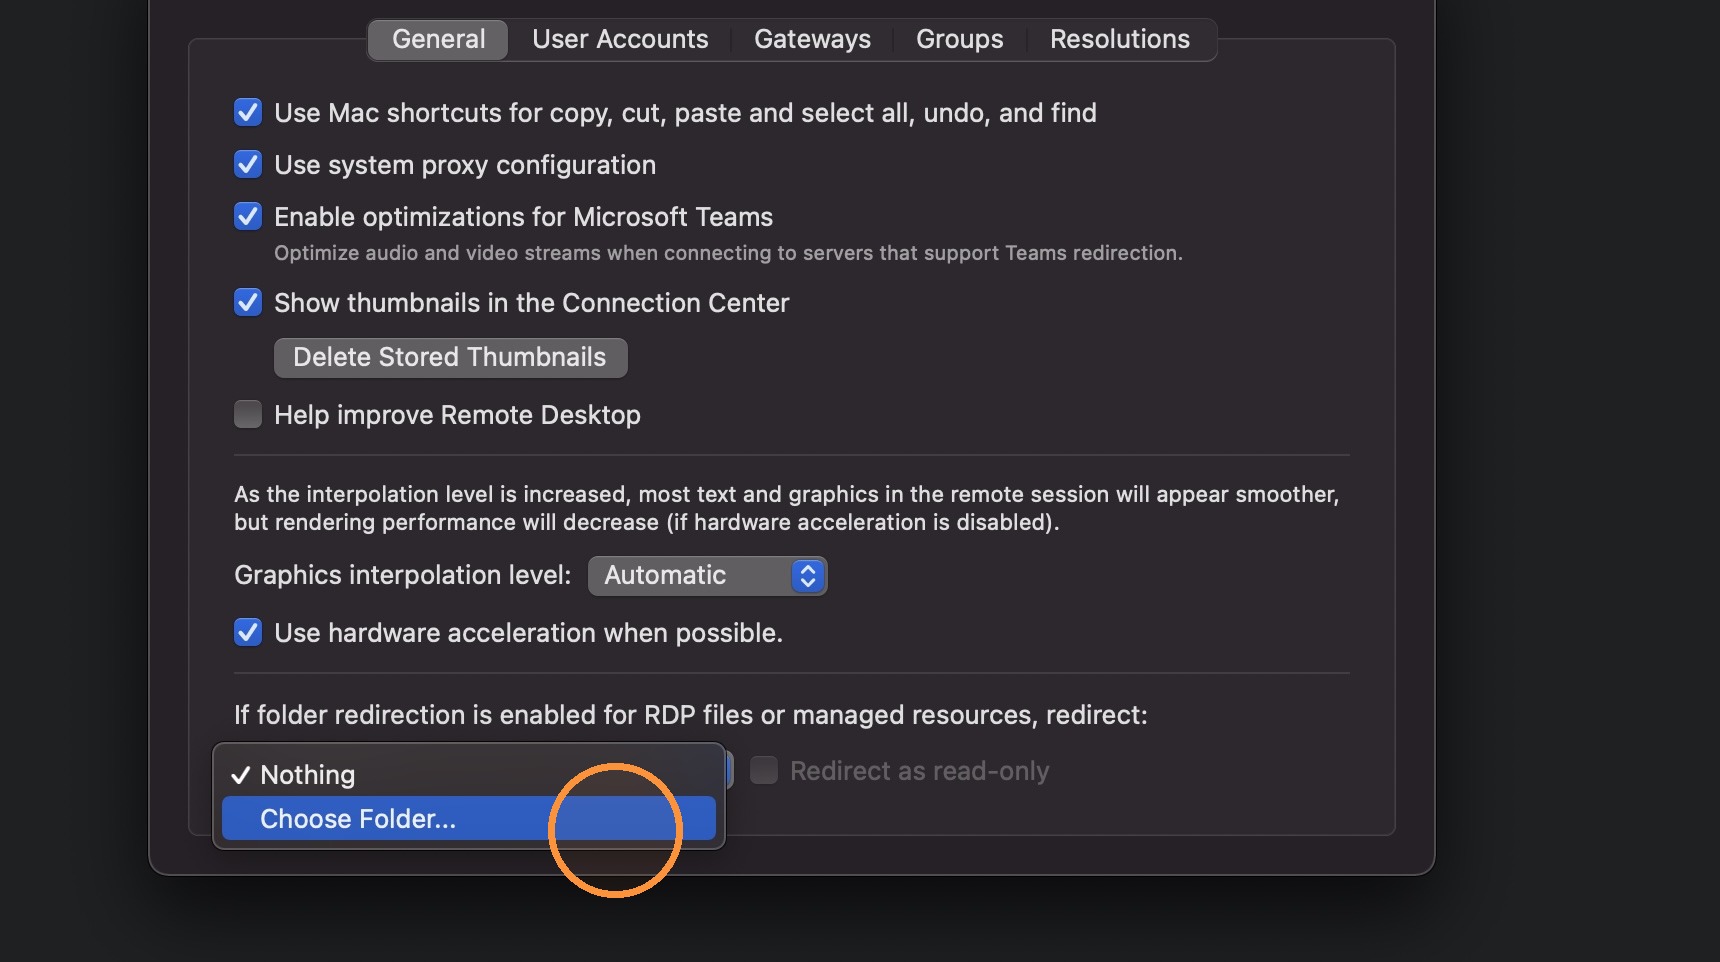
4. In the "General" tab there is a section at the bottom that says "If folder redirection is enabled for RDP files or managed resources, redirect:" Click the dropdown and select "Choose Folder".
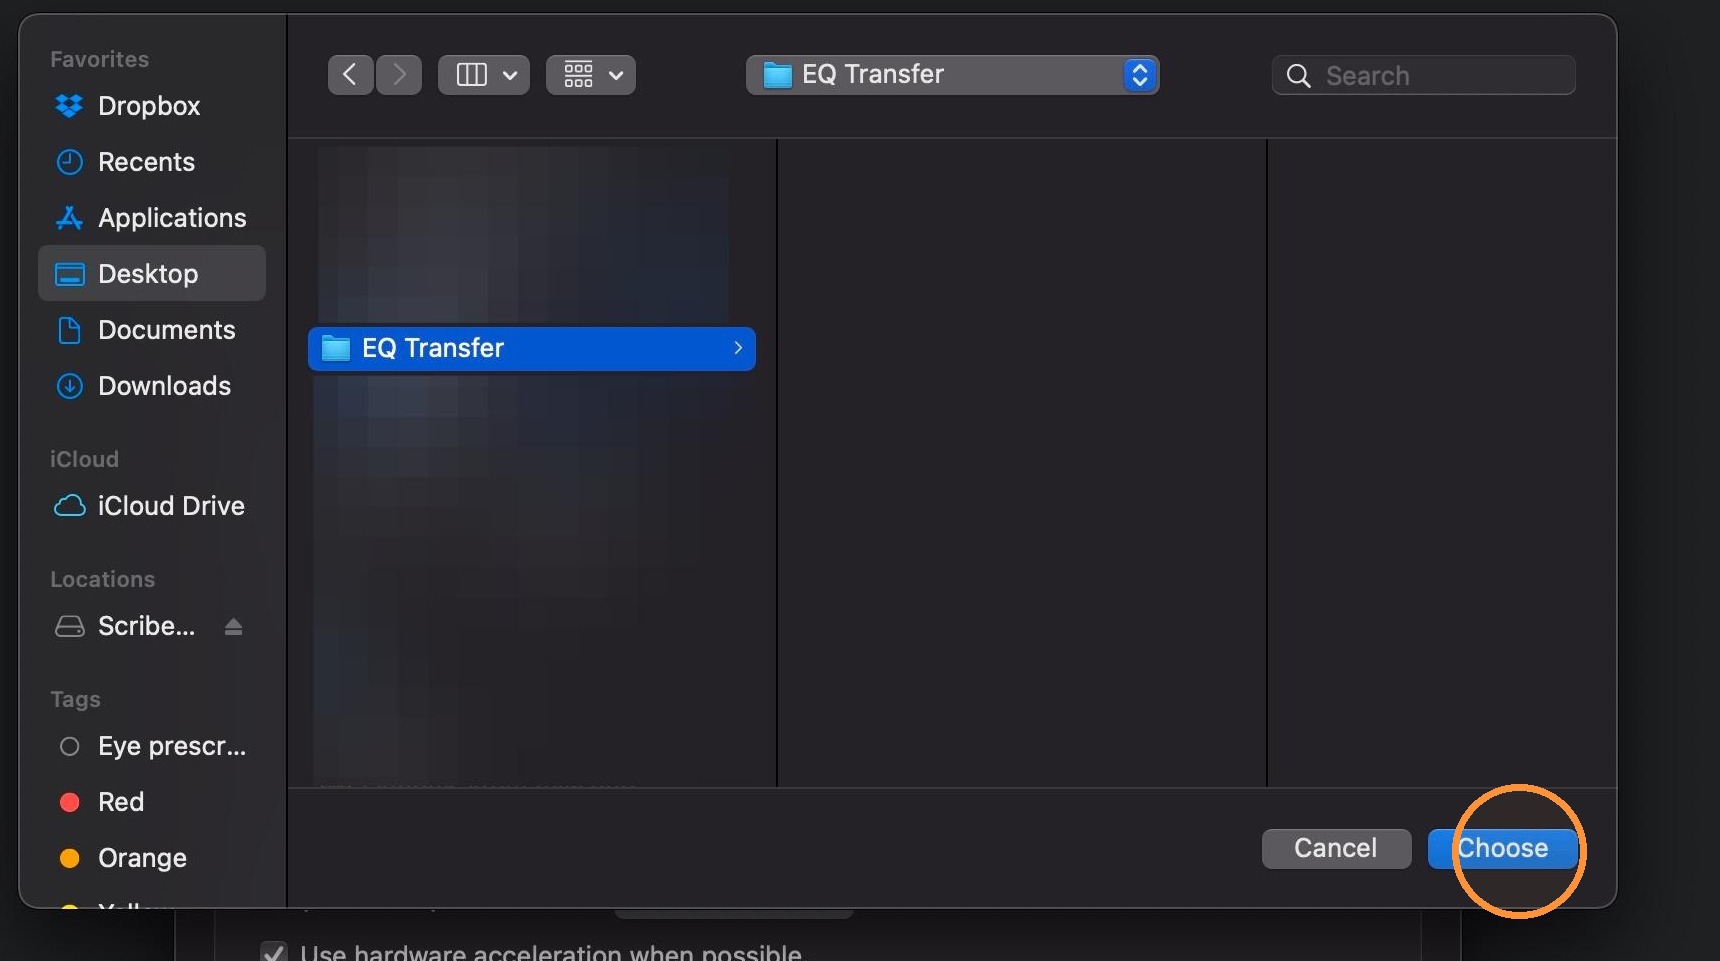
5. Browse to the "EQD Transfer" folder on your Desktop. Then click "Choose".
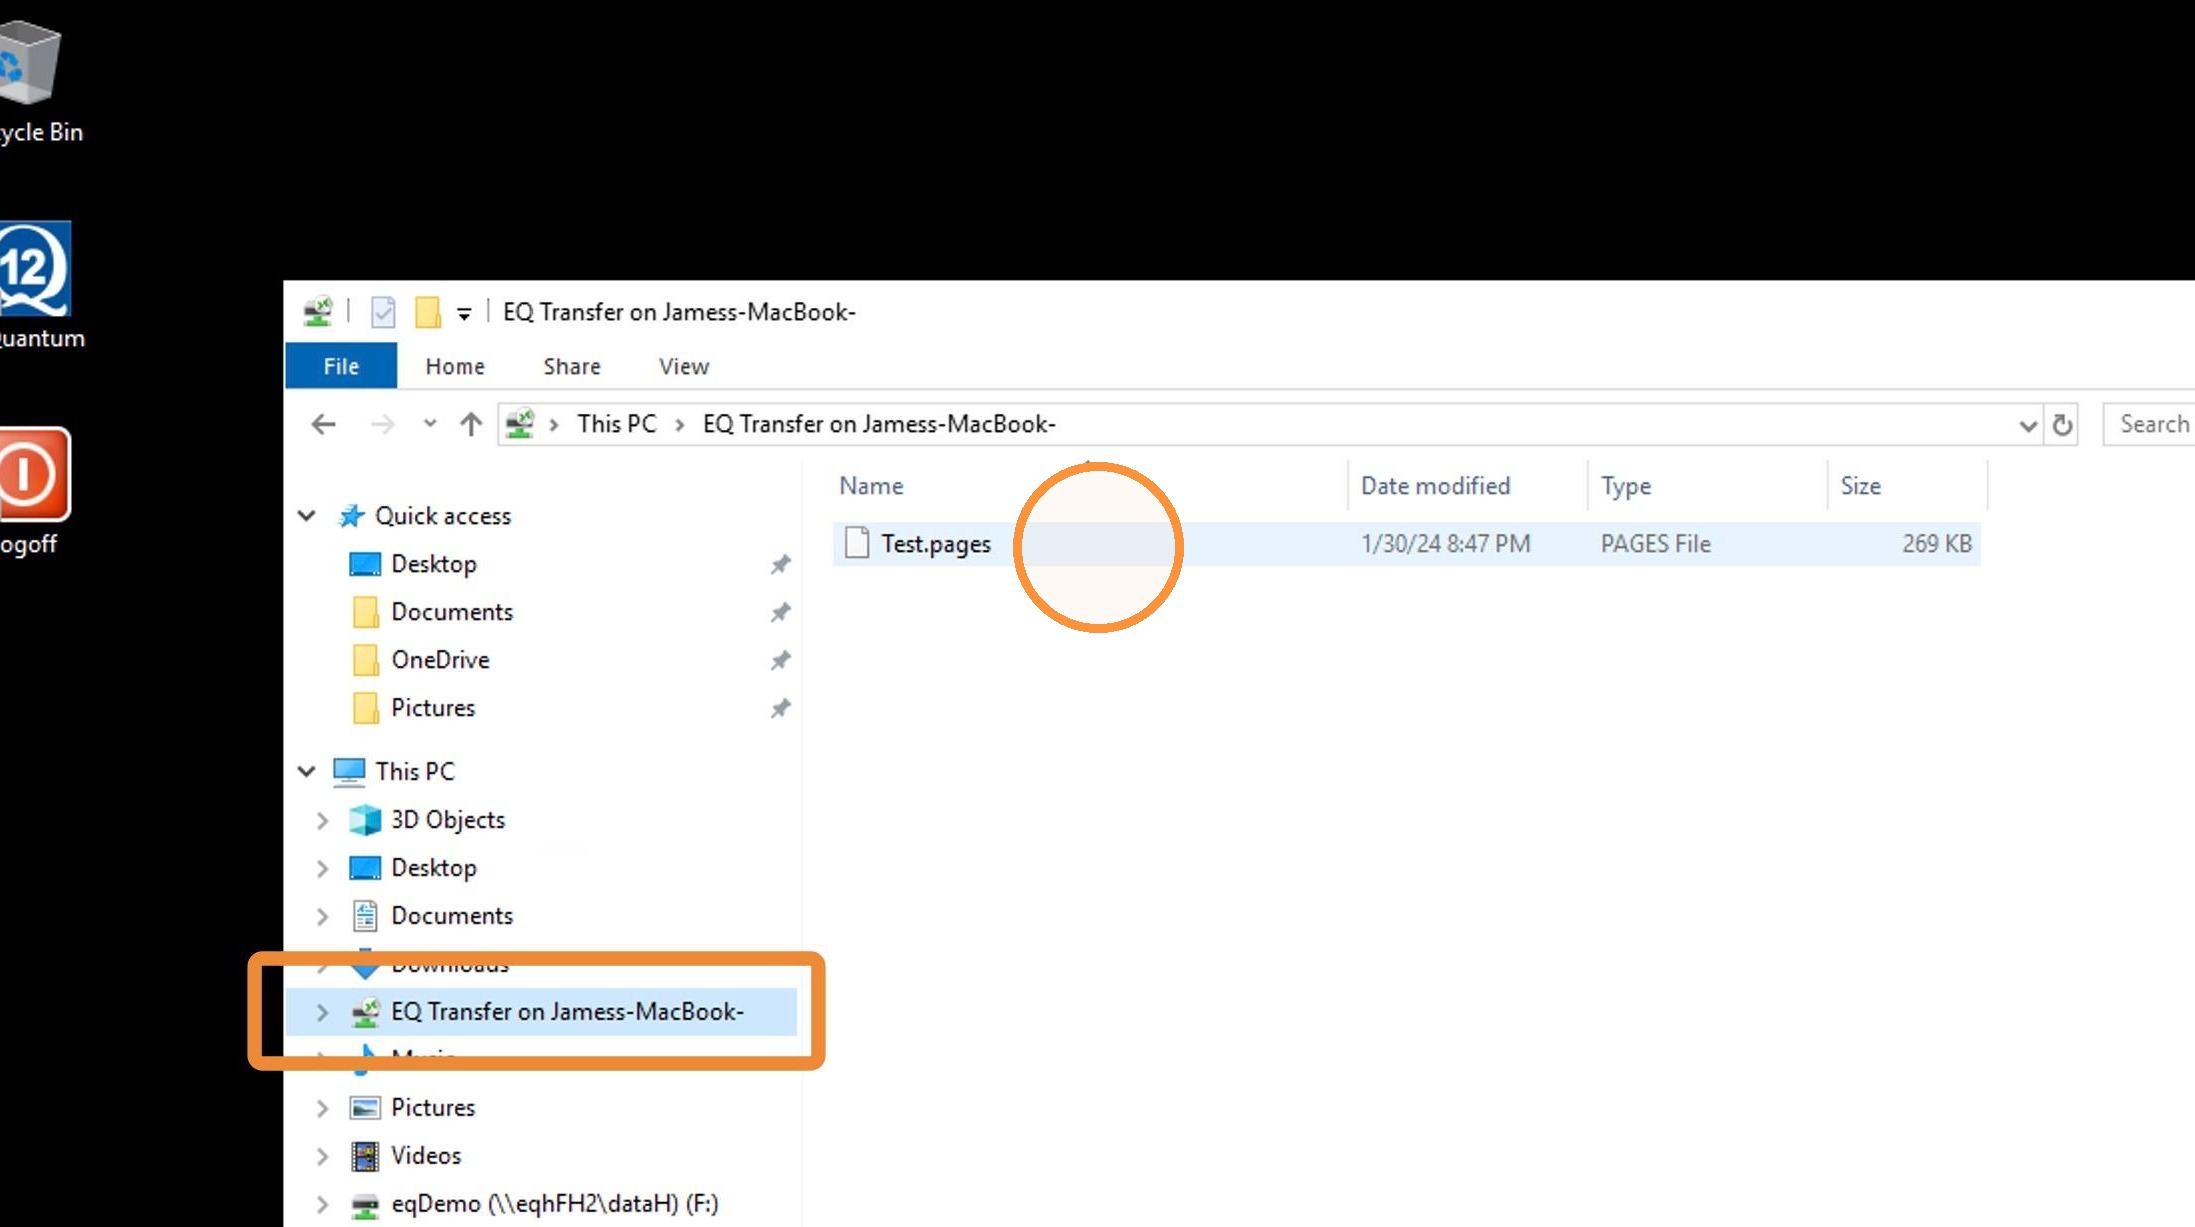
6. Once this is setup go to the EQD remote desktop then open the file browser (yellow folder on the taskbar) and click "This PC" you should see a mapped drive of the EQ Transfer folder. Right-click or 2 finger tap on the touchpad and select "pin to quick access". This will pin that to the left hand column.
Now any files in that folder will be available on the remote desktop and on the Mac.
Tip: If you have any questions feel free to contact DemandBridge support