EQD: Installing and Configuring Black Ice PDF Driver
This guide provides a straightforward step-by-step process for installing and configuring the Black Ice PDF Driver
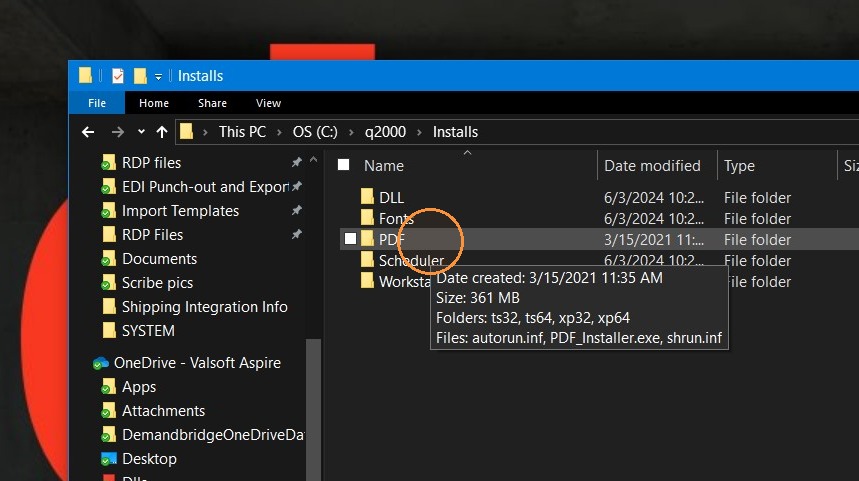
1. Go to: Q2000>Install>PDF. From the PDF folder double click on the PDF_Installer file to start the installation.
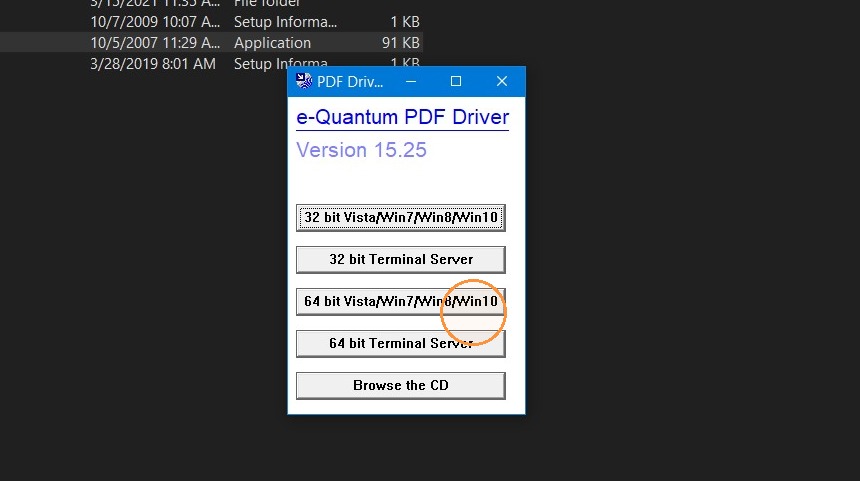
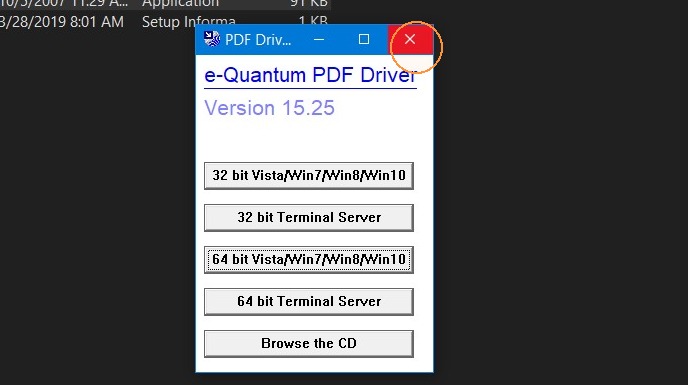
2. Click "64 bit Vista/Win7/Win8/Win10"
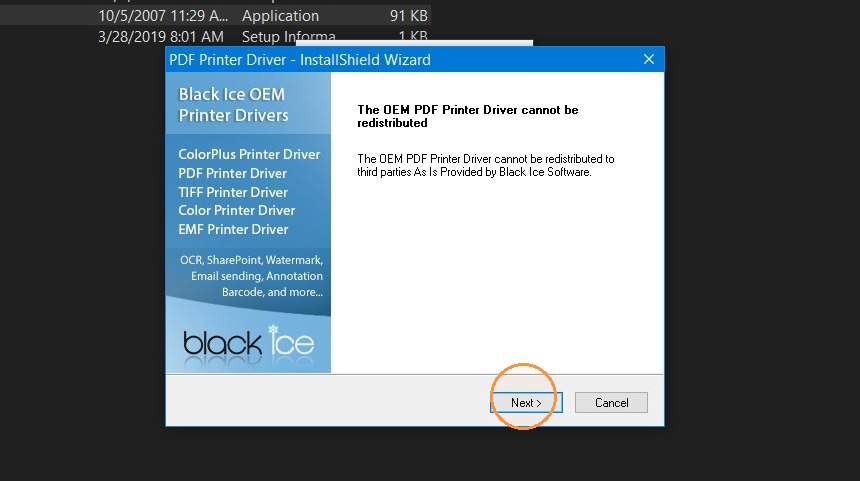
3. Click "Next >"
4. Click "Next >"
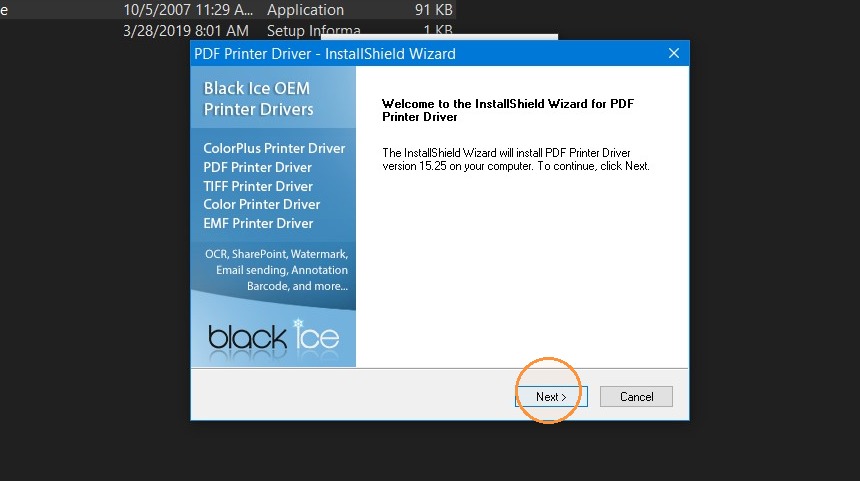
5. Click "Next >"
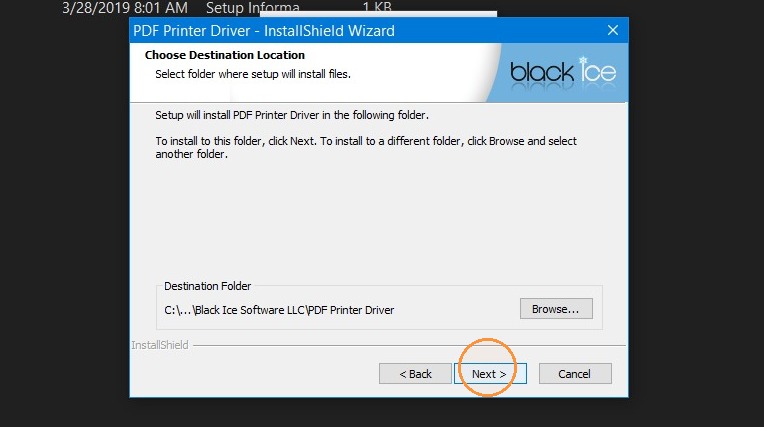
6. Click "Next >"
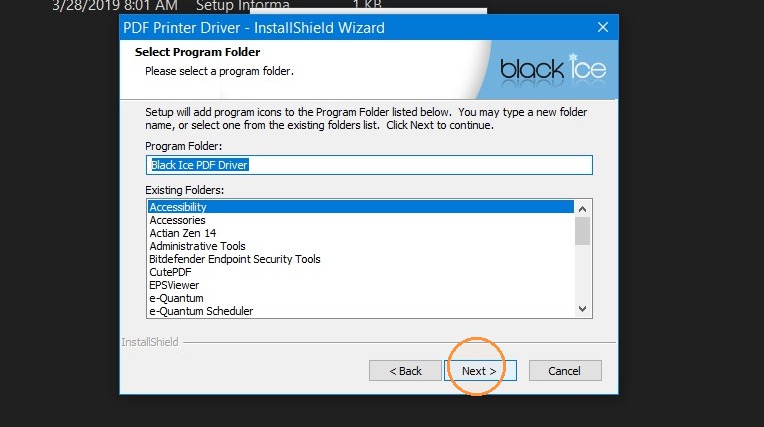
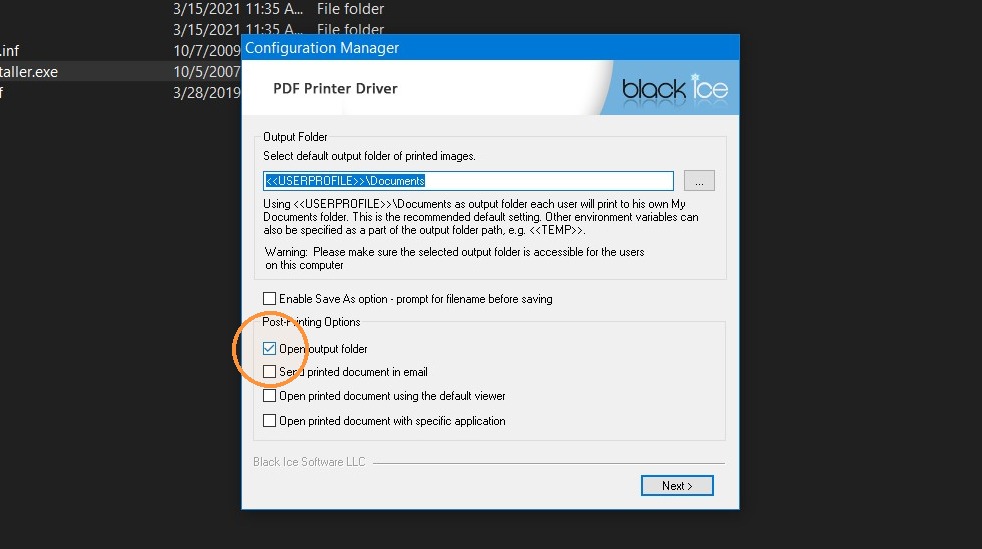
7. Uncheck "Open output folder" then click next.
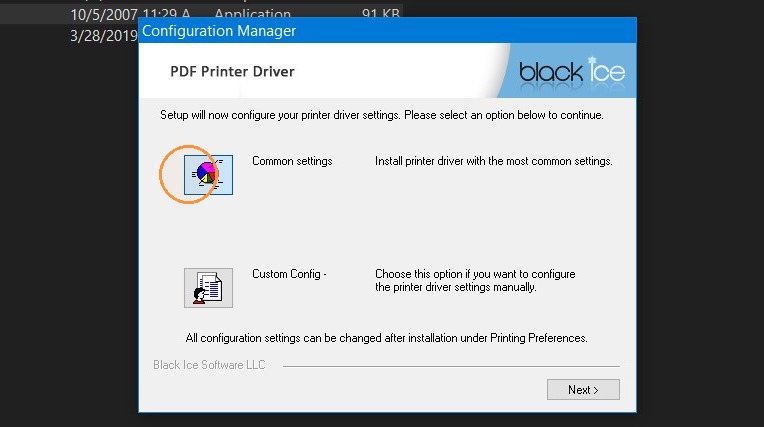
8. Click "Common Settings" then "Next".
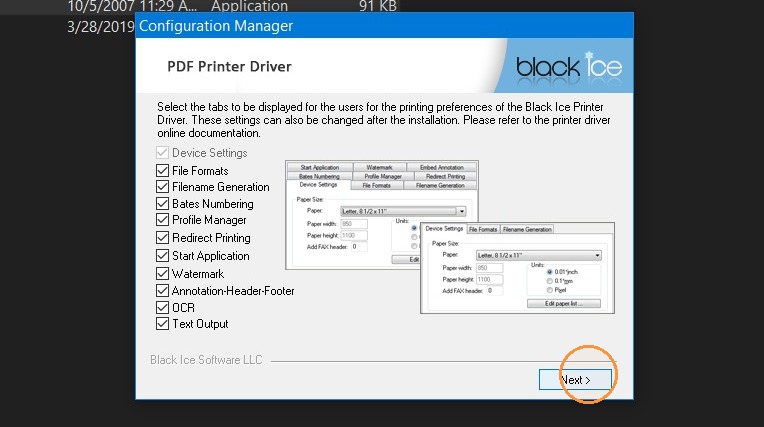
9. Leave all boxes checked then Click "Next >"
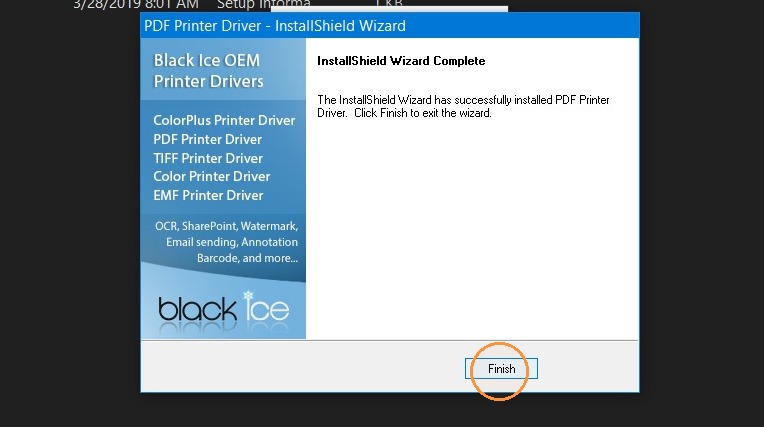
10. Click "Finish"
11. Click "Close"
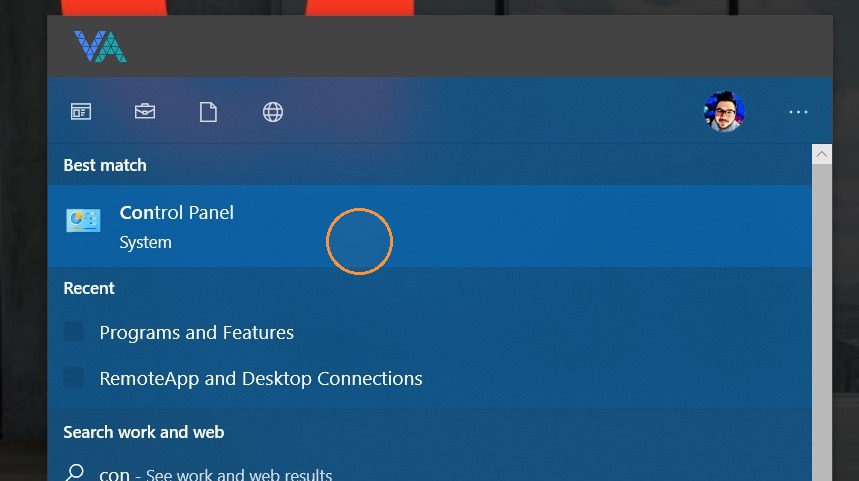
12. Go to the "Control Panel"
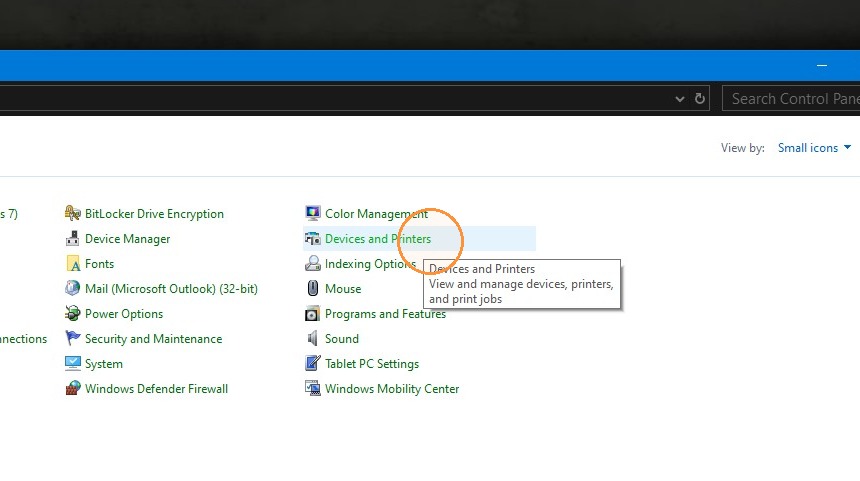
13. Click "Devices and Printers"
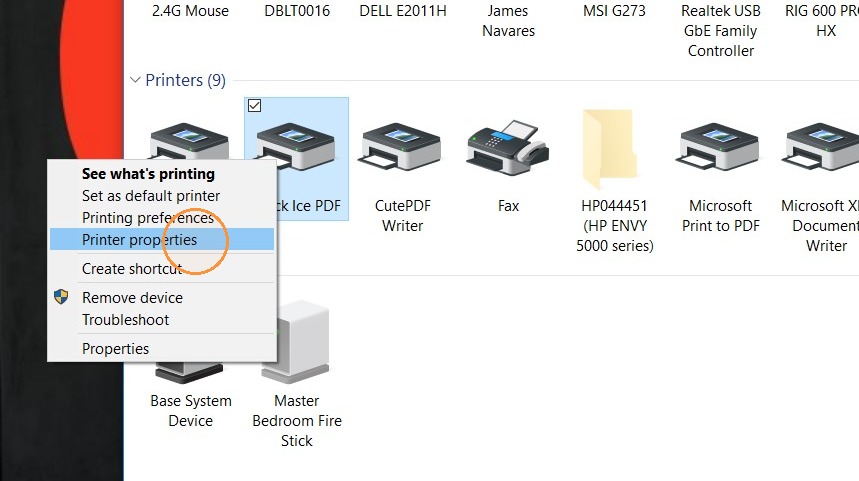
14. Right click "Black Ice PDF" then click "Printer Properties".
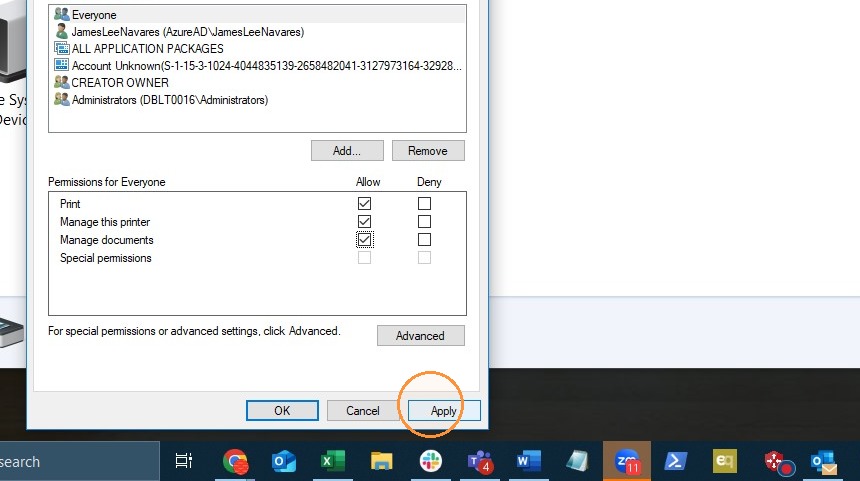
15. Go to the security tab and make sure all users have Print, Manage this Printer, and Manage Documents checked. Then click "OK"
Alert: If you are installing the server version of Black Ice you will need to change the printer name and remove the word "server" so that it reads Black Ice PDF. This can be done by right-clicking on the printer and selecting "Printer Properties" and changing the name.
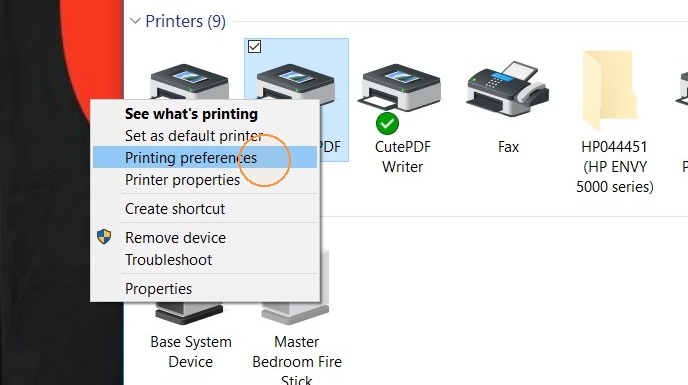
16. Go back to "Devices and Printers" Right-click on the Black Ice PDF Printer and choose "Printing preferences".
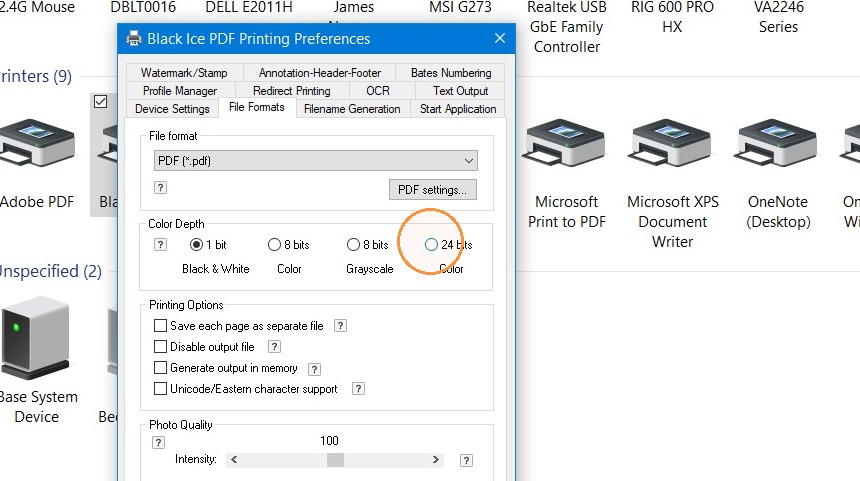
17. Look and the File Formats tab and select "24 bits Color"
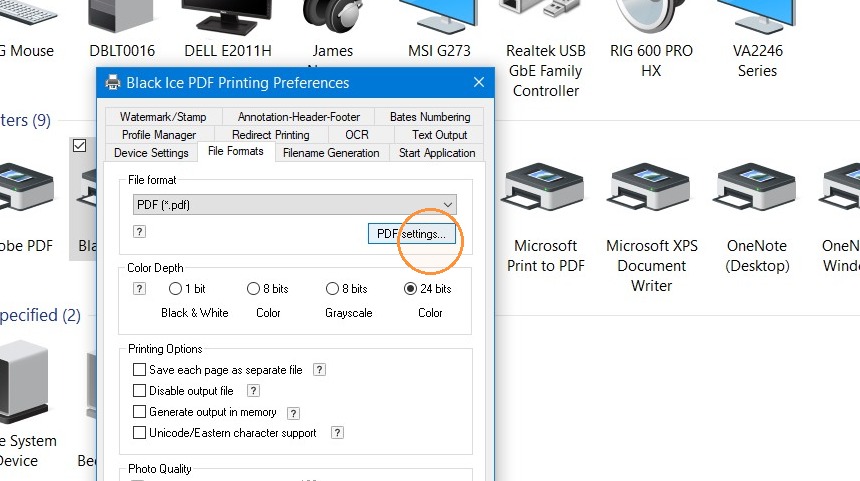
18. Also in the File Formats tab click PDF settings.
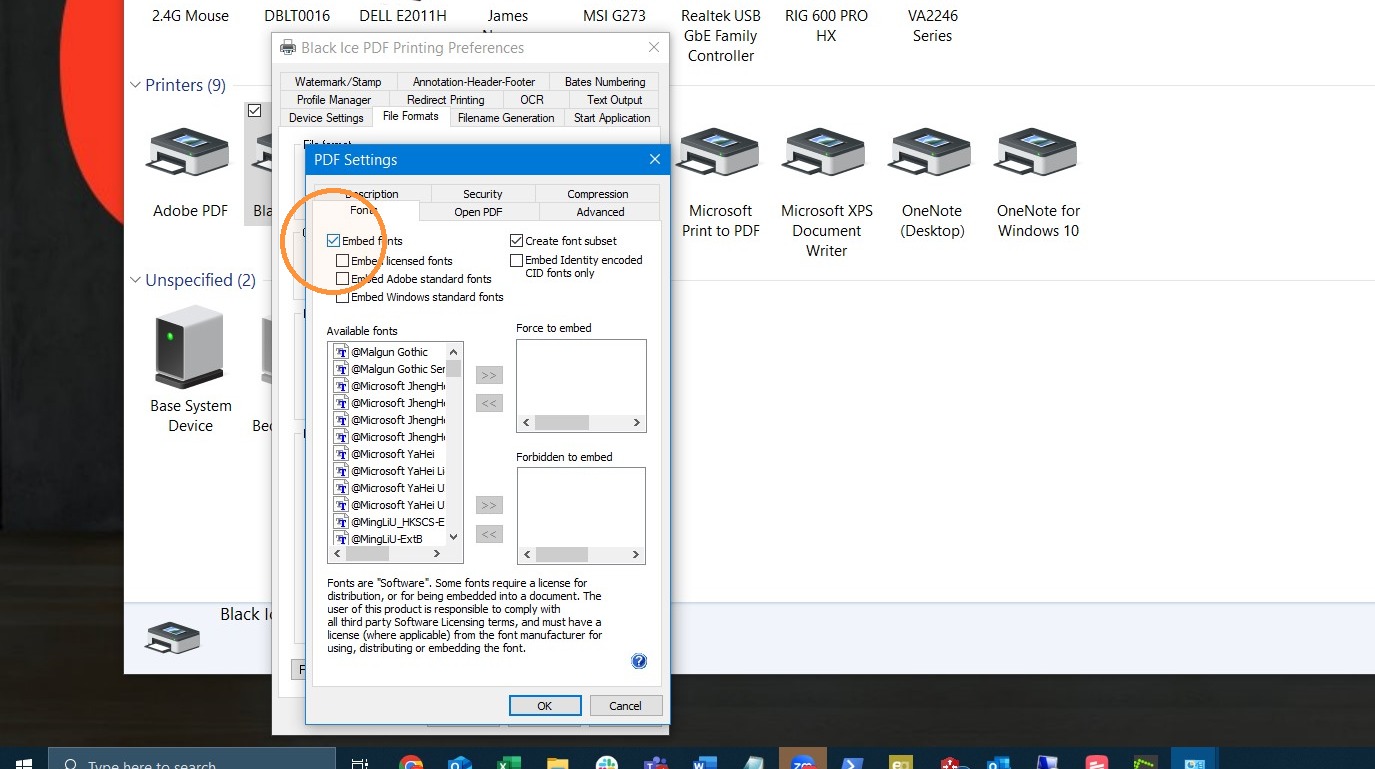
19. Click the "Fonts" tab.
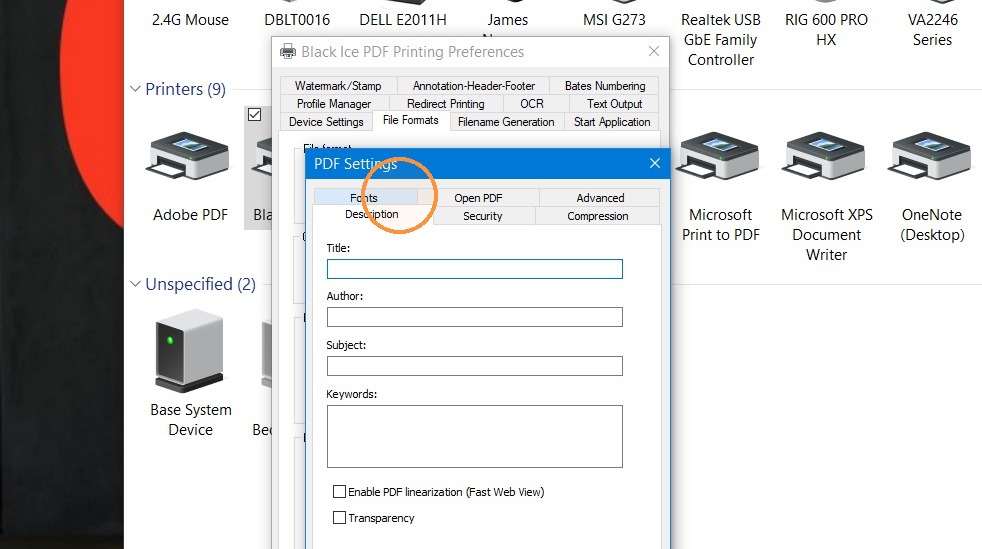
20. Uncheck"Embed fonts" Then click "OK".
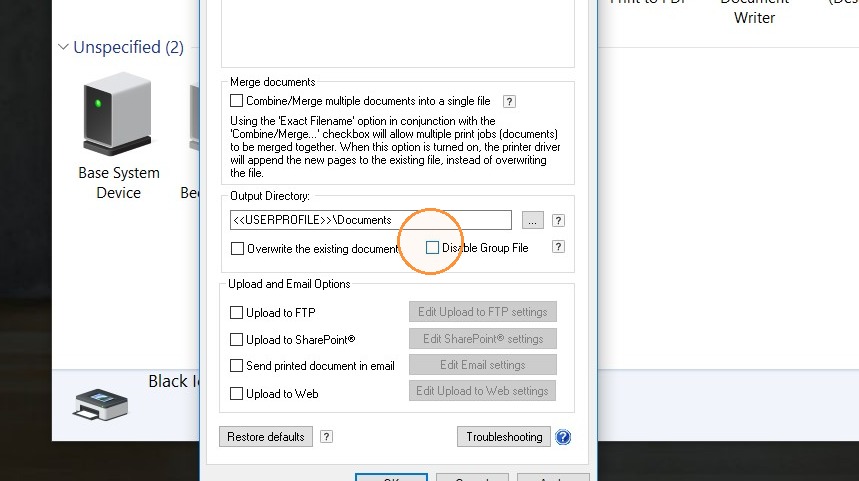
21. Click the Filename Generation tab and check "Disable Group File".
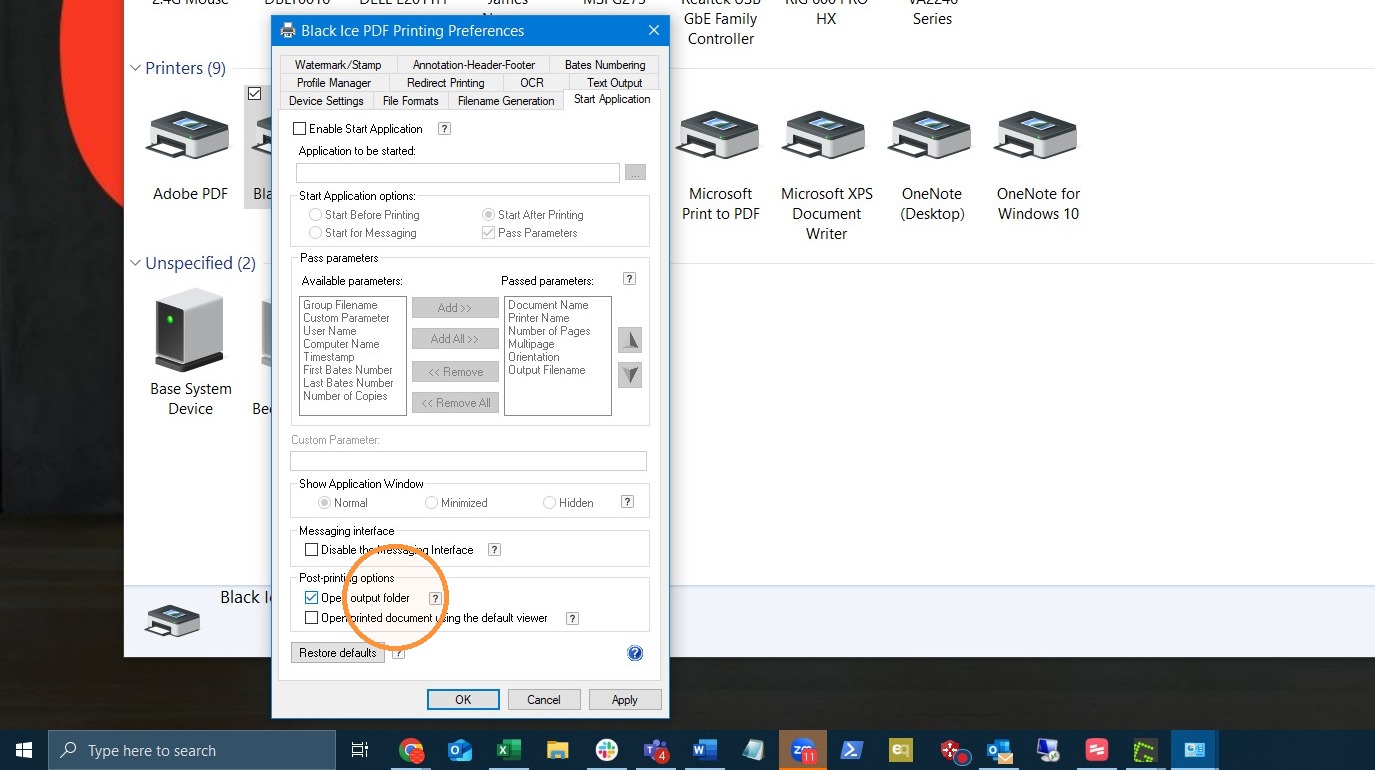
22. If you forgot to uncheck "Open output folder" during the install you can go to the "Start Application" tab and uncheck it.
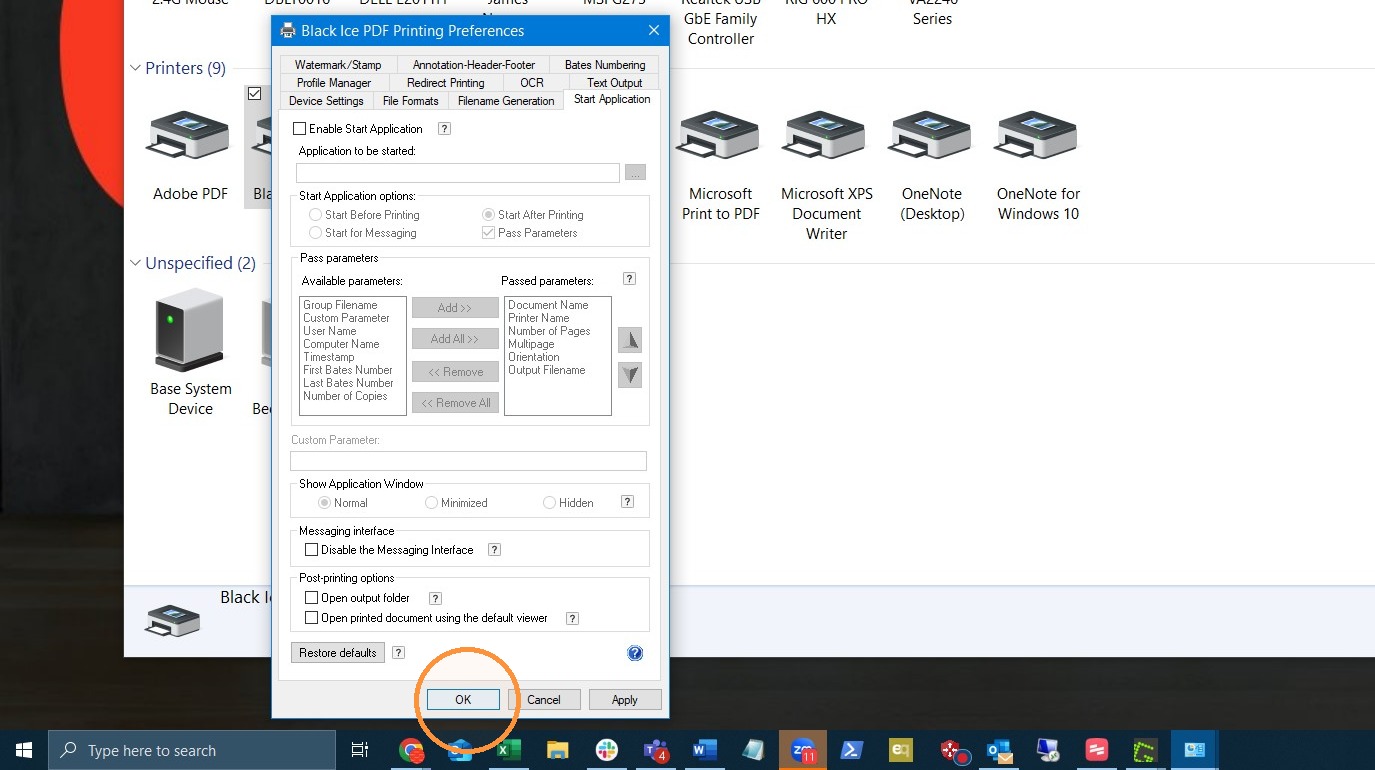
23. Click "OK" and the setup it done!
Tip: If you have further questions, reach out to Demand Bridge support.