EQd: Receipt Applied to the Wrong Customer (Shows as an On-Account Amount)
If a receipt was applied to the wrong customer and not applied to an invoice, it will appear as an On-Account amount. To correct this, follow the instructions below based on whether the receipt has been posted to the General Ledger.
Alert: Note: This process was created in a test environment. The information selected is for training purposes only and will not match the data you will use in your company's system.
**Scenario 1: Receipts (AR) Not Posted to the General Ledger**
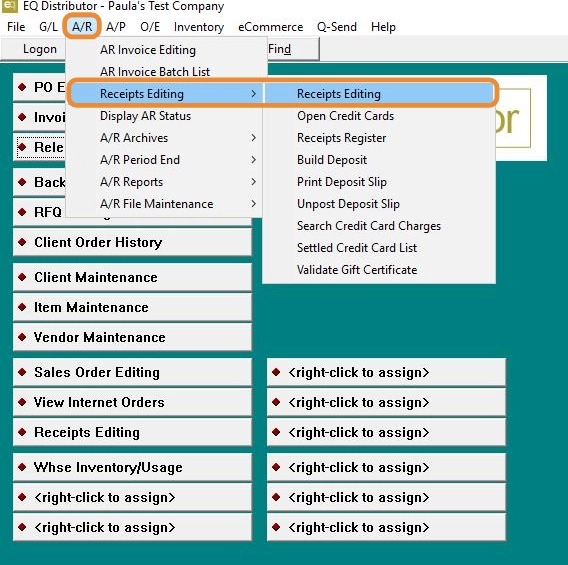
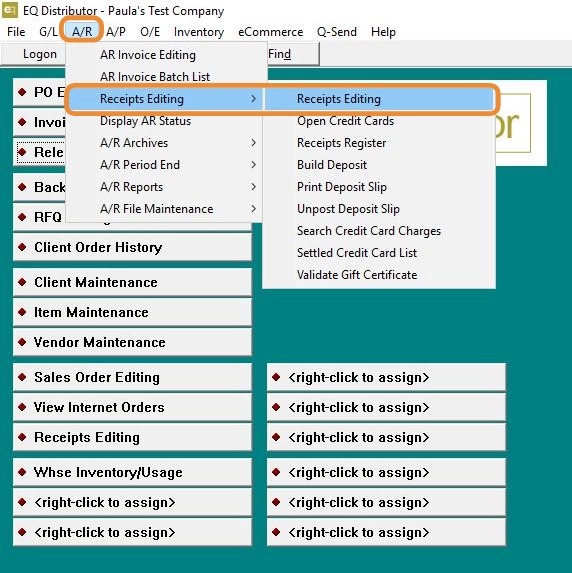
1. Go to A/R > Receipts > Receipt Editing
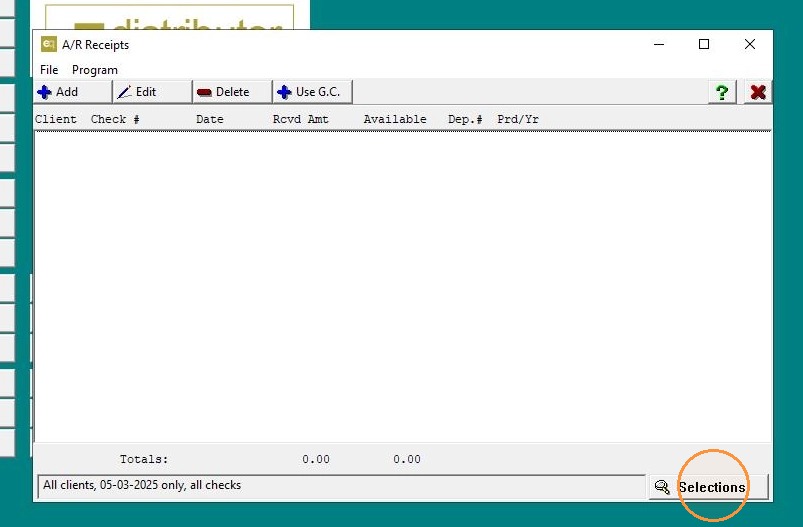
2. Click the Selections button (bottom right).
3. Enter the Client ID, select All Dates, All Checks, and Open Receipts Only.
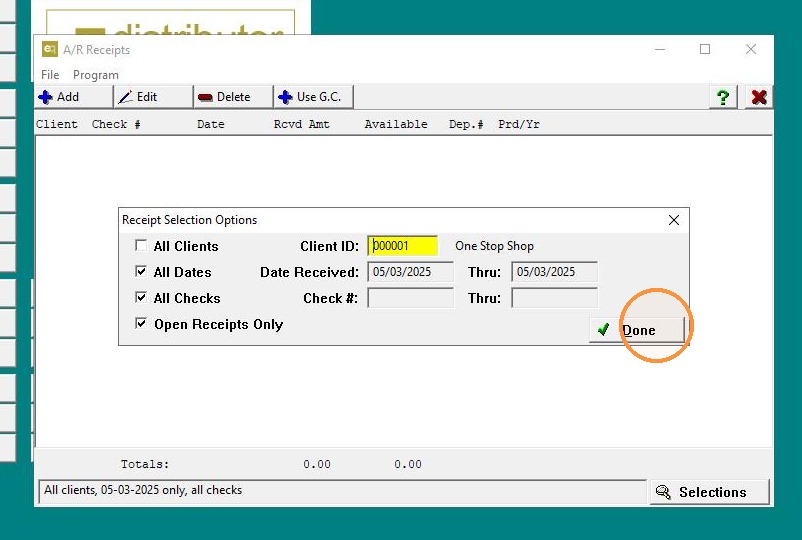
4. Click "Done".
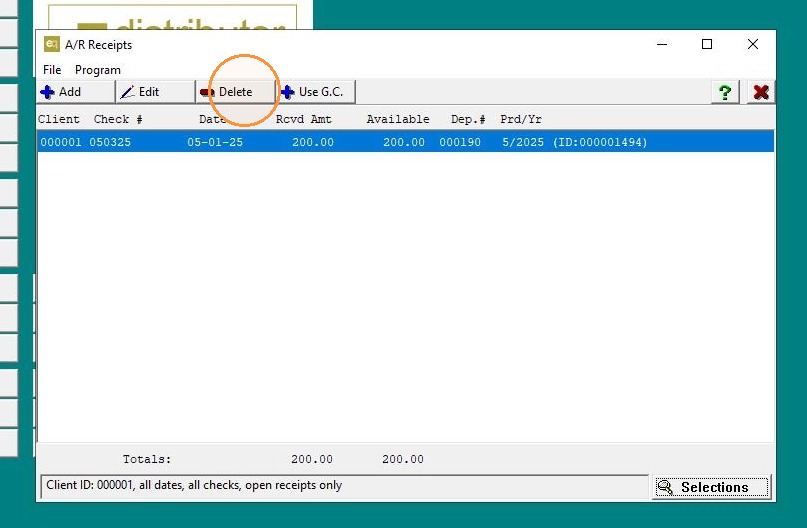
5. ### Important Step: Handling Receipts on a Deposit
-
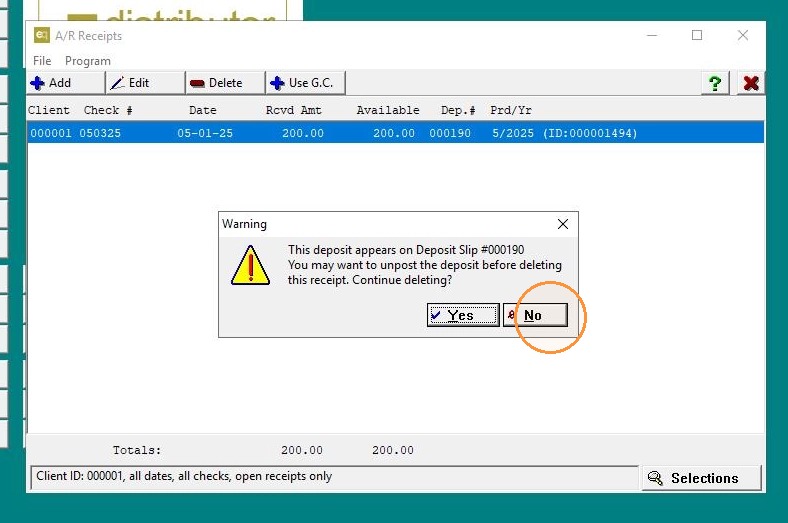
If the receipt is on a deposit, you will receive a pop-up message notifying you.
-
When prompted, select "No" to avoid deleting the receipt immediately.
-
Then, go to remove the receipt from the deposit.
- This ensures it is also removed from your check reconciliation.
-
⚠️ Note: If you delete the receipt without first removing it from the deposit, it will remain on your check reconciliation under the Deposit tab.
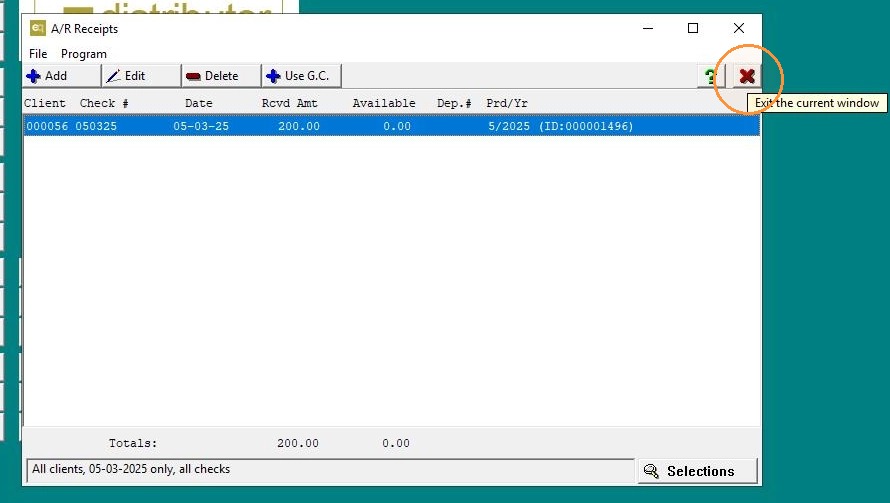
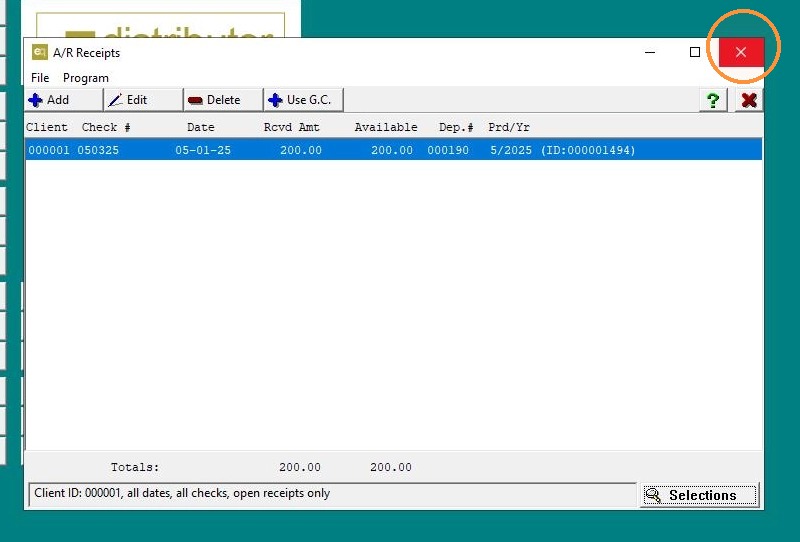
6. Click "Exit"
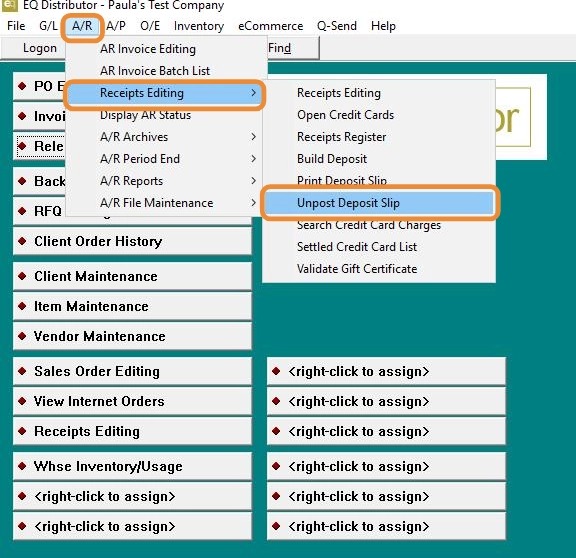
7. Go to A/R > Receipts > Unpost Deposit Slip
8. Go to the drop-down box, locate the receipt, and select it.
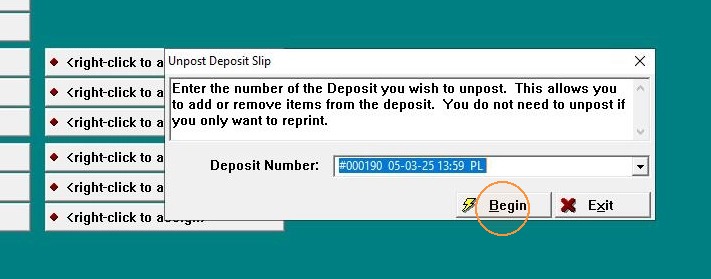
9. Then click "Begin" to unpost the receipt from the deposit.
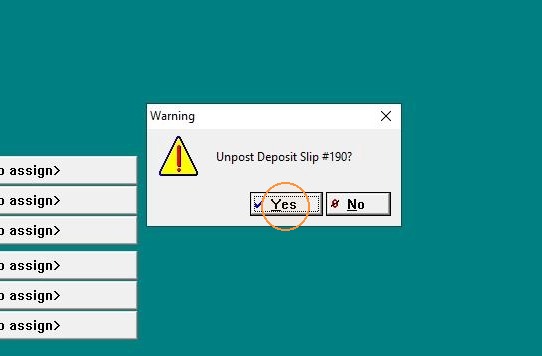
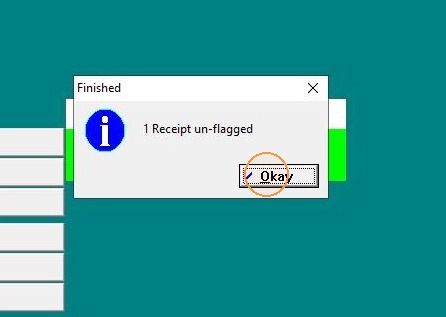
10. Click "Okay"
11. Go to A/R > Receipts > Receipt Editing
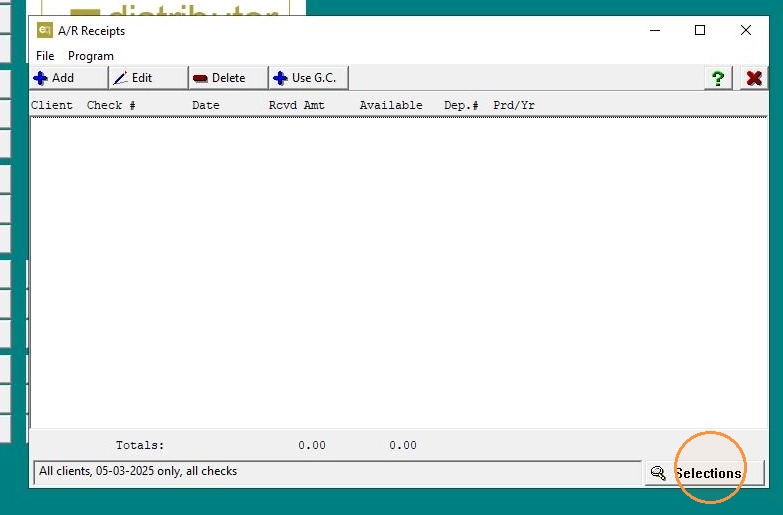
12. Click the Selections button (bottom right).
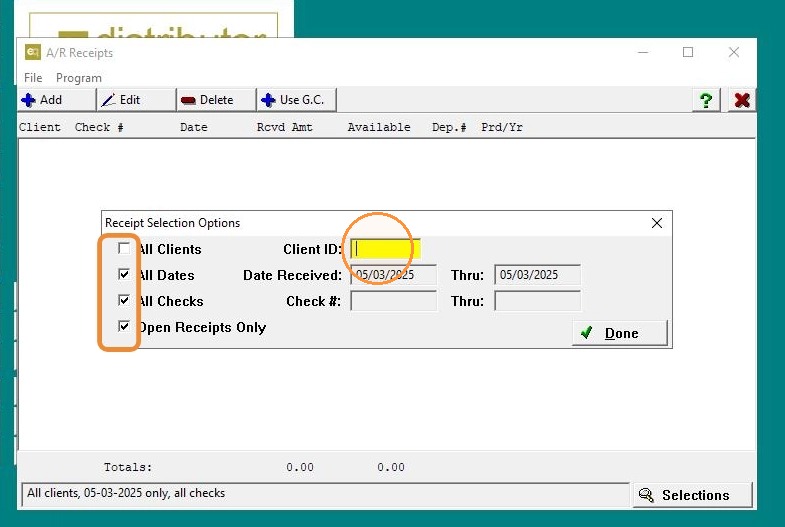
13. Enter the Client ID, select All Dates, All Checks, and Open Receipts Only.
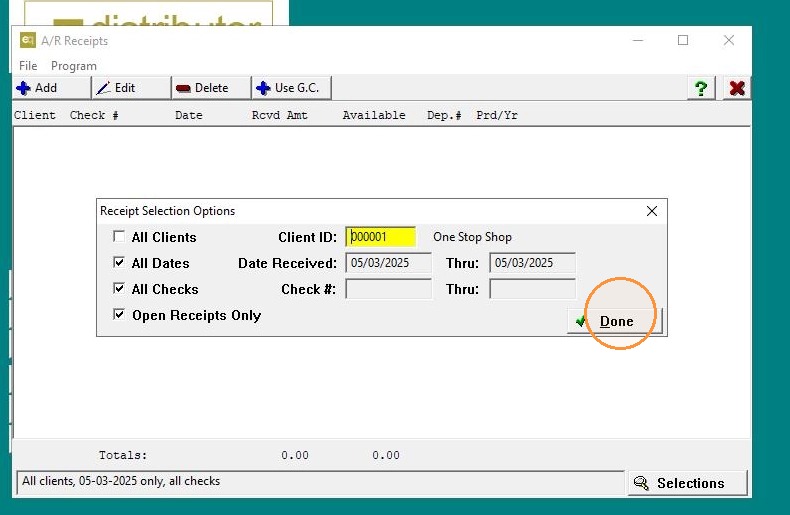
14. Click "Okay"
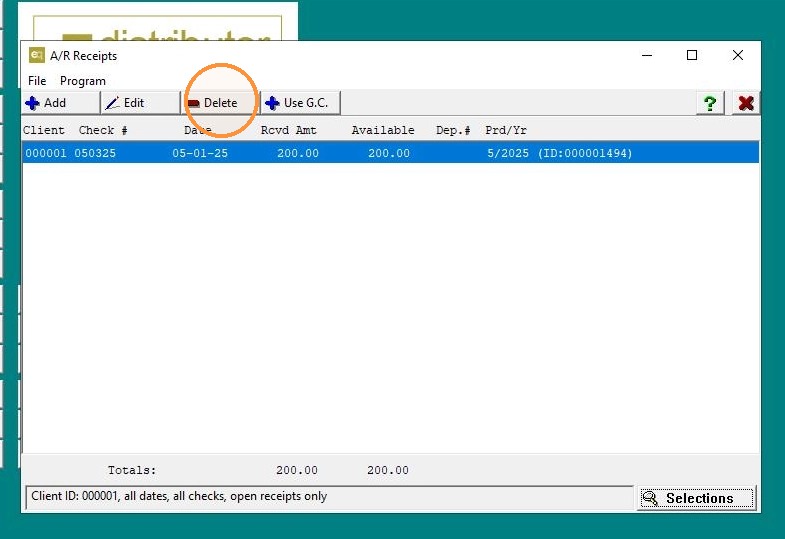
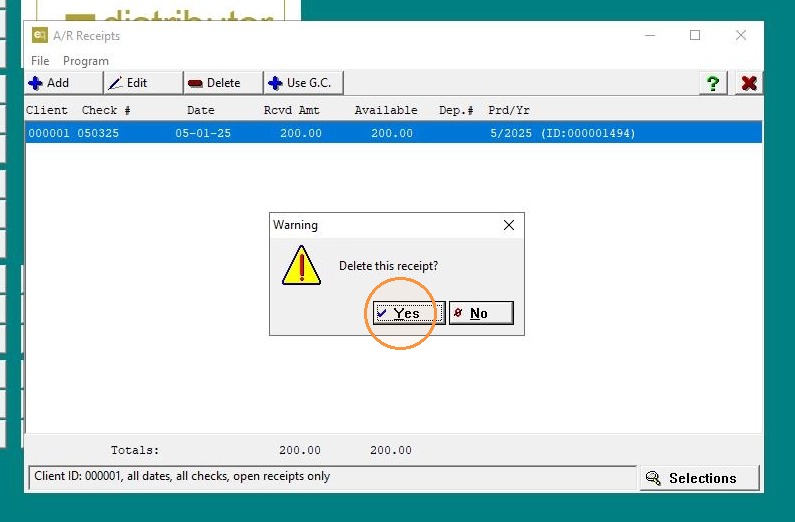
15. Click "Delete"
16. Click "Yes"
**Scenario 2: Receipts (AR) Is Posted to the General Ledger**
Alert: Side Note – Posting Period Alignment
Because Quantum allows back-posting, both the reversing journal entry and the write-off should be posted to the same period as the original transaction, when possible. This ensures the correction is reflected in the period where the error occurred, keeps the audit trail clean, and prevents timing differences between periods.
When building the reversing journal, be sure to select the original posting period and click OK to proceed.
After all corrections are posted, run GL Period End Processing to close the affected period and continue forward to the current period.
17. #### Reverse the Journal Entry
-
Go to GL > Journal History Inquiry
-
Locate the journal entry and select "Build Reversing Journal"
-
Choose the original period and click OK
-
Exit
Post the Reversal
-
Go to GL > Edit/Post Journal Entries
-
Post the reversal
Locate the Receipt in AR and Perform the Write-Off
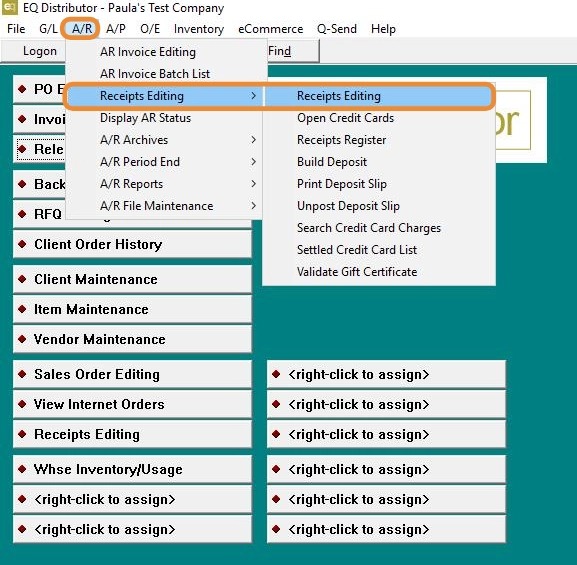
18. Go to A/R > Receipts > Receipts Editing
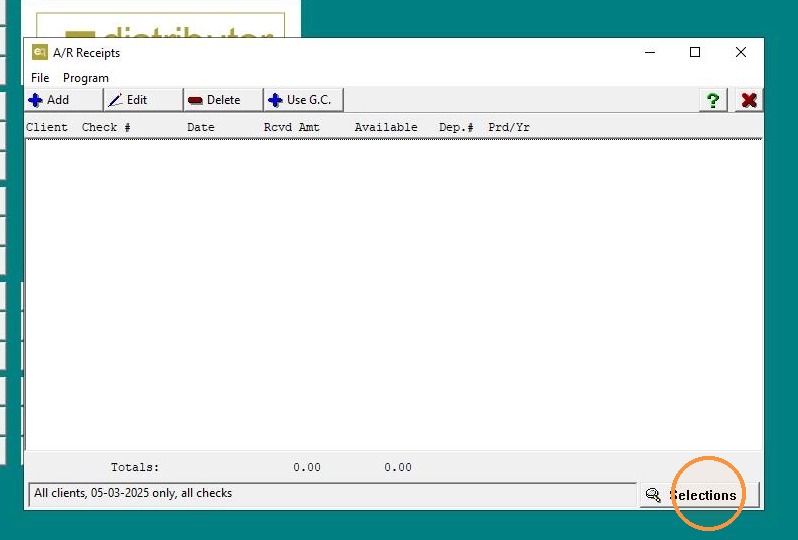
19. Click the Selections button (bottom right)
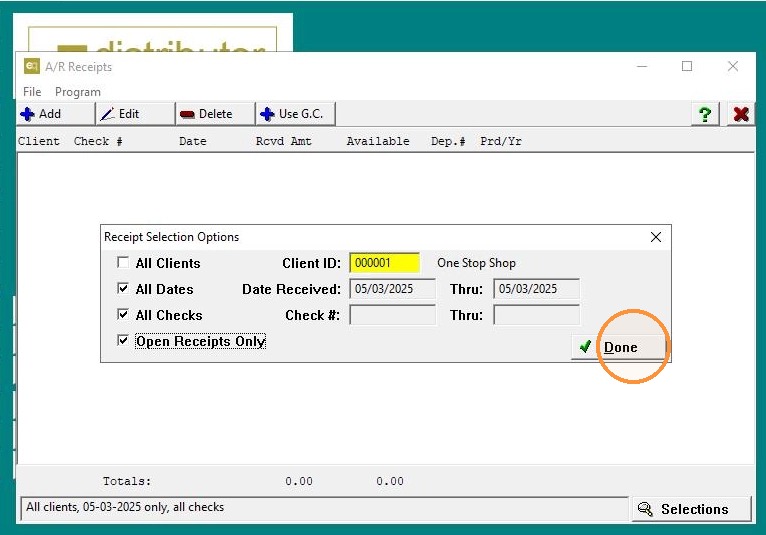
20. Enter the Client ID, select All Dates, All Checks, and Open Receipts Only.
21. Highlight the on-account amount, click Edit.
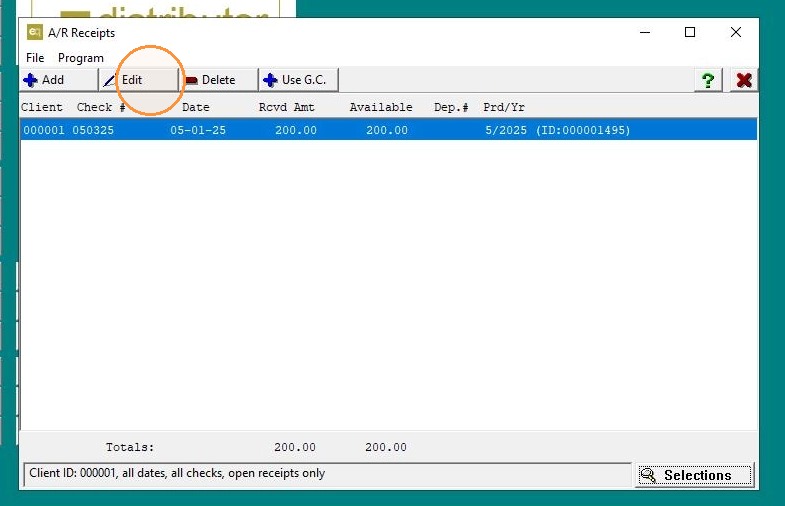
22. Click on W/o recpt.
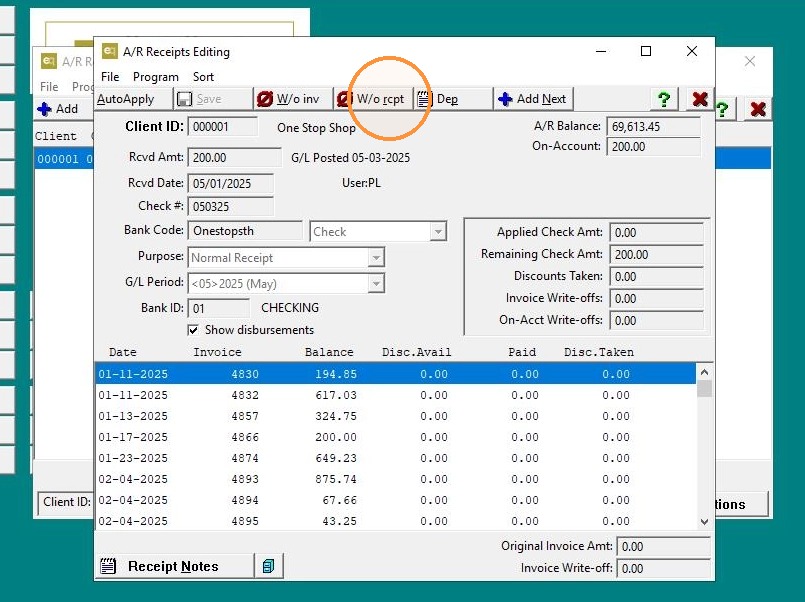
23. Click "Add"
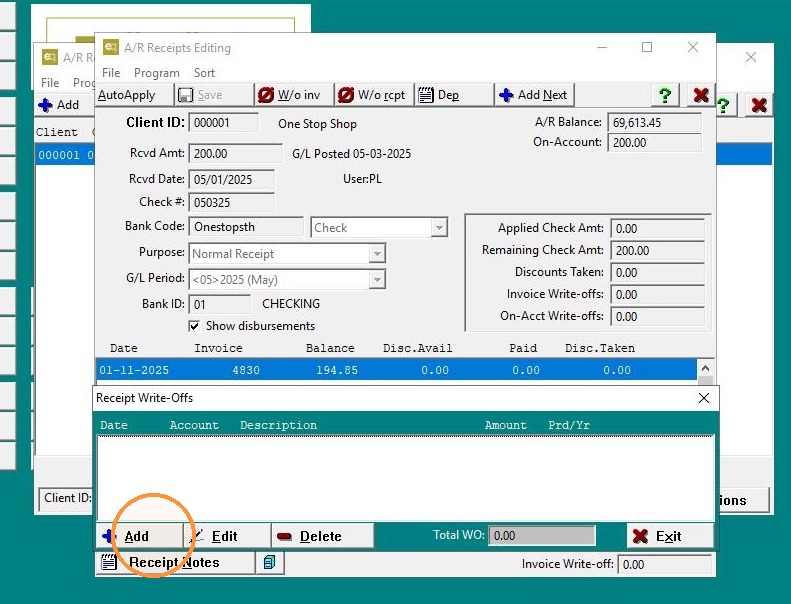
24. Change the G/L Account number to the appropriate cash/checking account number.
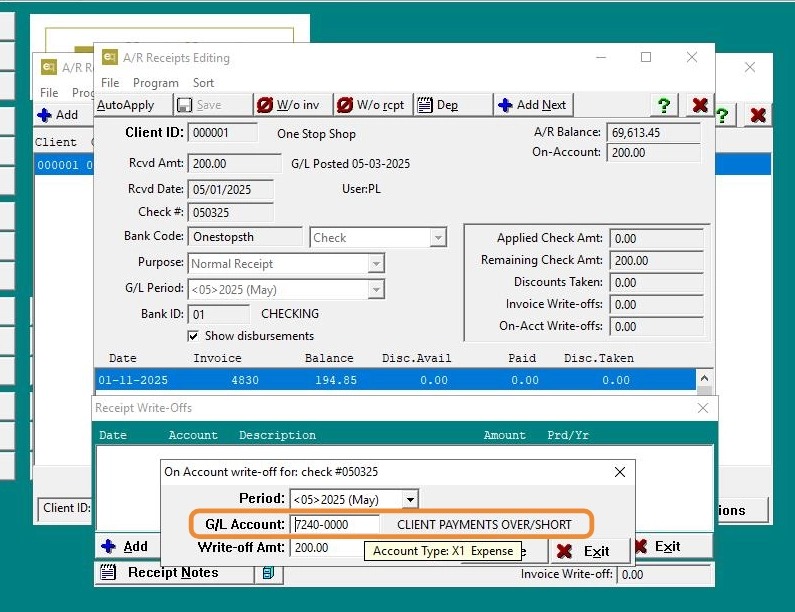
25. Note: The G/L account used for cash in this scribe is for example purposes only and may not be the correct one for your organization.
Please consult with your accountant to determine the correct cash account to use.
Click "Save"
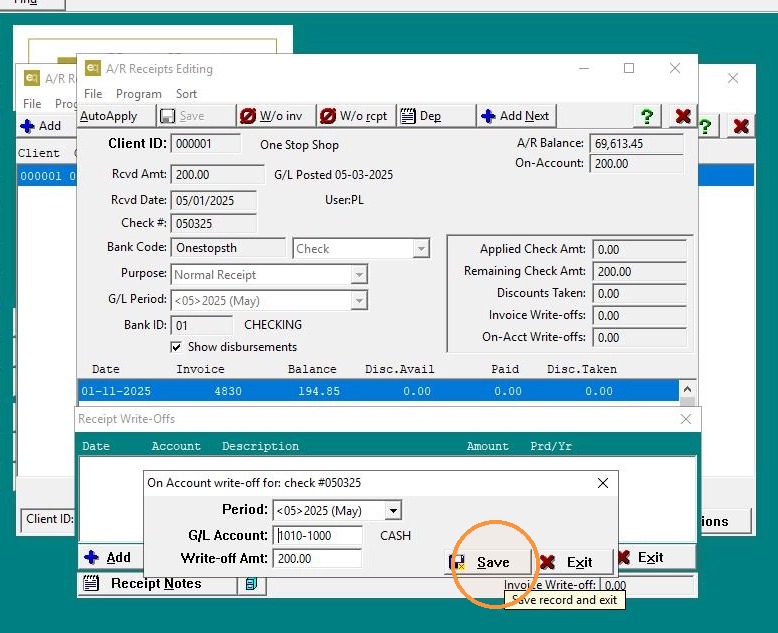
26. Click "Exit"
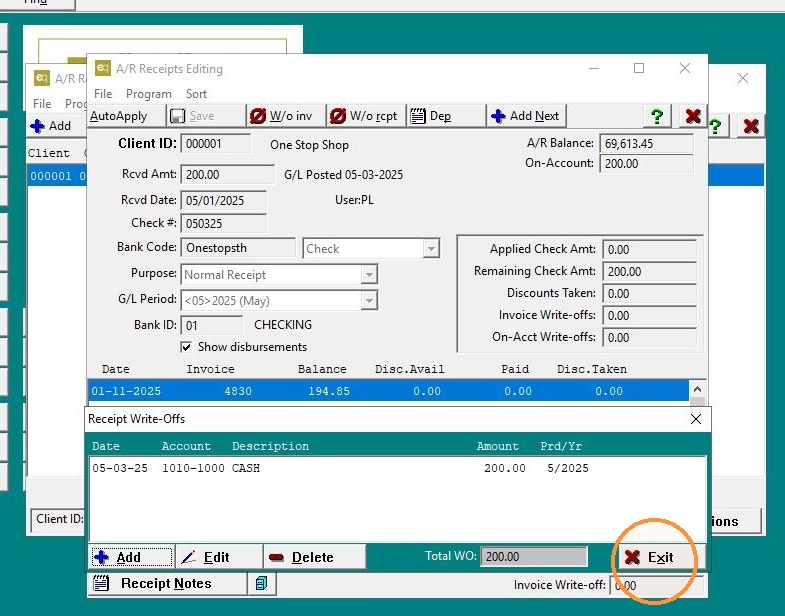
27. Click "Exit" current window
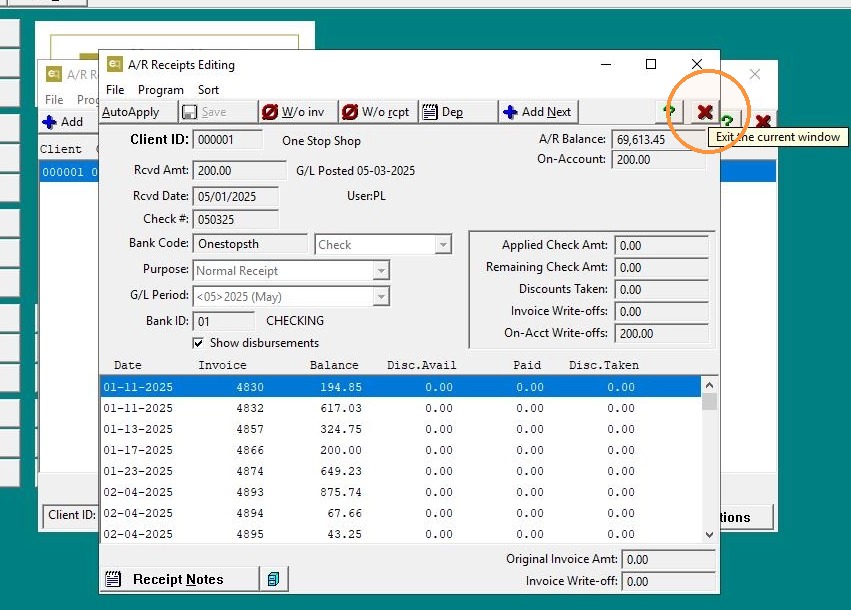
28. Go back to A/R > Receipts > Receipts Editing. Enter the correct Client ID, receipt information, and apply to the invoice(s).
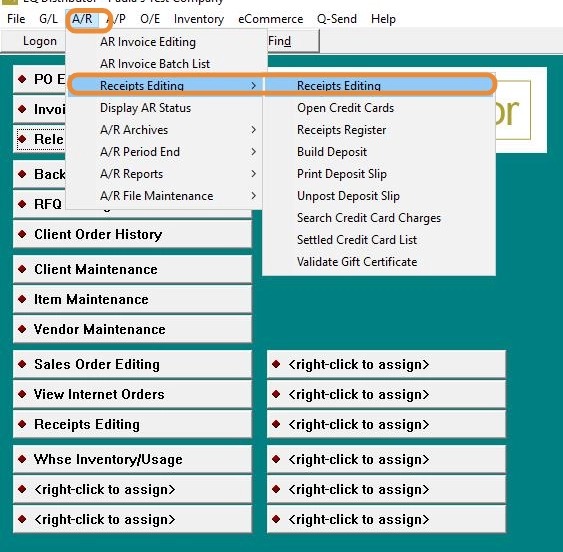
29. Click "Add"
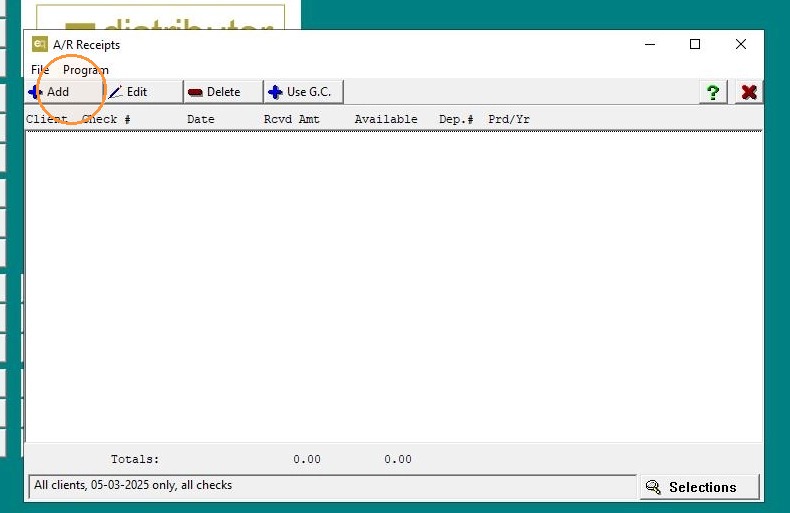
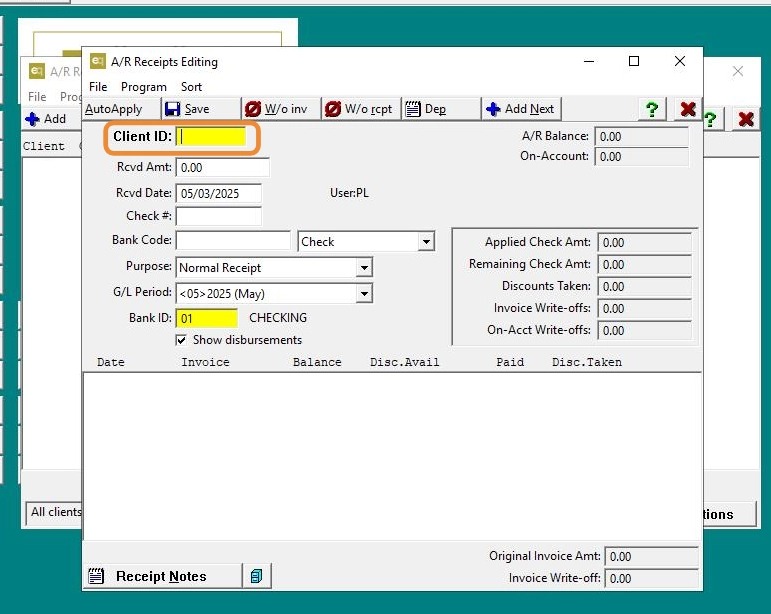
30. Right click "Enter Client ID"
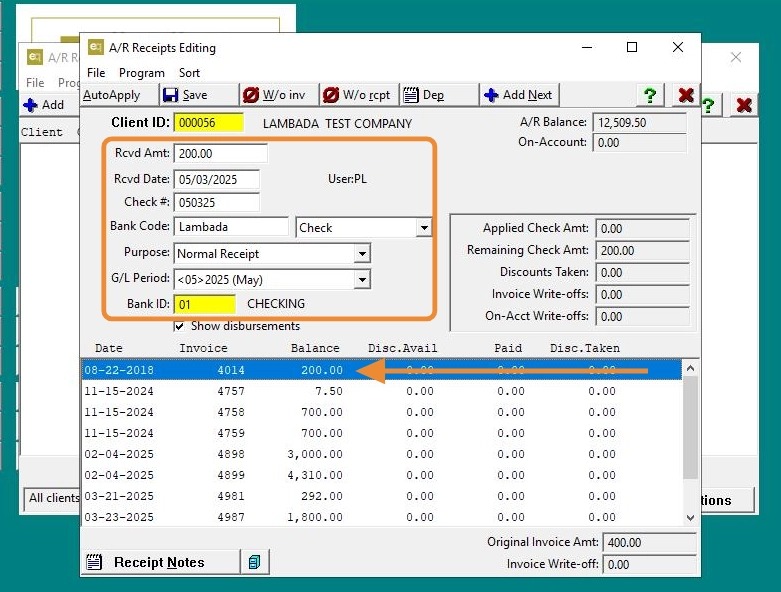
31. Enter the correct $, receipt information, and apply to the invoice(s).
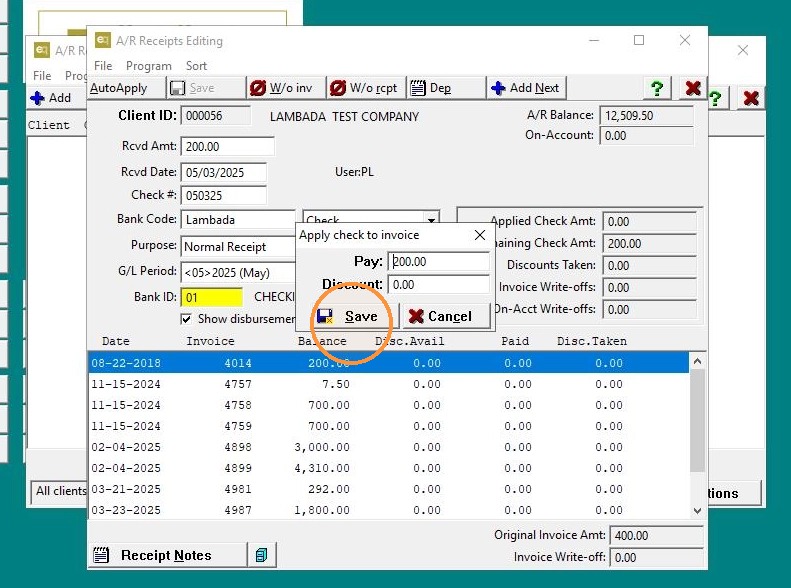
32. Click "Save"
33. Click "Exit"
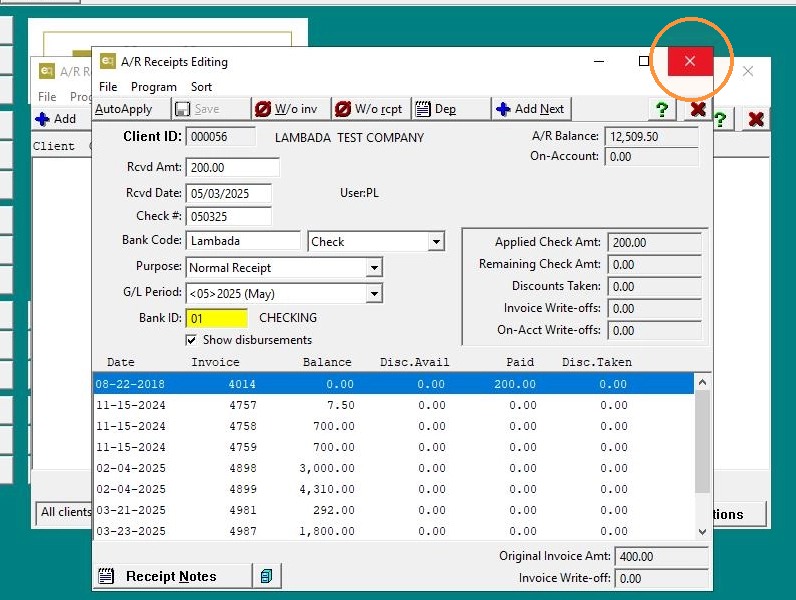
34. Click "Exit" current window.