EQd: Steps to Convert Statement into Excel
Alert: Note: This process was created in a test environment. The information selected is for training purposes only and will not match the data you will use in your company's system.
Generate the Statement
1. Navigate to A/R > A/R Period End > Statement Processing.
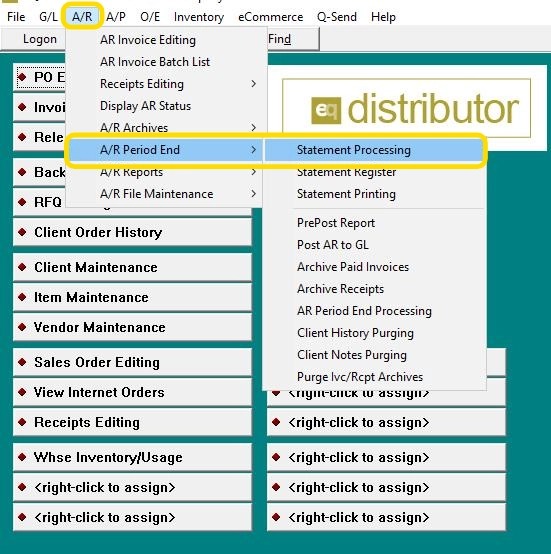
2. Press [[Tab]]
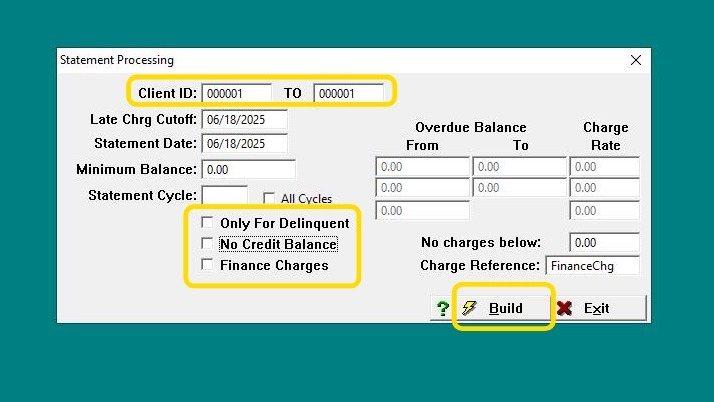
3. - Enter the Client.
- Check or uncheck relevant tabs as needed.
- Click Build
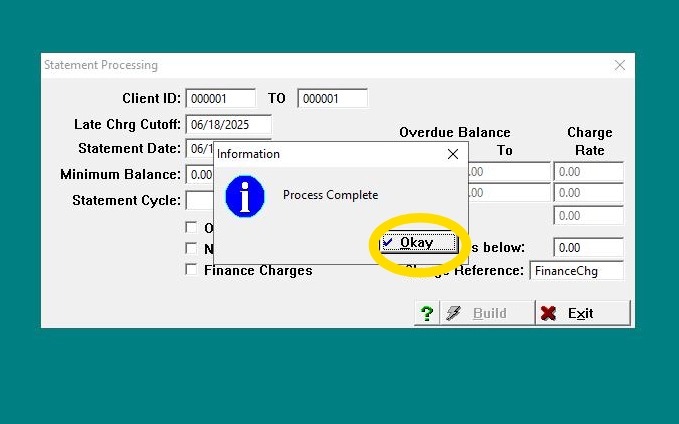
4. Click "OK" when prompted with "Process Complete".
Open the Statement for Export
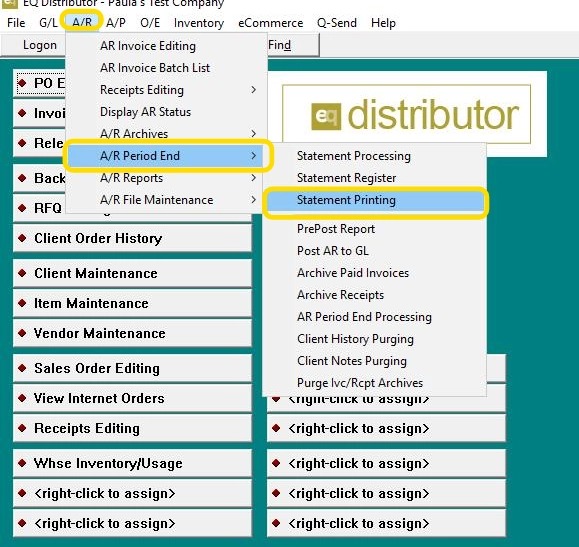
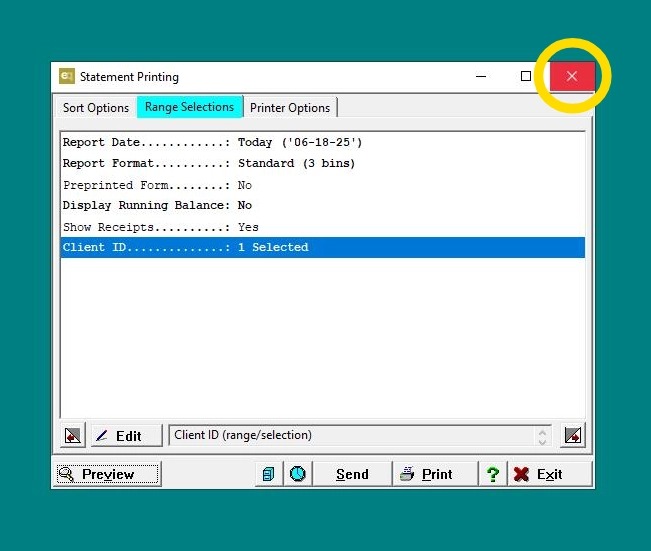
5. Go to A/R > A/R Period End > Statement Printing.
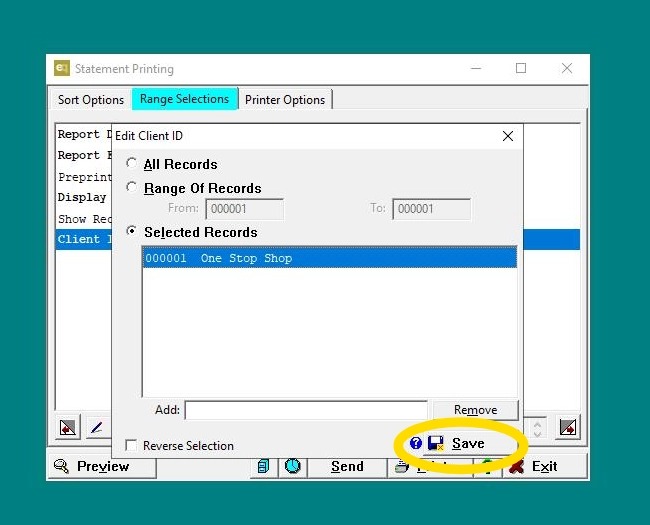
6. Select the Client, then click Save.
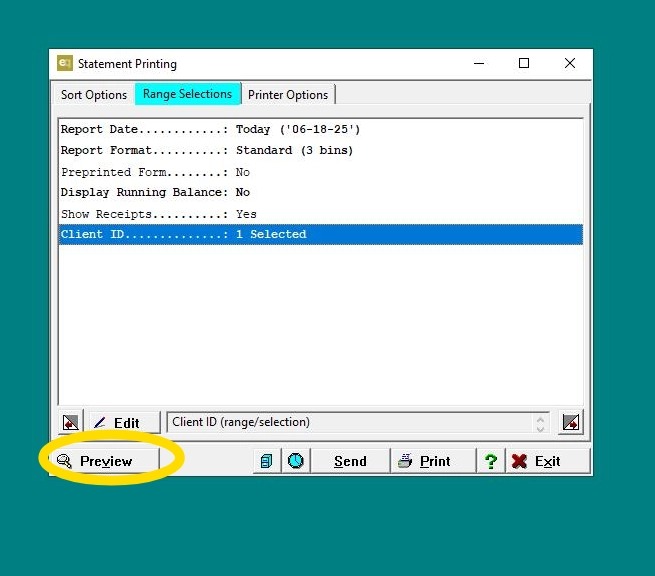
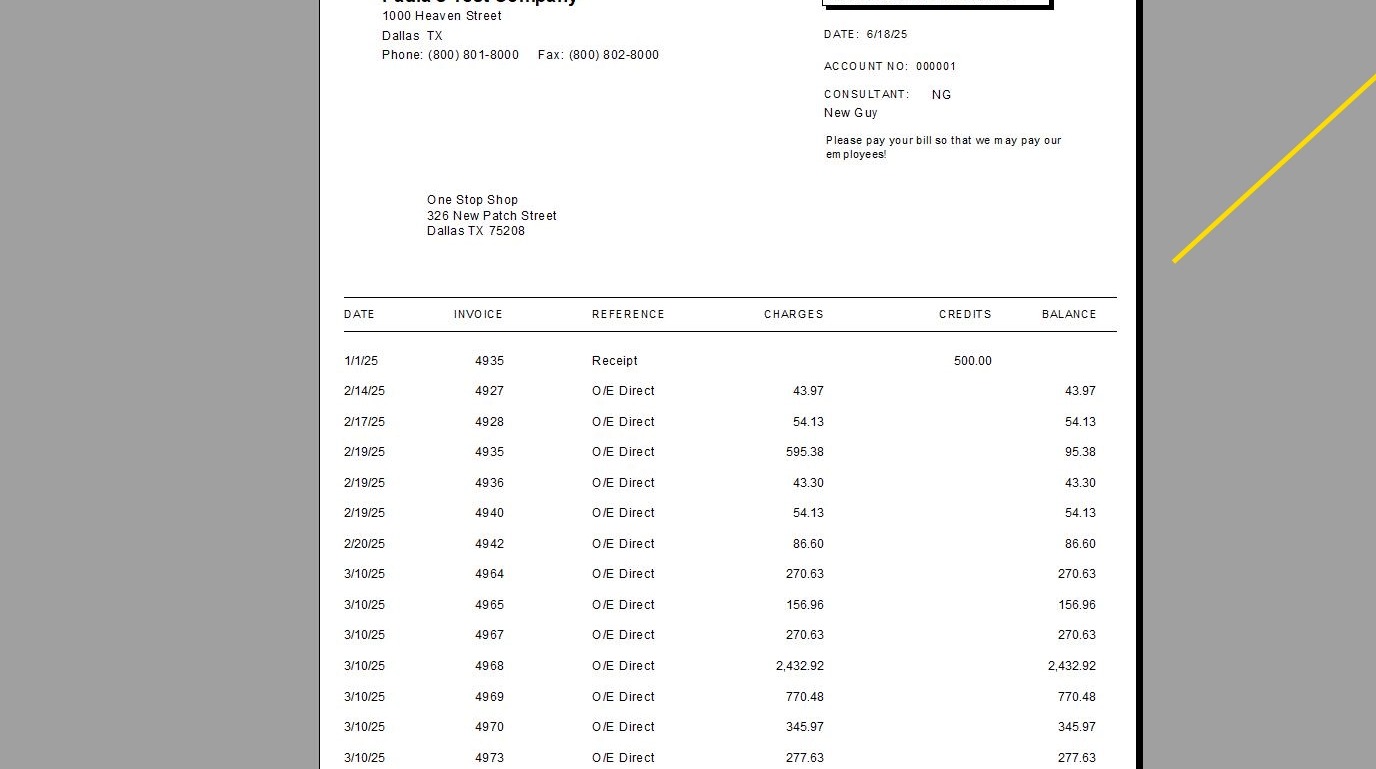
7. Click "Preview"
Export the Statement to Excel
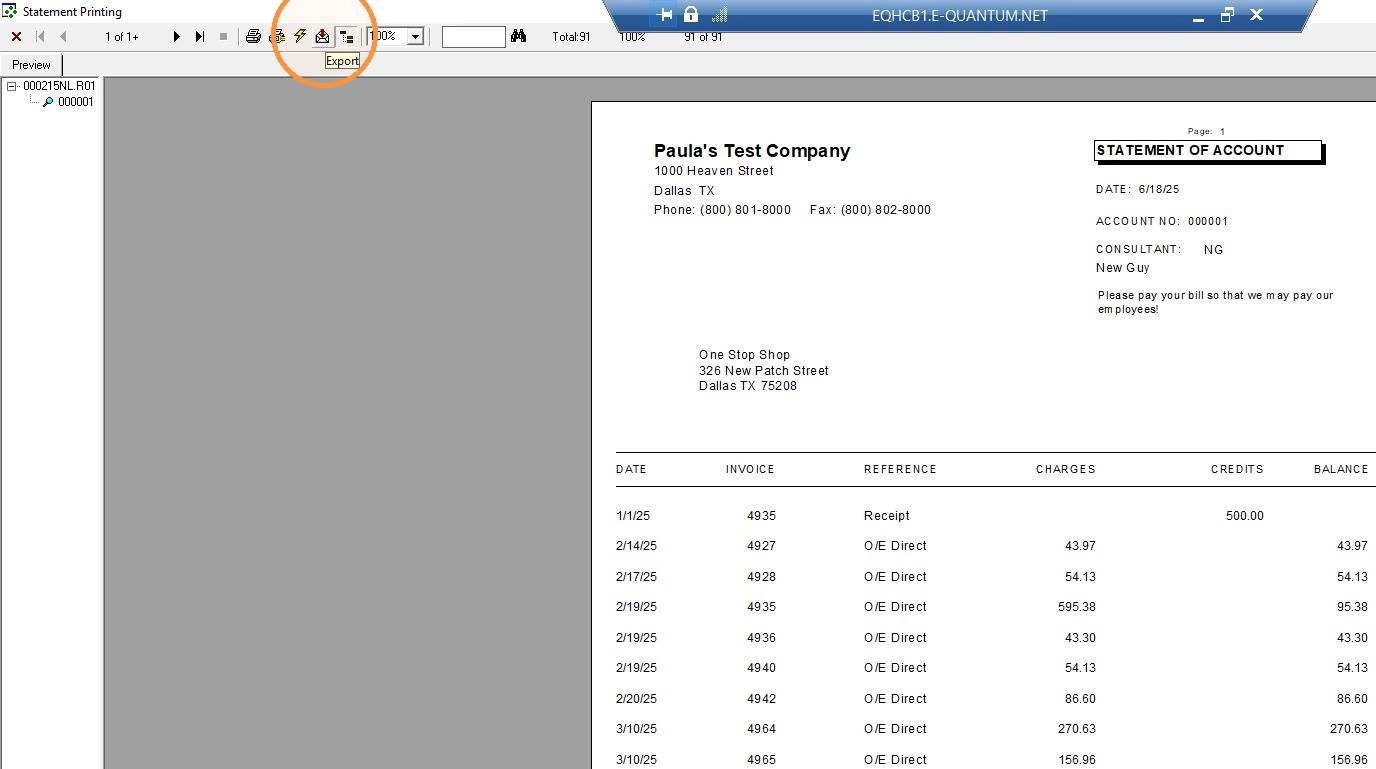
8. In Preview Mode, go to the top left and click the Envelope icon (this is the Export icon).
9. Under Format, use the dropdown to select the desired Excel version (e.g., Excel Data Only, Excel Workbook, etc.).
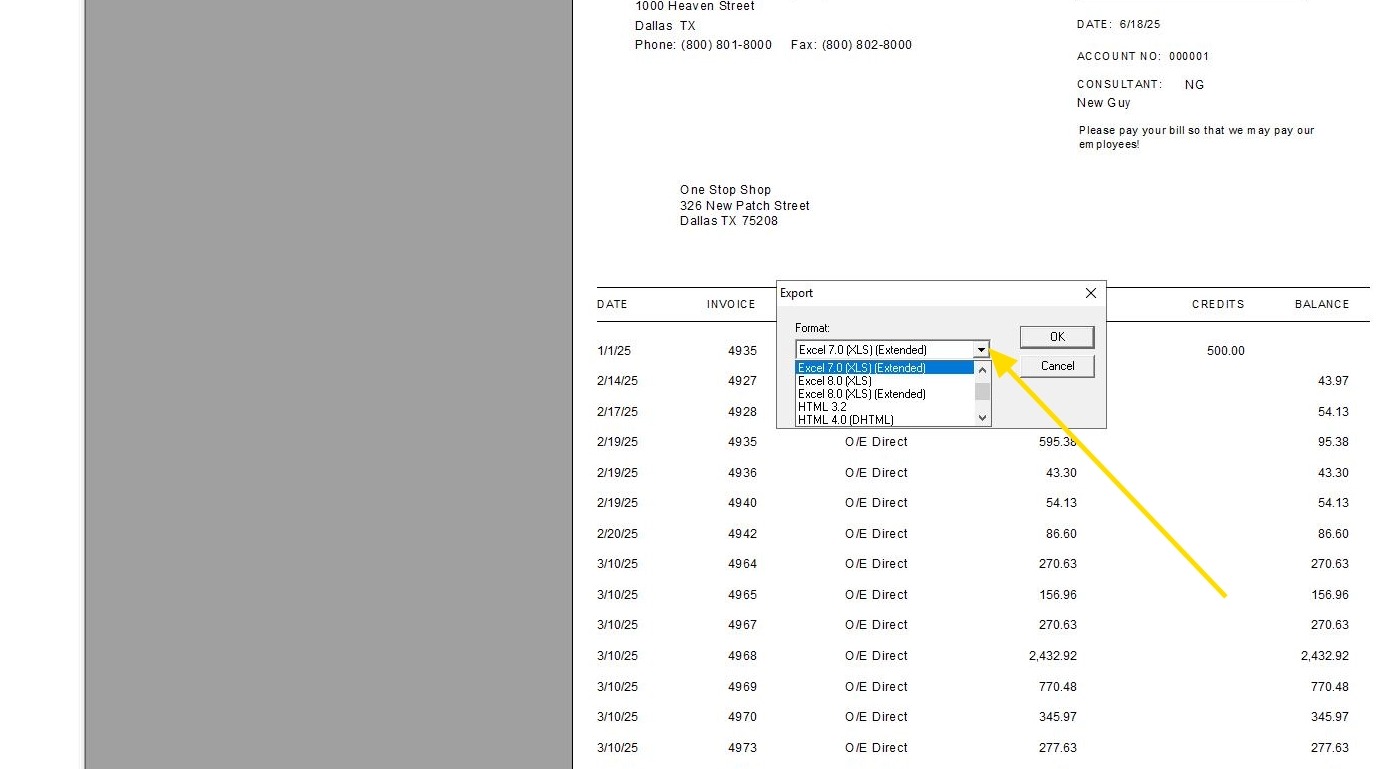
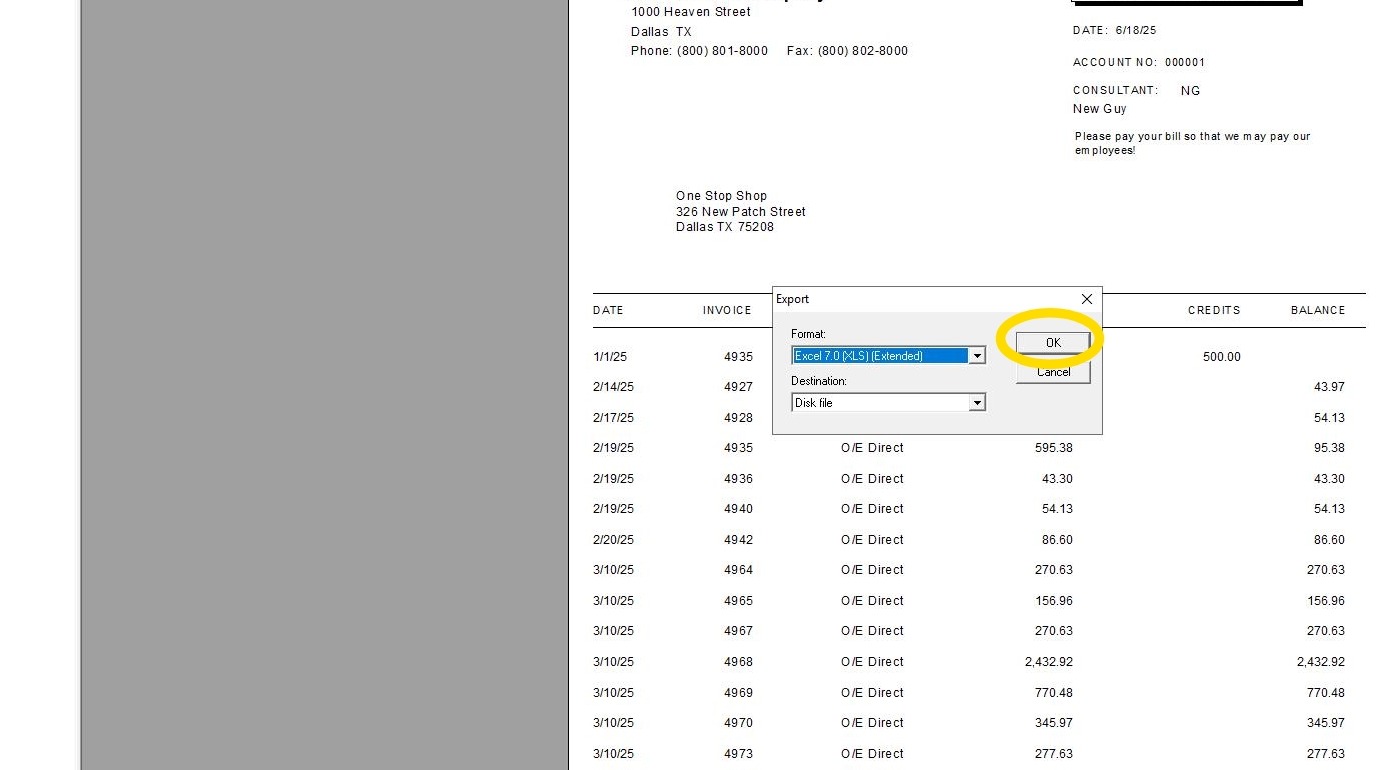
10. Click "Okay"
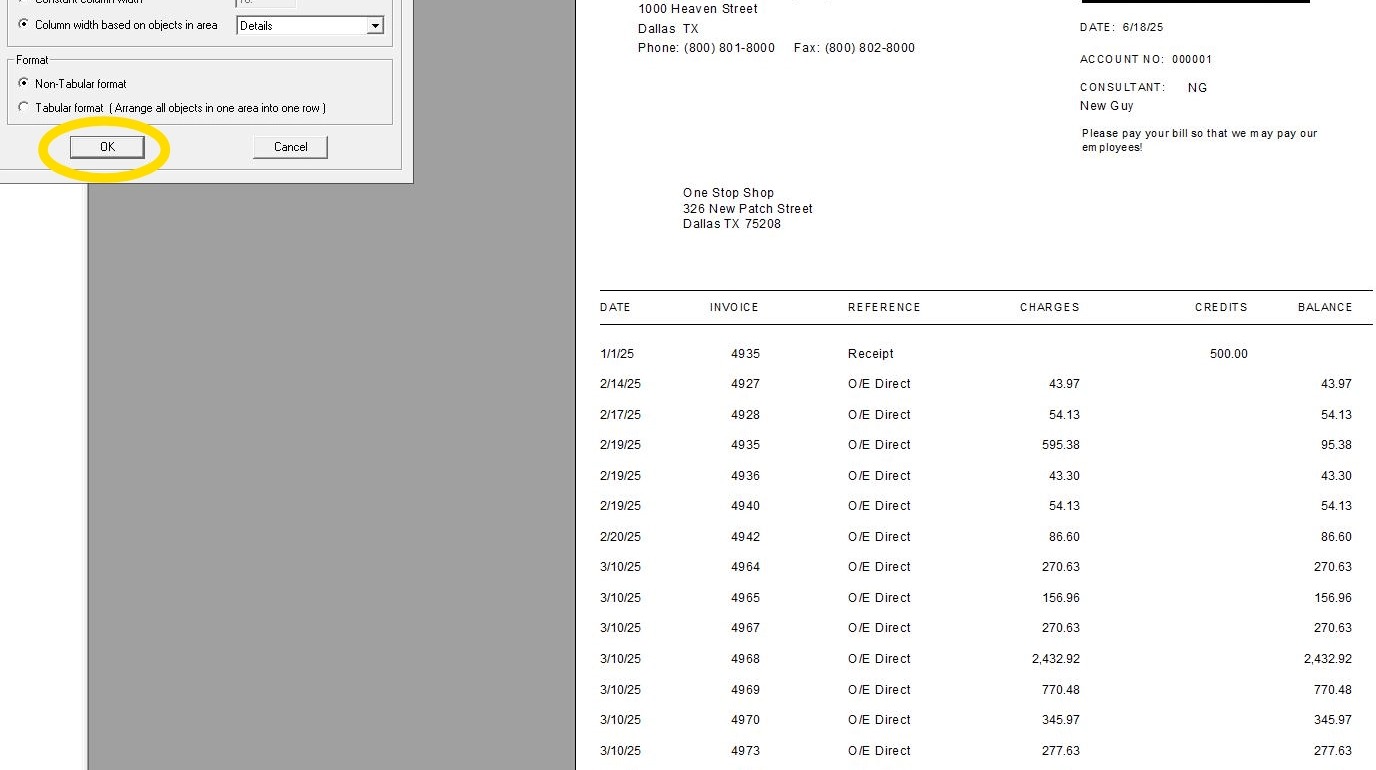
11. Set Excel Export Options:
-
In the Format Options dialog box, select the export preferences.
-
Click OK.
Save the Excel File
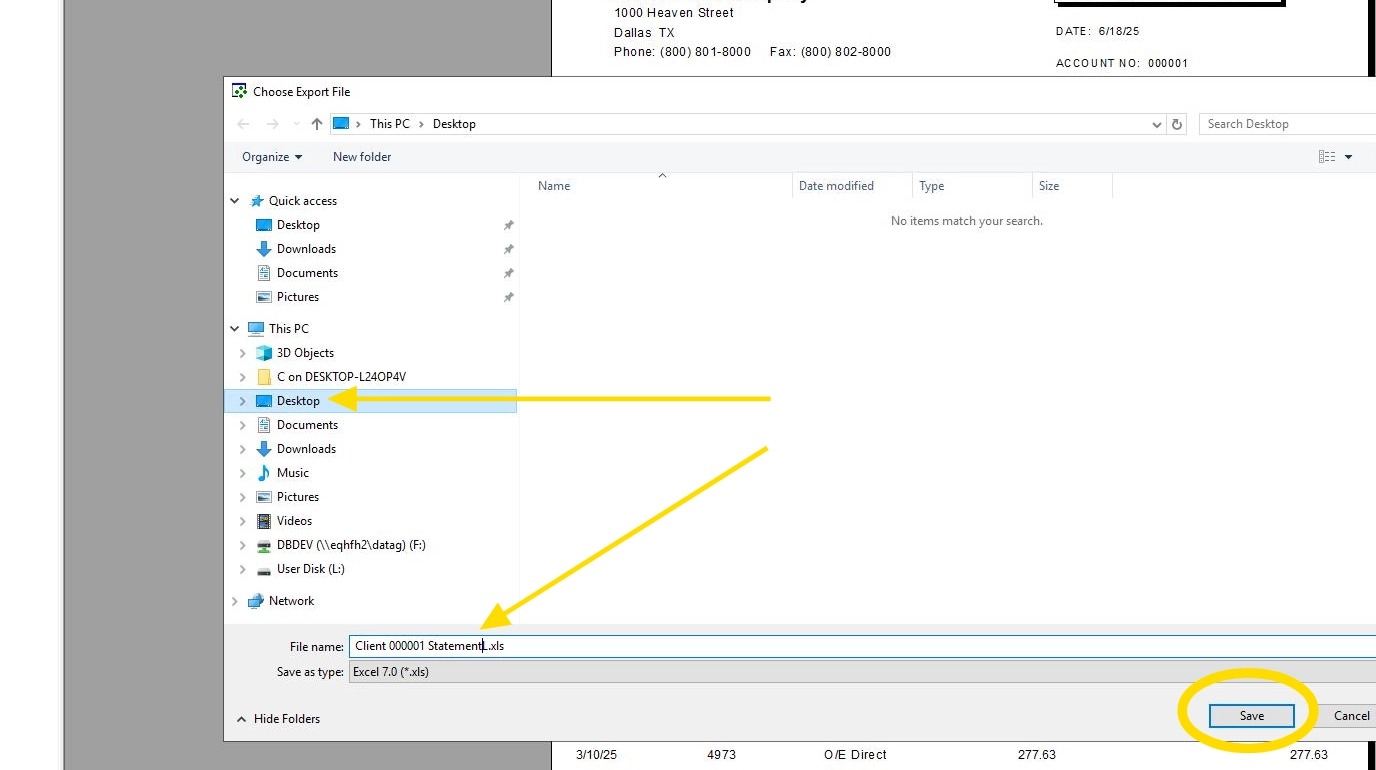
12. - Choose a file name and save location. You may save to the Quantum desktop or another preferred location.
13. Exit Statement Preview.
14. Exit Statement Printing.
Retrieve and Move the File
15. Minimize Quantum.

16. - Navigate to the saved file’s folder.
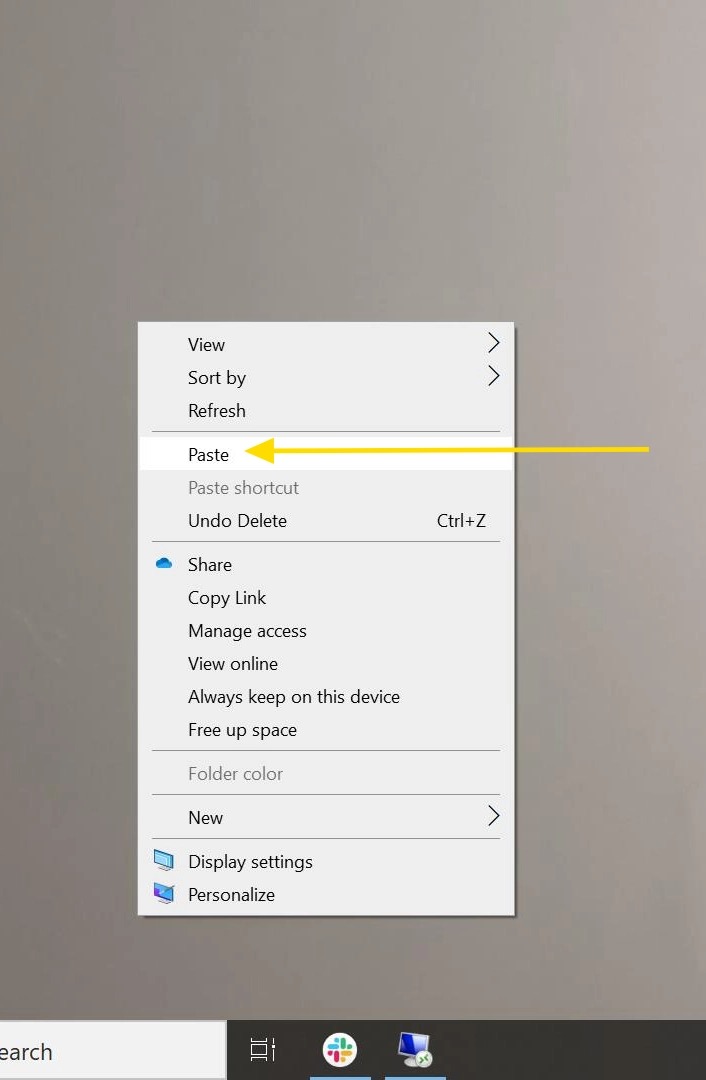
- Right-click the file and Cut and Paste it into your preferred location.

17. Paste it into your preferred location.
Open and Finalize the File:
18. Double-click to open the file in Excel.

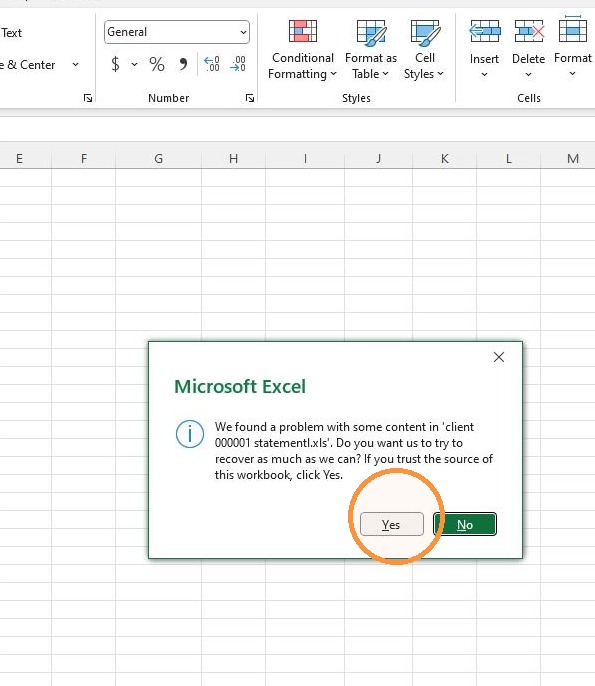
19. If prompted with a Microsoft Excel message, select "Yes".
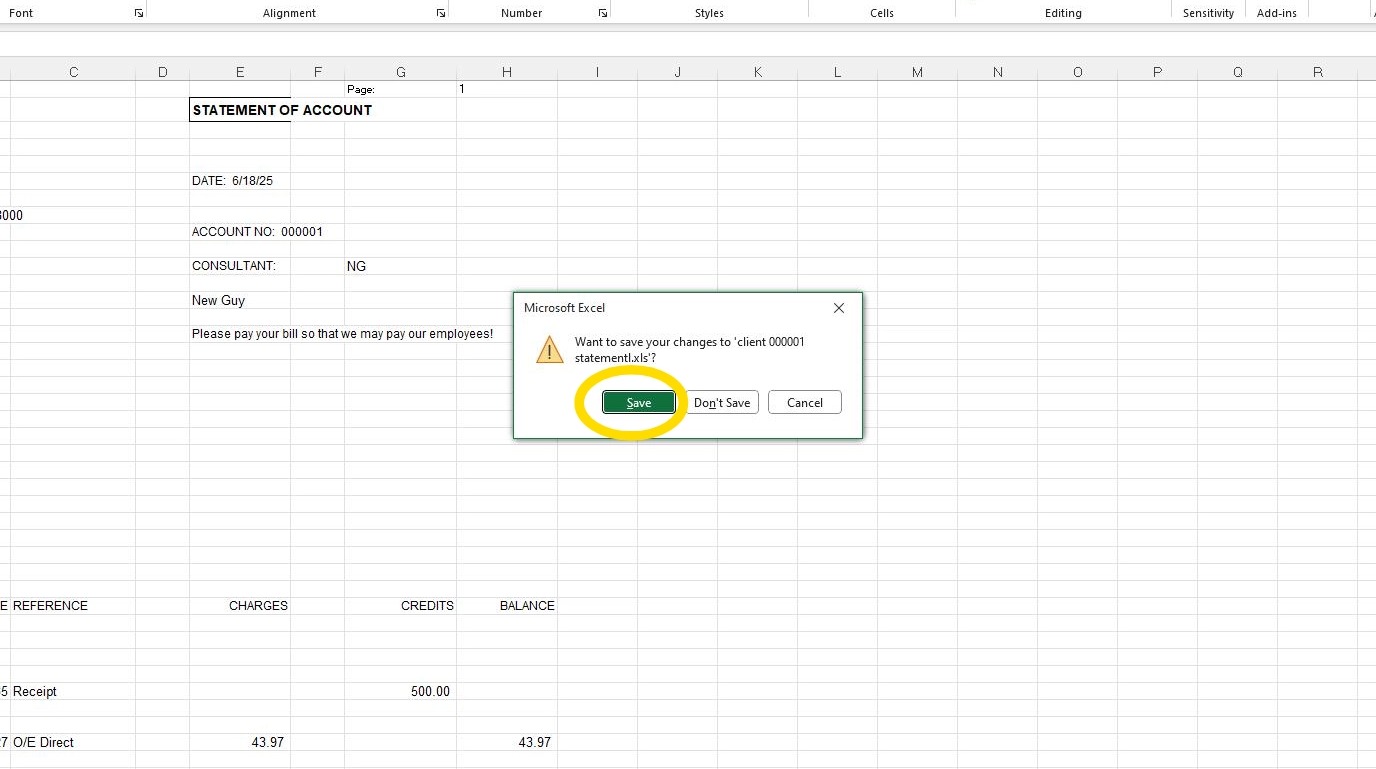
20. You can now save the file or close without saving and email it out as needed.
21. Copy/Paste file in email then Click "Send"
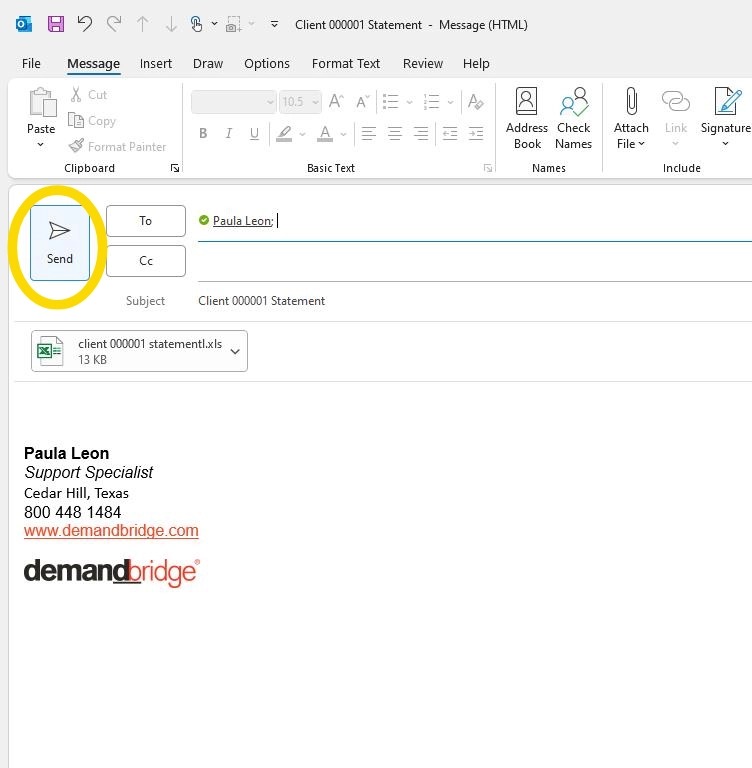
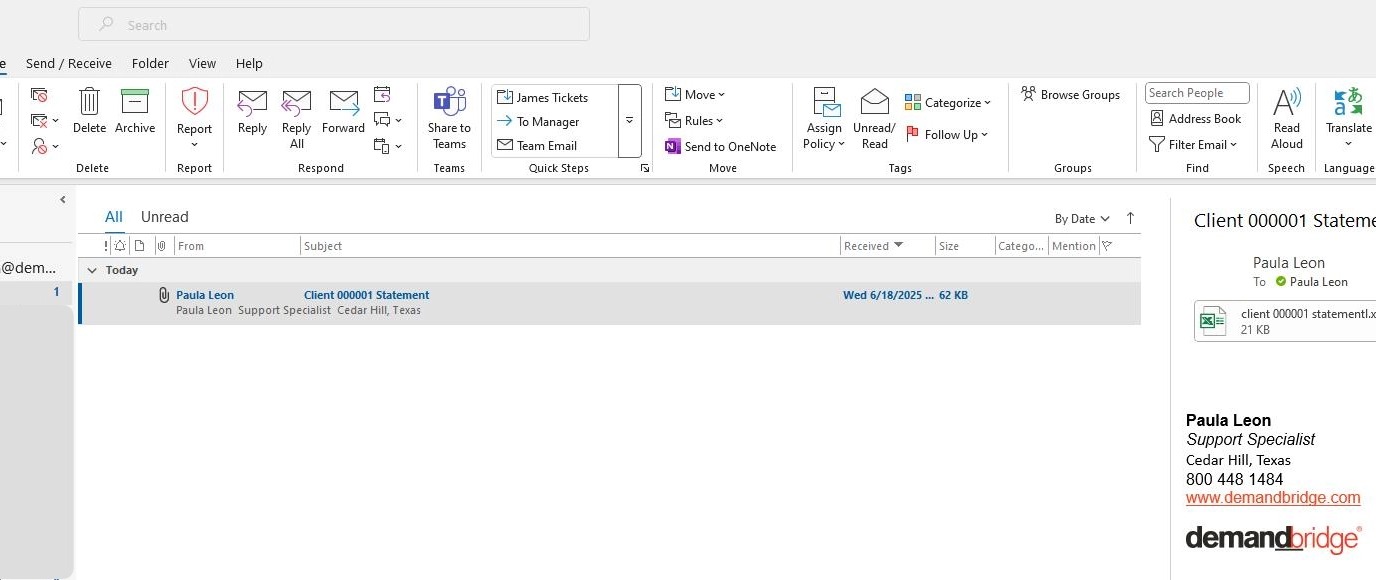
22. Email Received