EQd: Setting Up and Transmitting Positive Pay
Note: This process was created in a test environment. The information selected is for training purposes only and will not match the data you will use in your company's system.
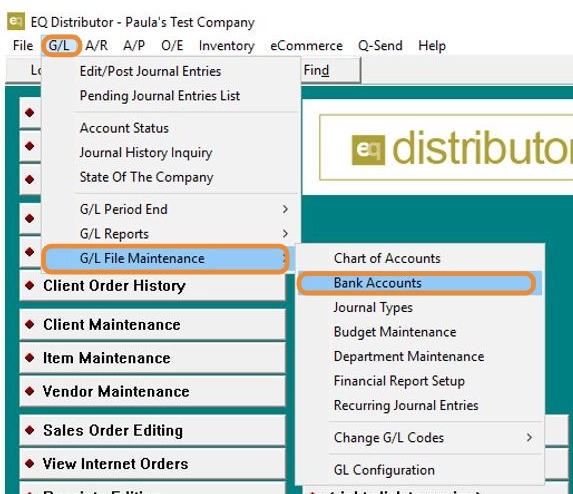
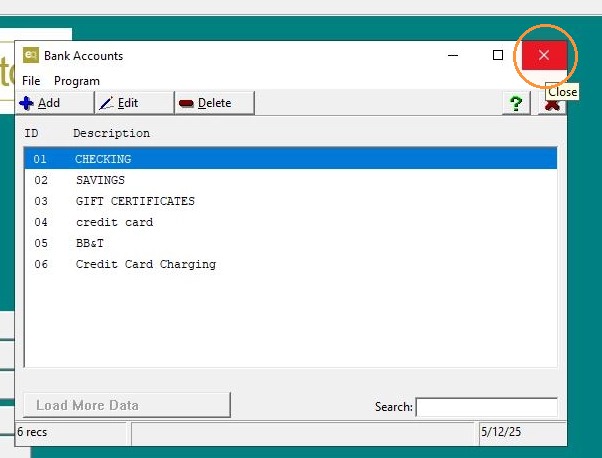
1. Go to GL > GL Maintenance > Bank Accounts >
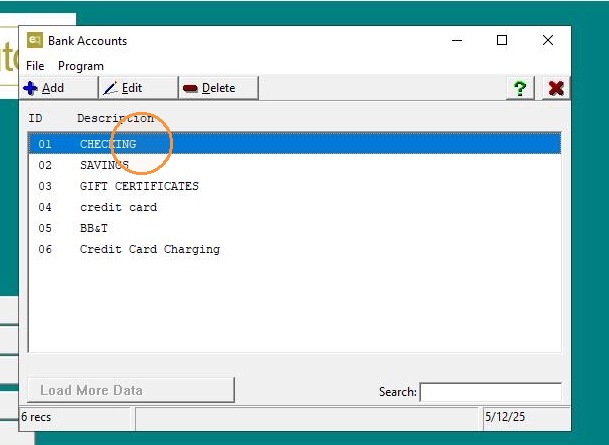
2. Select the Bank Account you will use for Positive Pay.
3. In the Setup tab, ensure the Account Number is filled in. Then, from the Positive Pay drop-down, select your Bank/Format, click the Properties button, and fill in the required data—note that the required information will vary depending on the selected Positive Pay format.
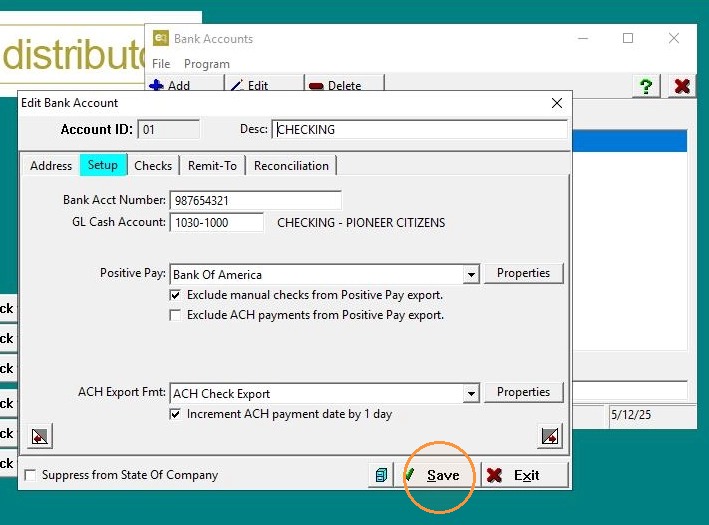
4. Click "Exit"
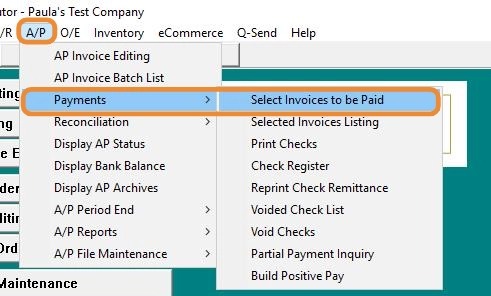
5. Go to A/P > Payments > Select Invoices to be paid >
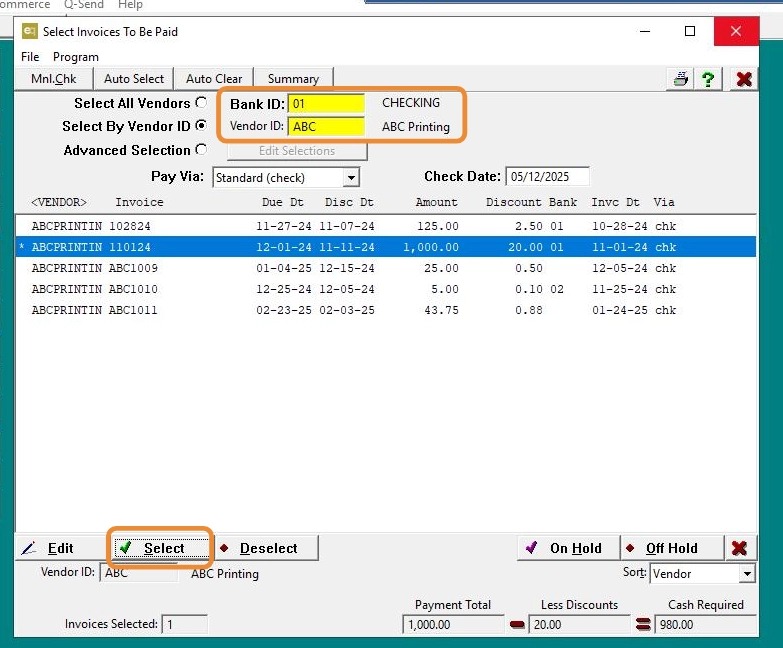
6. #### Process Checks
Process your Accounts Payable Checks as you normally would.
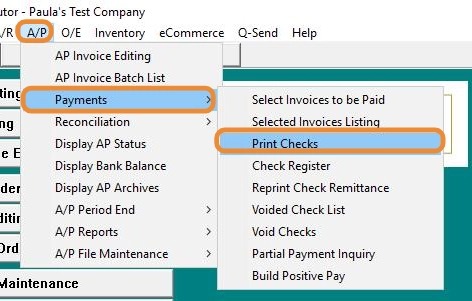
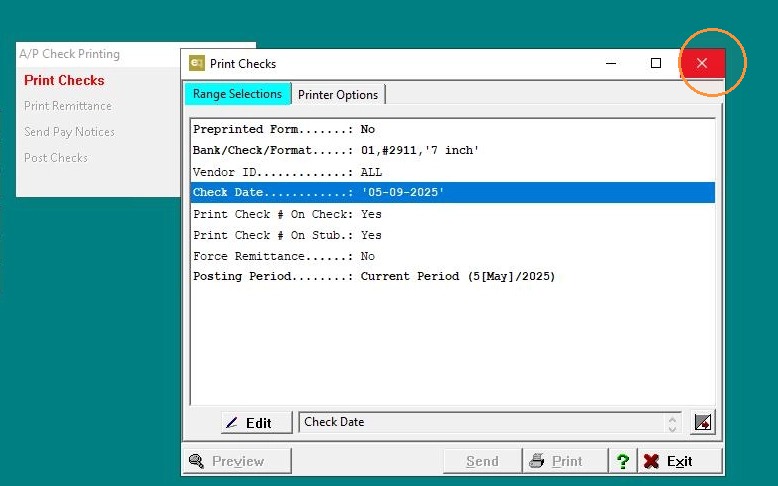
7. Go to A/P > Payments > Print Checks >
8. Double-click "Check Date" Select date.
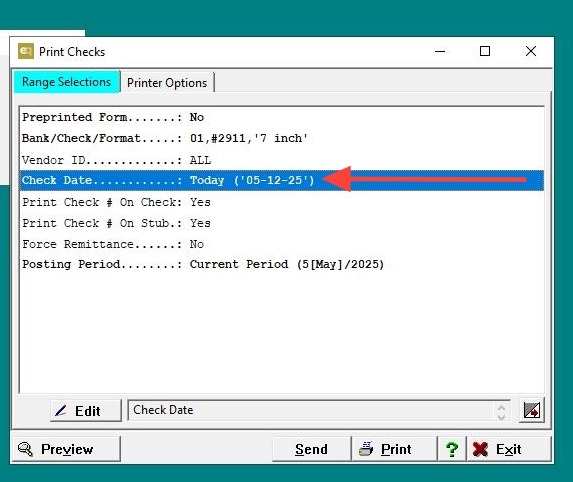
9. Click "Save"
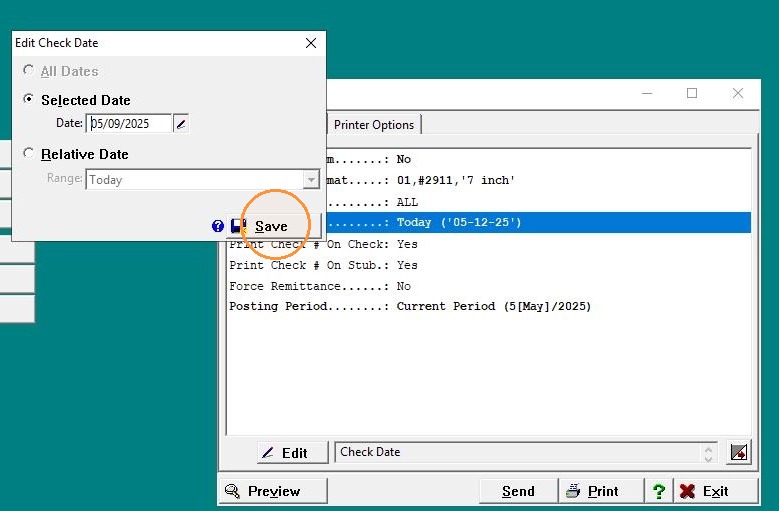
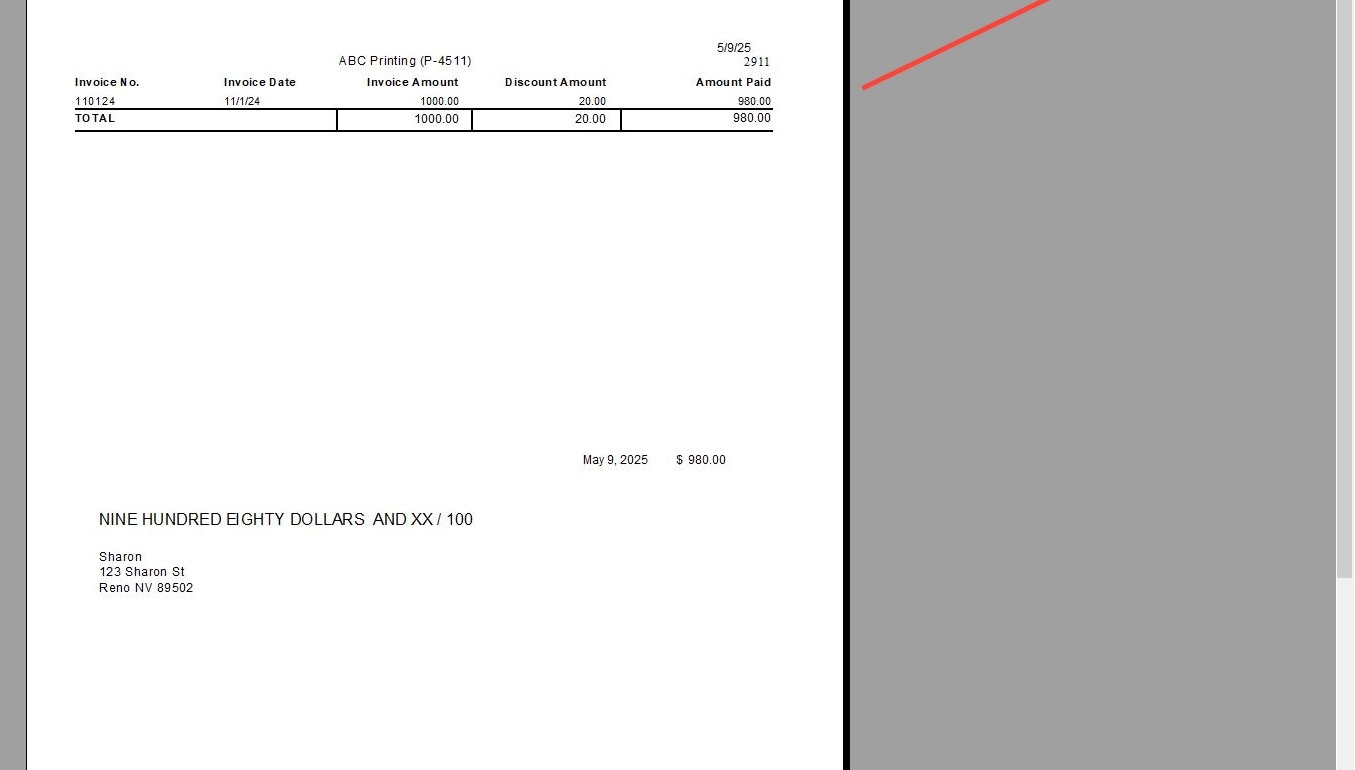
10. Click "Preview"
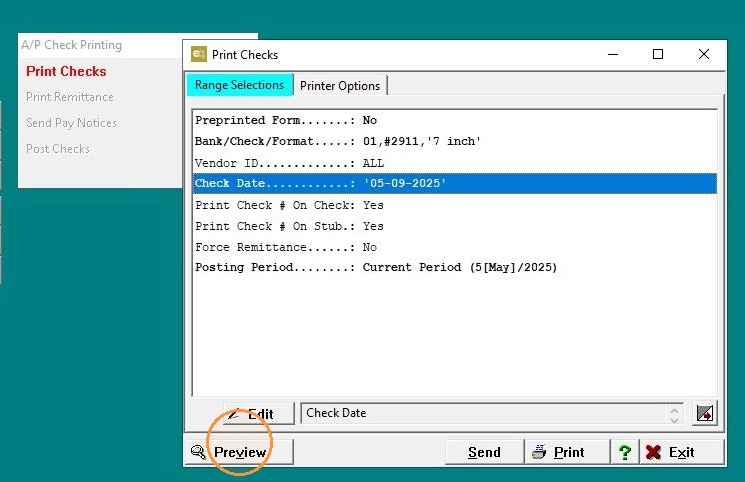
11. Click "Yes"
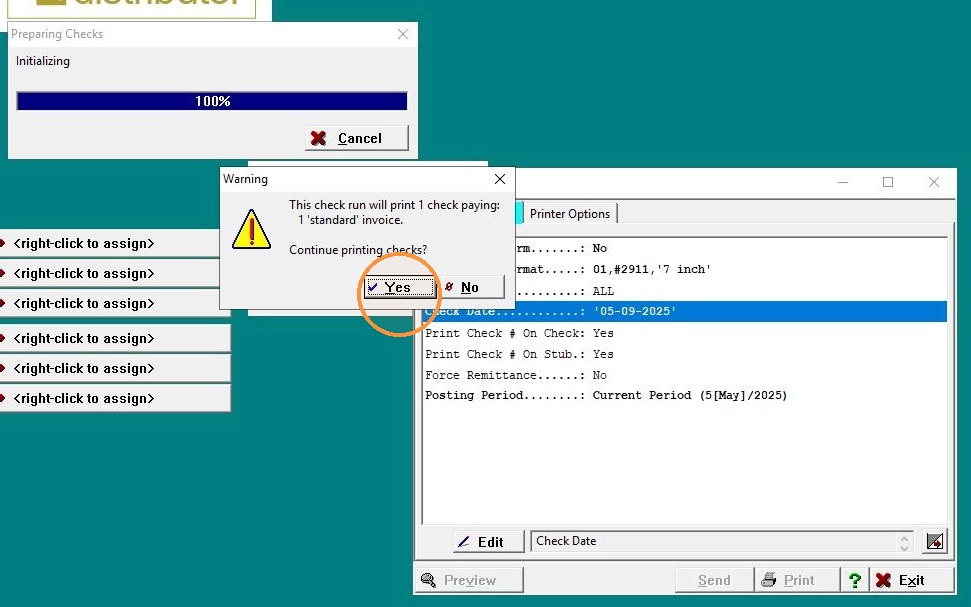
12. Click "Exit"
13. Click "Exit"
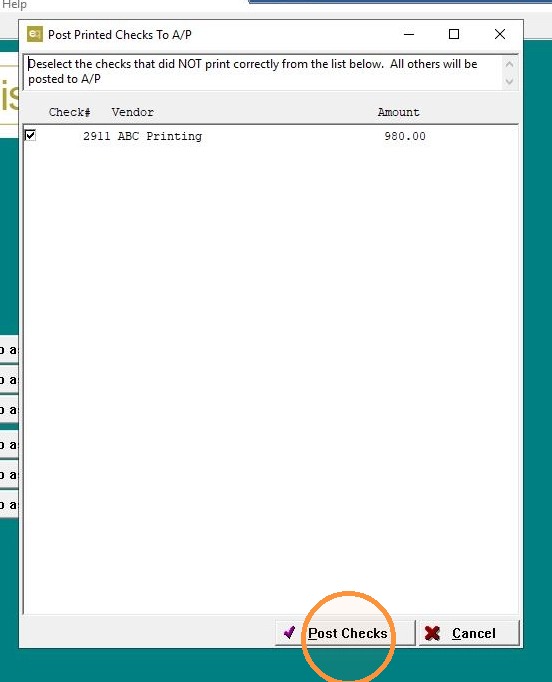
14. Click "Post Checks"
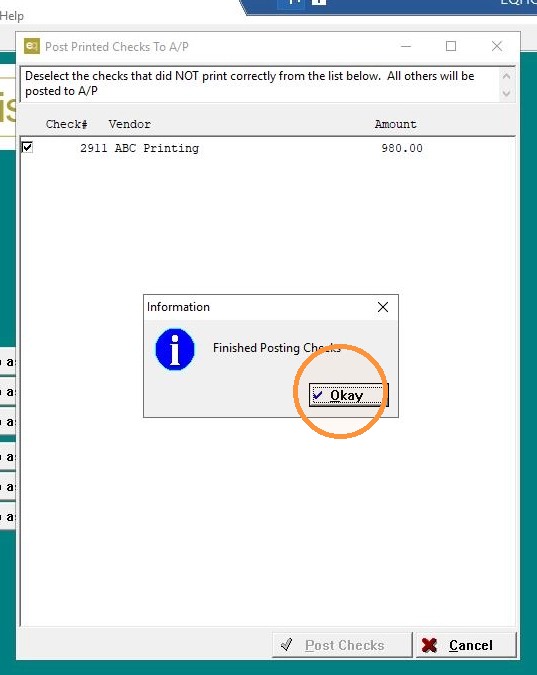
15. Click "Okay"
16. #### Transmit Positive Pay File
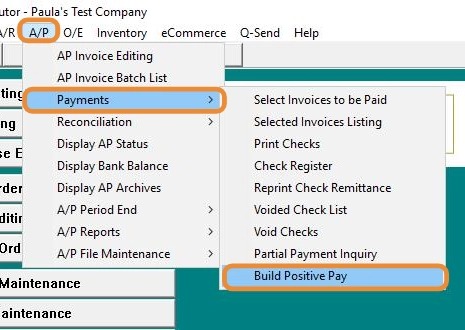
When ready to transmit, go to AP > AP Payments > Transmit Positive Pay.
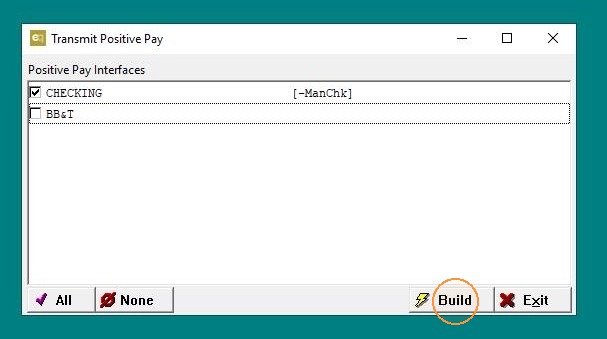
17. If transmitting to multiple banks, select the correct Bank from the list. Click "Build"
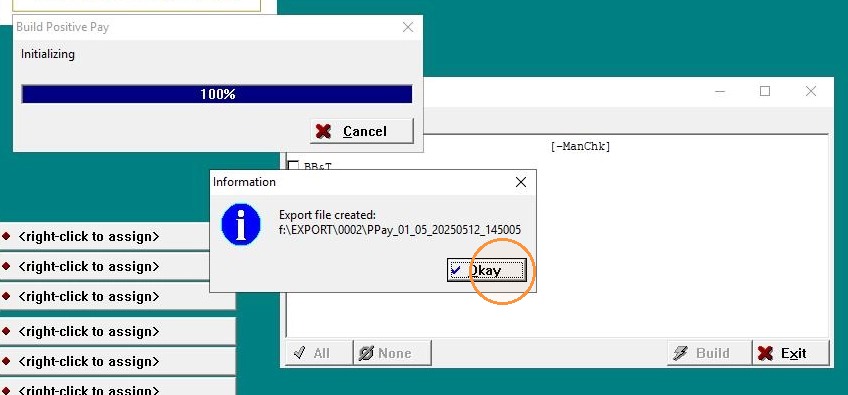
18. Click "Okay" once the export file is created.
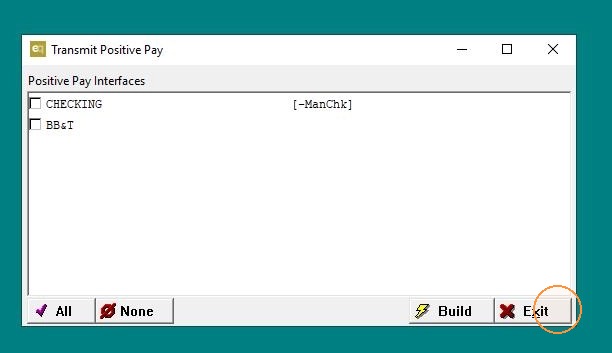
19. Click "Exit"
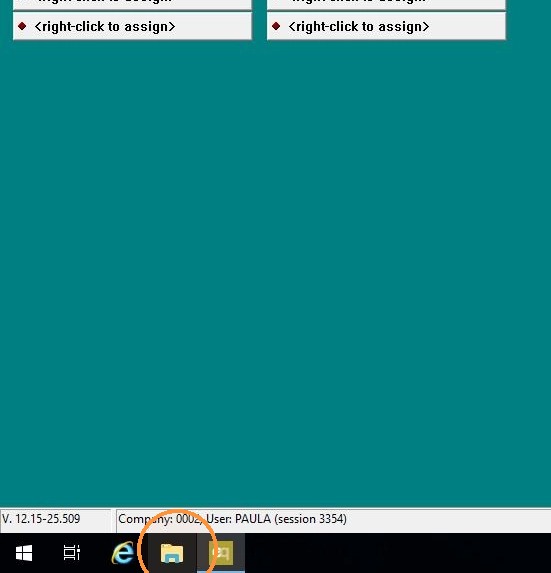
20. Click "File Explorer"
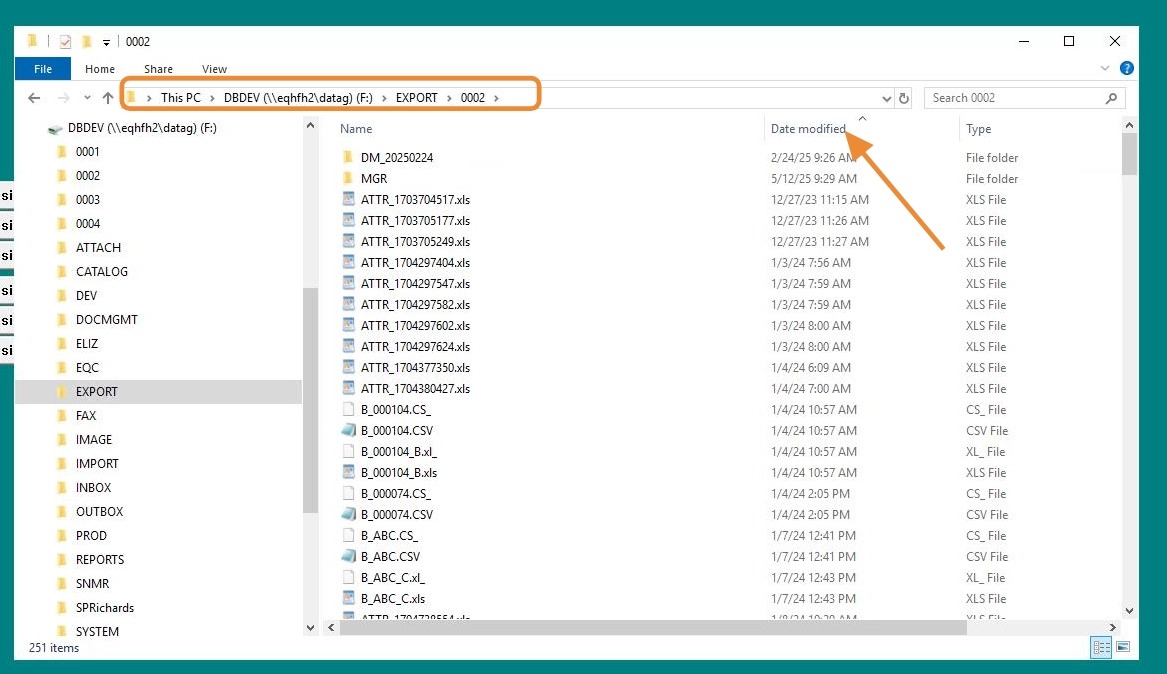
21. Go to Q2000 > Export > 0001 (or your company ID).
-
Click Date Modified to bring the most recent Positive Pay file to the top,
-
Or look for a file name starting with PPay.
22. Copy the generated Positive Pay file and send the file to your bank per their specific submission instructions.
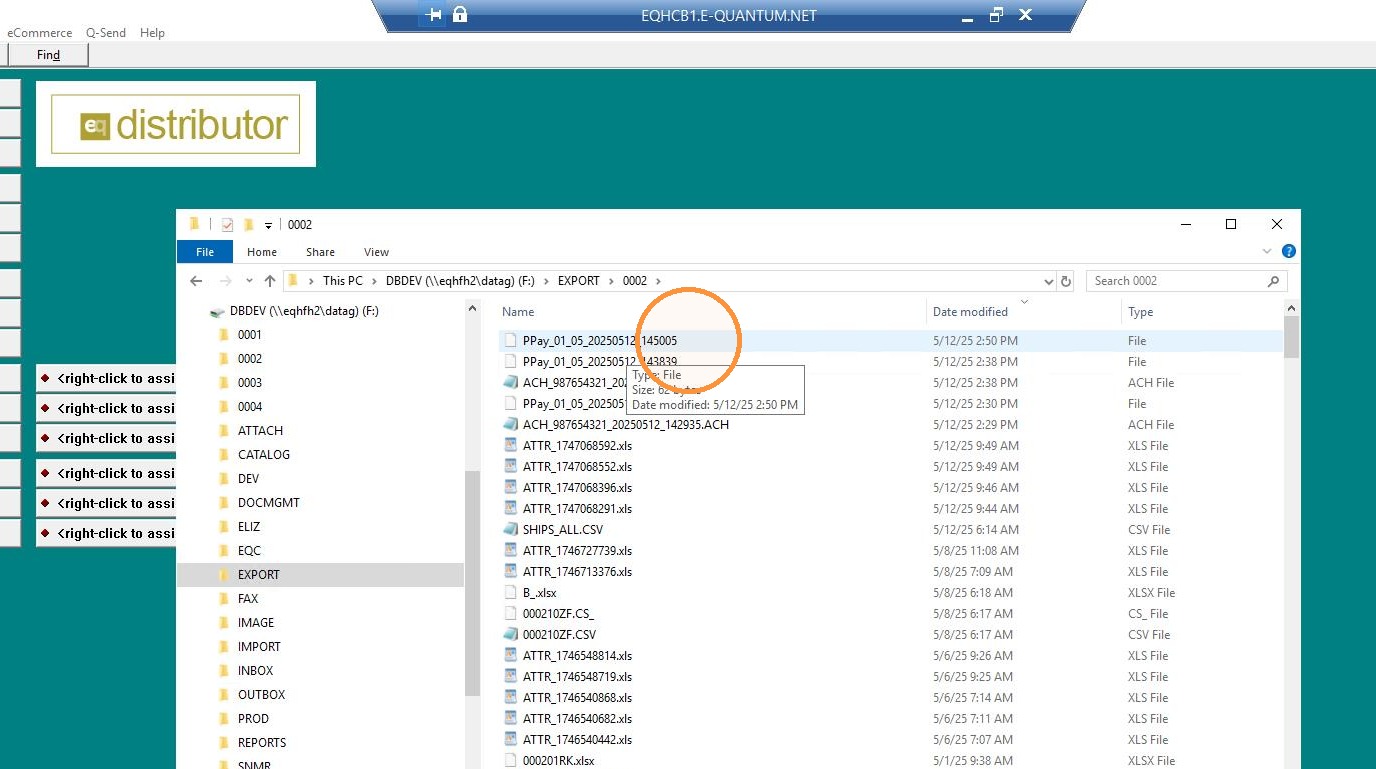
23. To view the file, right-click it and select Open with > Notepad.
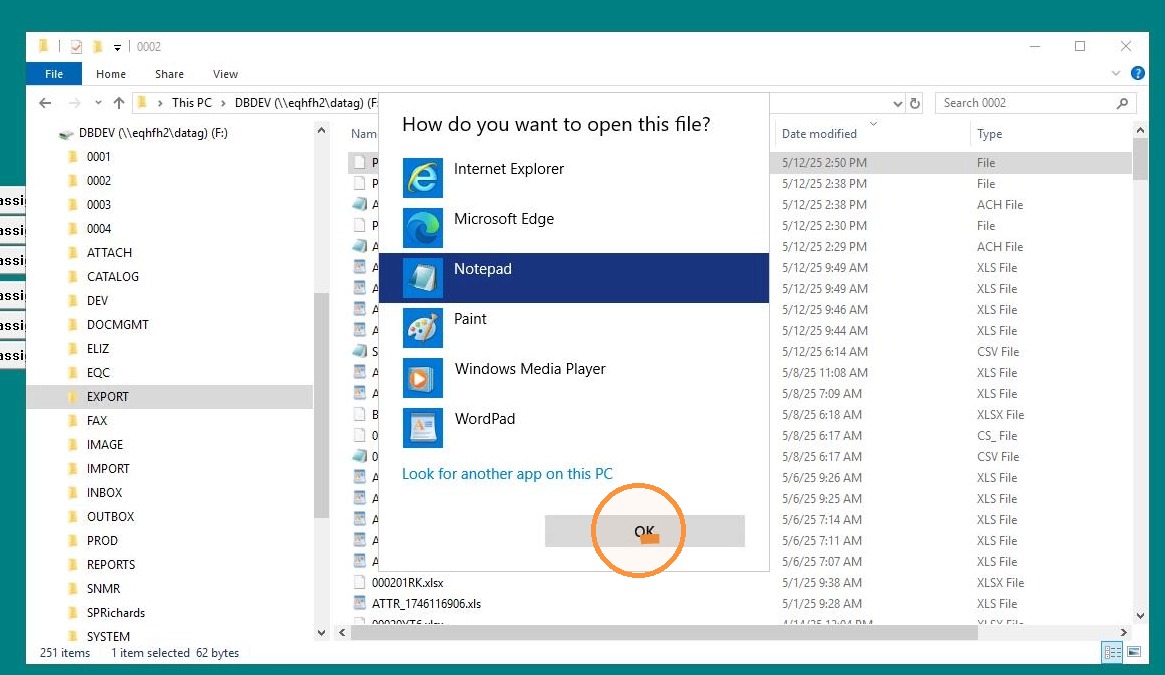
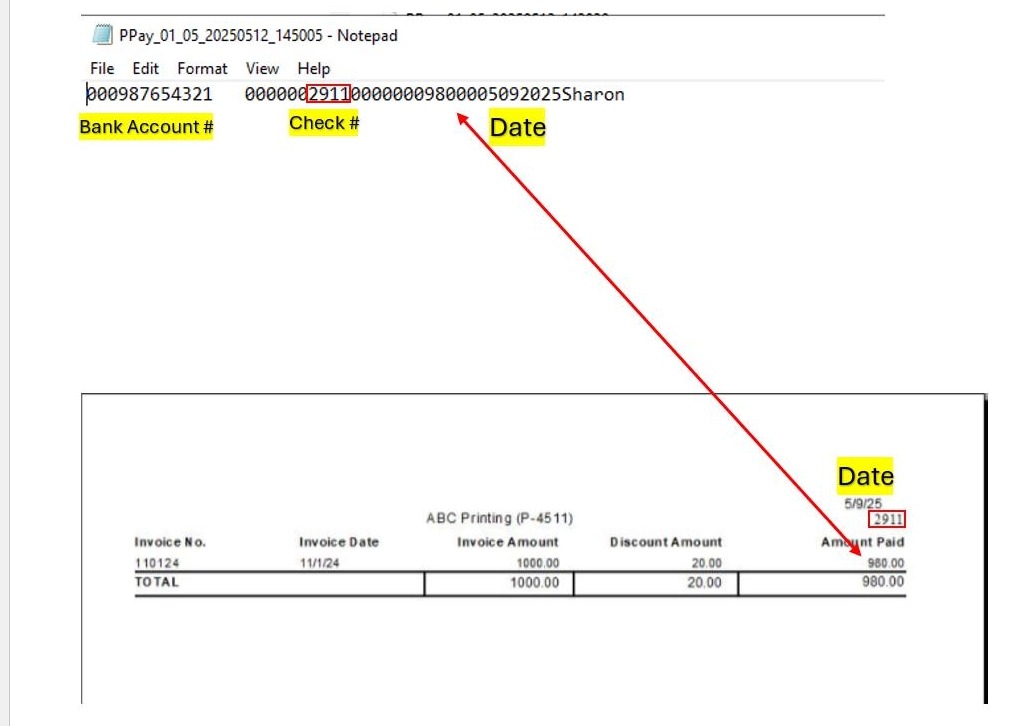
24. This screenshot will show you how to read the file in comparison to the actual check issued. It will list the Bank Account #, Check #, Amount of Check, and Date.